We provide detailed instructions for laying the material using glue and non-glue methods.
PVC tiles are a relatively new development. About ten years ago it appeared on the shelves, and during this time it managed to become in demand. In terms of its performance characteristics, it surpasses traditional laminate and linoleum. It is not inferior to them in the choice of colors and textures. Many people buy a new product for their homes, especially since you can install it yourself. Let’s look at all the intricacies of laying vinyl tiles.
Features of PVC coating
PVC tiles are called two materials with different properties. The first one is quartz vinyl. This is a multi-layer finish based on polyvinyl chloride mixed with quartz sand. This gives it increased density and strength. Vinyl sheets are made only from PVC. The single-layer finish consists entirely of polyvinyl chloride foam. It is soft and wears out quickly. It is used less often. Resins, fillers, and plasticizers are added to multilayer cladding. This increases its strength.
The pros and cons of both types of vinyl floor tiles are common. They are moisture resistant, are not afraid of high and low temperatures, and can be installed in unheated rooms. The design does not fade, does not deform, and resists mechanical damage. There are a lot of color and texture options; there are models that qualitatively imitate natural materials. In addition to standard squares and rectangles, panels of different shapes are available. This expands the possibilities of their decorative use.
The cladding is environmentally friendly and does not emit toxic substances. Therefore, it is placed in all rooms, including children’s rooms. It is easy to care for the coating. It is not afraid of moisture and aggressive substances and can be easily washed with soapy water. If necessary, “strong” chemicals can be used. The disadvantages usually include the high price. High-quality quartz vinyl costs almost as much as parquet. Vinyl trim is cheaper, but it is also less durable.
Two installation methods
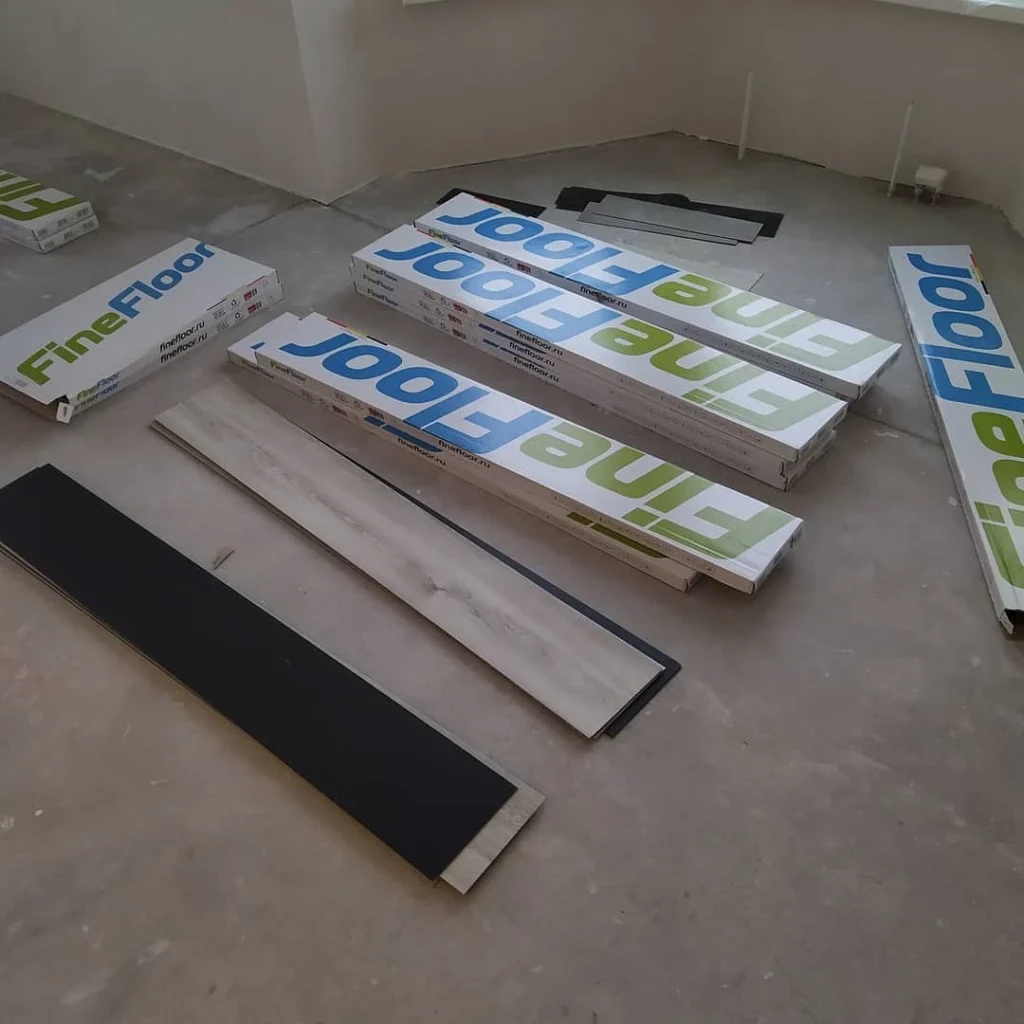
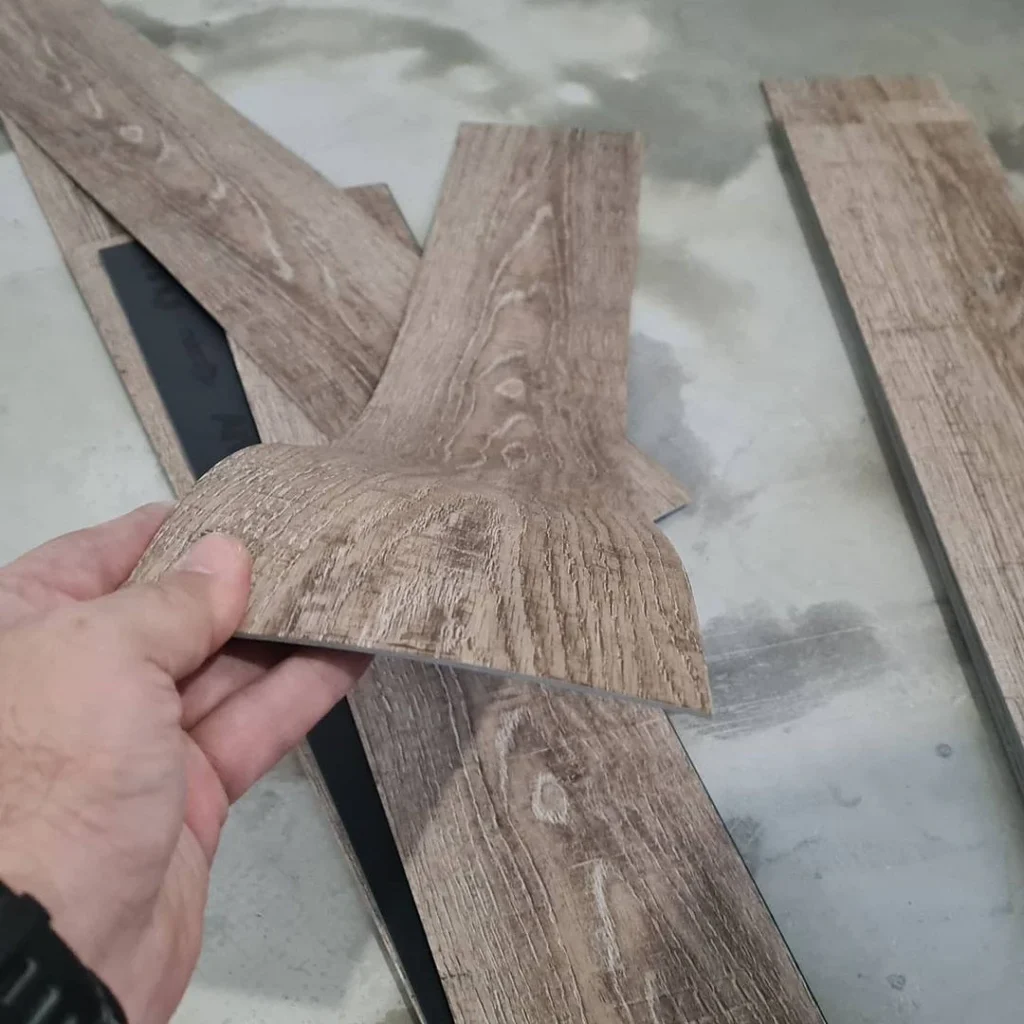
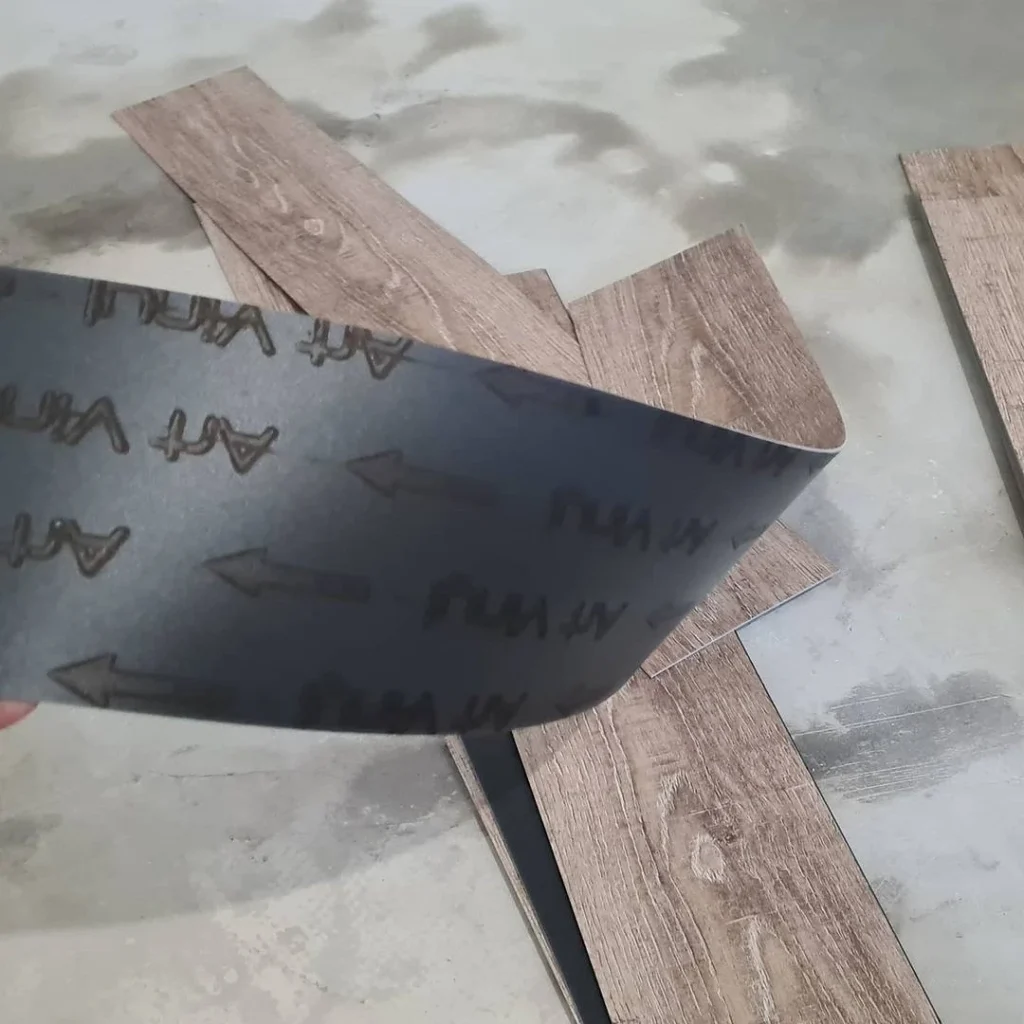
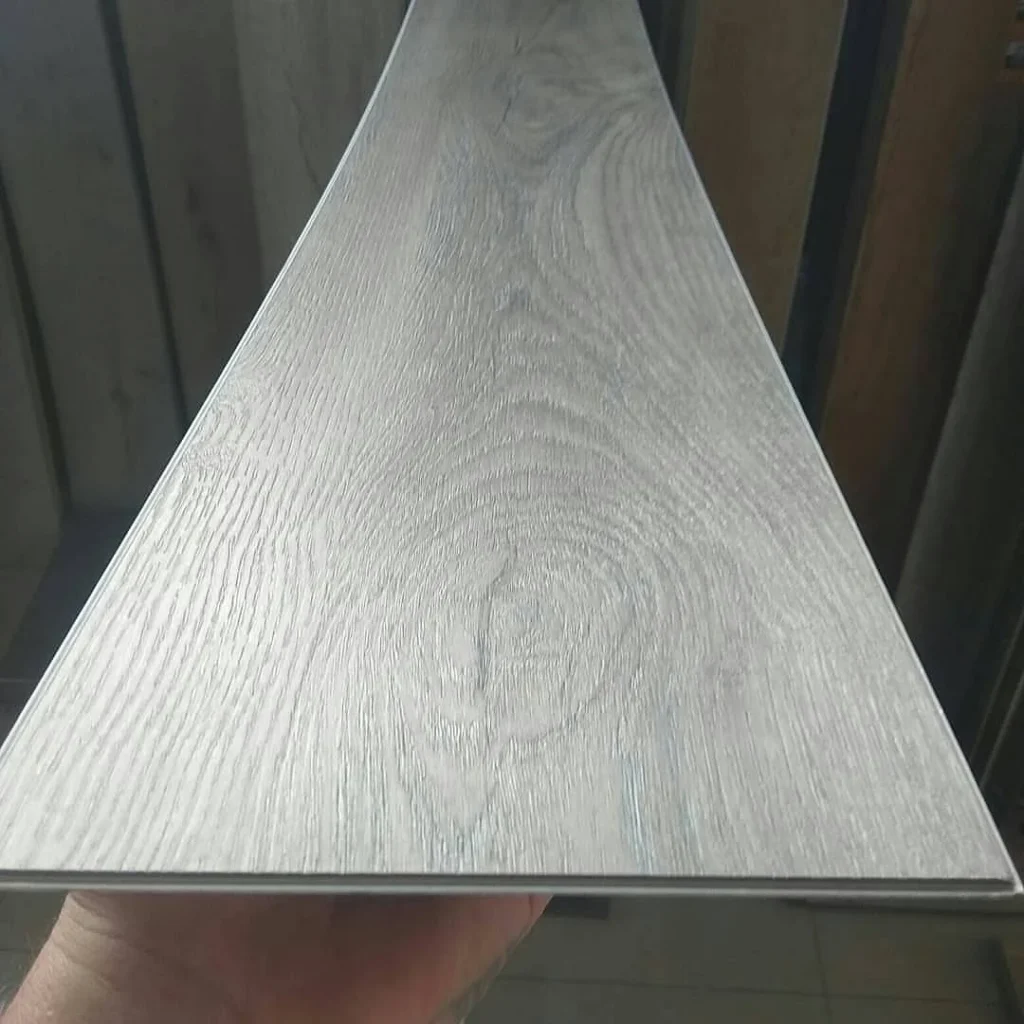
The installation technology depends on the type of cladding. Plates with tongue-and-groove locks at the ends are assembled using the glueless method. They snap together to create a floating floor. That’s why interlocking finishes are also called vinyl laminate. Lockless panels are glued to the base. They can be self-adhesive, then the glue is applied to the outside and covered with a protective film. It’s very easy to glue them. The rest are glued in the usual way.
Let’s look at both options in detail. In any case, they start by preparing the base. It must be carefully leveled and cleaned.
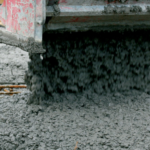
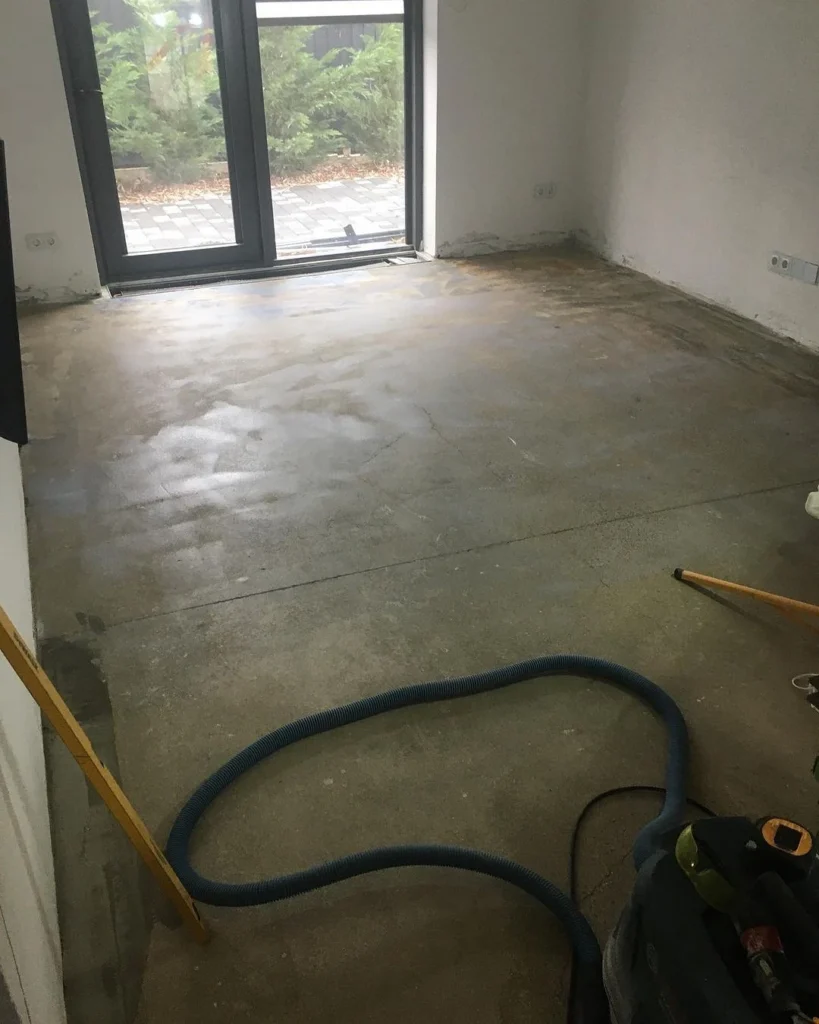
Step-by-step preparation of the base
- We removed the old finish. We carefully dismantle it so that damage to the screed or slab is minimal.
- We clean the rough surface of debris and dust. If stains of grease, fuel oil, or other dirt are found, wash them completely.
- We inspect the base and assess its condition. Small defects such as cracks or dents are puttied. We give the solution time to completely harden, then clean it until smooth. If there are a lot of cracks and chips, there are a large number of fragments breaking off, refill the screed.
- We wait until the base is completely dry. It is best to measure humidity with a hygrometer. A value of 0.05% is considered normal.
- We complete the final sanding and then remove dust from the subfloor. It is ready to be installed.
There is not always a desire to bother with dismantling old cladding. Then questions arise: how to lay vinyl tiles on a wooden floor, on linoleum, or tiles. Let us clarify right away that this is not always possible. So, in some cases, lock-type quartz vinyl is placed. But before that, the old finish is carefully examined. It should lie flat, firmly, without the slightest hint of peeling. It is advisable to seal the seams between boards or tiles to create a perfectly flat, durable surface. It can be used as a base. It is advisable to treat a wooden floor with an antiseptic before installation.
How to glue vinyl tiles to the floor
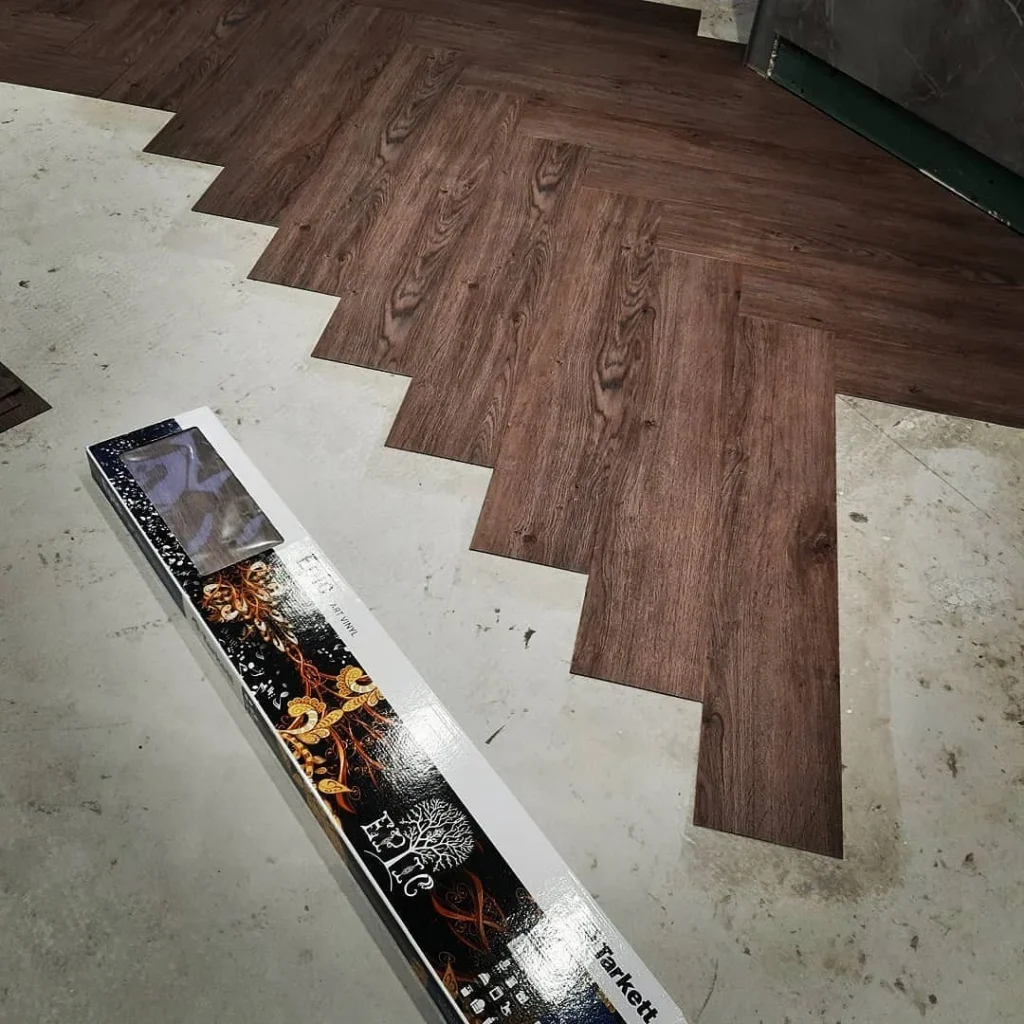
Laying the plates begins from the center of the room. Self-adhesive varieties can be placed from the corner of the wall opposite the doors. But this is not always the case. We have prepared a step-by-step description of laying vinyl tiles with glue.
- We carry out markings. Finding the center of the room. To do this, we stretch the painting cord from opposite corners, stretch it, and beat it off. At the intersection is the center. We draw two perpendicular axial lines through it. We do this with a pencil. Chalk generates dust, which is undesirable when working with glue. For curly styling, we draw additional lines, focusing on the axial ones.
- Prepare the glue. It is selected based on the type of cladding. The finished pastes are thoroughly mixed before use. Dry mixtures are diluted with water. The proportions and other features of the process are indicated on the packaging of the composition.
- The first plate must be glued, applying the angle to the intersection of the center lines. Using a notched trowel, spread the glue evenly over the base. We apply the paste to a small area, no more than a square meter since the composition hardens quickly. We wait about 6-10 minutes, the exact time is indicated on the package. With a precise movement, place the plate in place and press it. If necessary, we adjust its position. You have no more than 10 minutes for this.
- We lay the second and subsequent panels in the same way. There should be no gaps between them. Be sure to press the lining to the base so that there are no air bubbles left. Carefully remove any excess glue with a rag. Having laid two rows, for better adhesion we roll the finish with a rubber roller. We roll the joints especially carefully.
- Leave the vinyl tiles glued in this way until the glue is completely cured. This takes on average a day.
If you need to trim elements, take a sharp construction knife. On the front side of the part, mark a cutting line and place it on a flat surface. A cut is made with a precise movement with little effort, the plate is bent along it and broken. If the die is thick, an additional cut is made on the reverse side.
Glueless technique
The technology is similar to laying laminate, but there are some differences. We offer instructions for installing quartz vinyl with a locking connection.
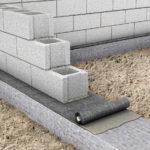
- Apply antiseptic to the base. This will prevent the formation of mold and mildew.
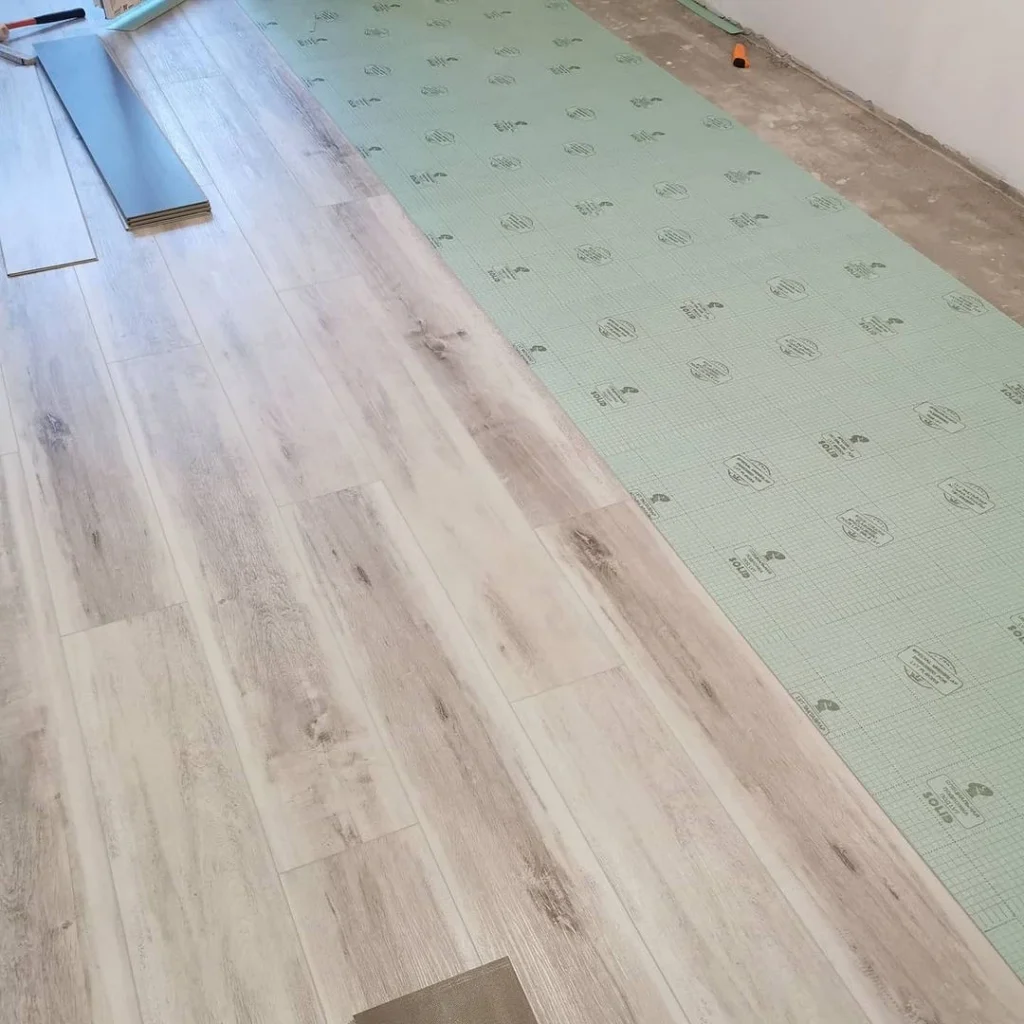
- We lay the substrate. This is not a mandatory, but desirable stage. The material levels out minor irregularities, if any, additionally retains heat, and serves as a sound insulator. You cannot place a thick substrate. It places an uneven load on the lamellas, which leads to rapid failure of the locking joints. The optimal thickness is 2-3 mm. The strips are laid without overlap, the joints are taped.
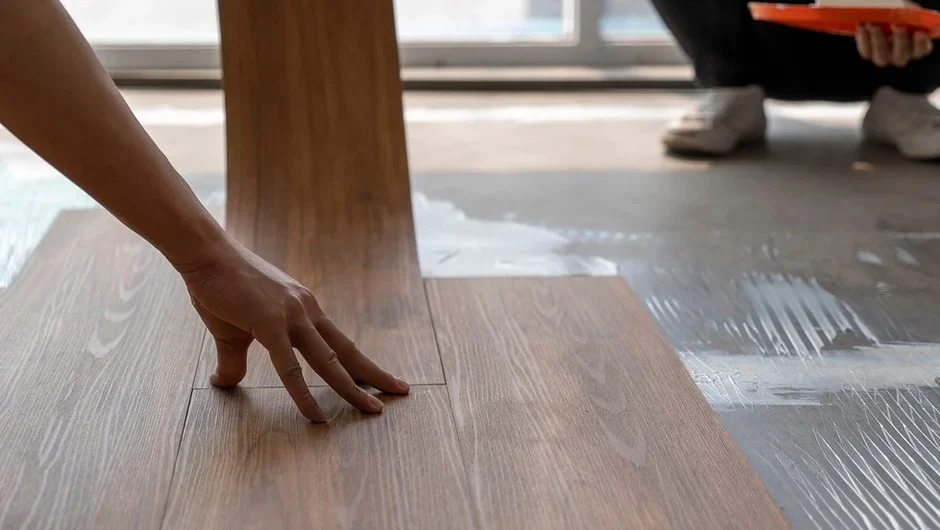
- We begin laying from one of the corners of the wall opposite the entrance. First, we fold the panels of the first row and connect their sides. Tap the locking joint with a rubber hammer. We assemble a solid strip with the groove facing the wall. We place it against the wall so that there is a gap of 5-7 mm between them.
- We start the second row with a plate cut by a third. This is done so that the joints of the lamellas do not coincide. The part is cut by a third or half, and the next row begins with it. Insert it into the locking connection of the part from the first row and snap it into place. We take the next one, join it, and gradually fill the row.
- We collect the third and subsequent rows in the same way. Important point. We leave a gap of 5-7 mm everywhere between the walls and the coating. It is necessary for the normal functioning of the floating floor. It constantly increases and decreases in size. Without clearance, the boards become deformed.
- We install skirting boards around the perimeter of the room and fasten them to the wall. They press the PVC lamellas to the base and close the technological gap.
The necessary trimming is done with a construction knife. They are forcefully drawn along the cutting line marked on the front side. Then they bend the bar and break it. Models with a backing are cut a little differently. It is glued to the back of the panel. In this case, a cut is made along the front part, then the backing is trimmed on the back, then the part is broken along the cut line.
Useful tips
The installation technology for both types is not complicated, however, some nuances are important to know. We have collected these.
- The base for PVC tiles must be level. Usually, it is leveled with a wet screed; if for some reason this is not possible, a dry screed is used. That is, they level the floor with durable wood boards, boards or thick plywood.
- The base must be dry. If this is not the case, moisture will remain under the coating, which will lead to the appearance of fungus. Before installation, be sure to check the humidity with a hygrometer. If you don’t have it, a “home” method will do. The three-liter jar is turned over and placed on a screed for 12-14 hours. Condensation on the walls indicates excess moisture.
- In rooms with high humidity, before installing the interlocking cladding, it is advisable to additionally “dry” the base. To do this, all interpanel joints are hermetically sealed with any suitable composition, for example, cold welding.
- Fresh glue remaining on the floor surface can be easily removed with any alcohol solution. Hardened mastic is removed with a solvent.
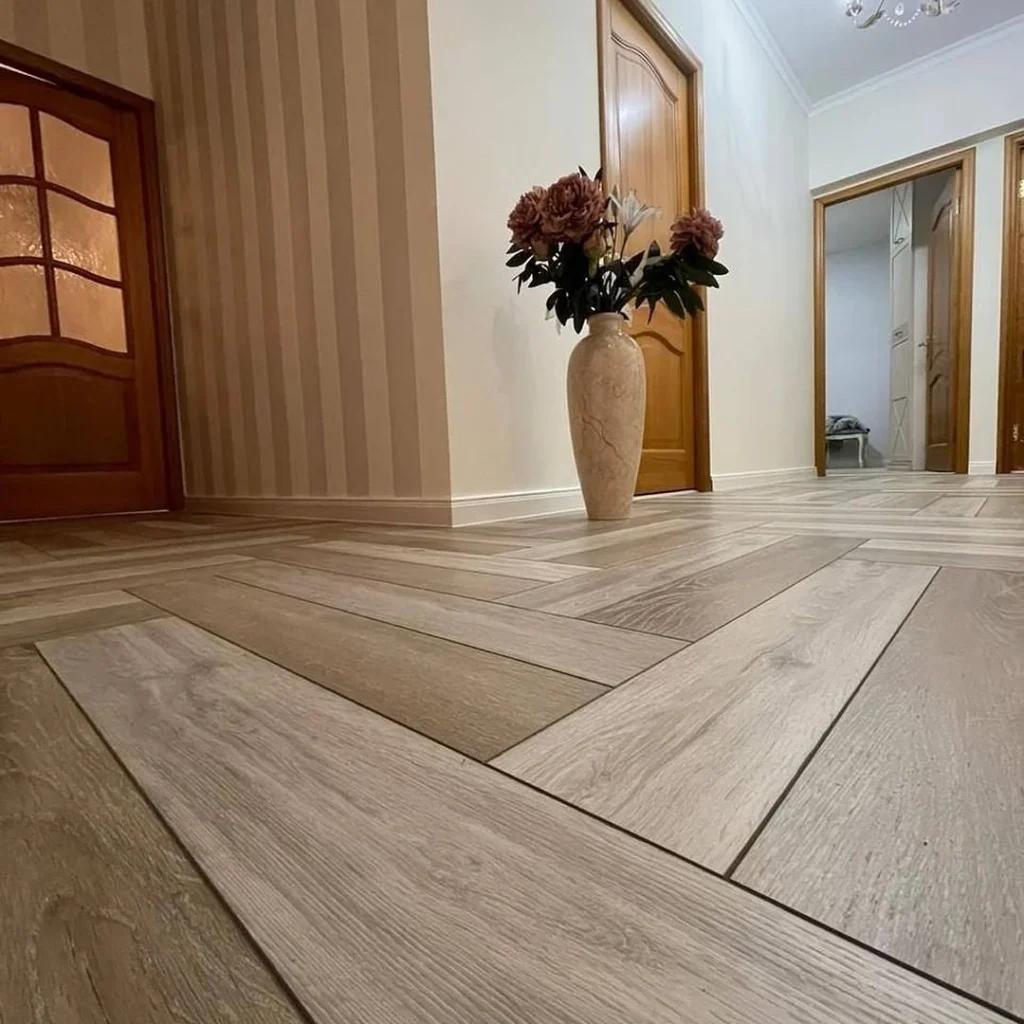

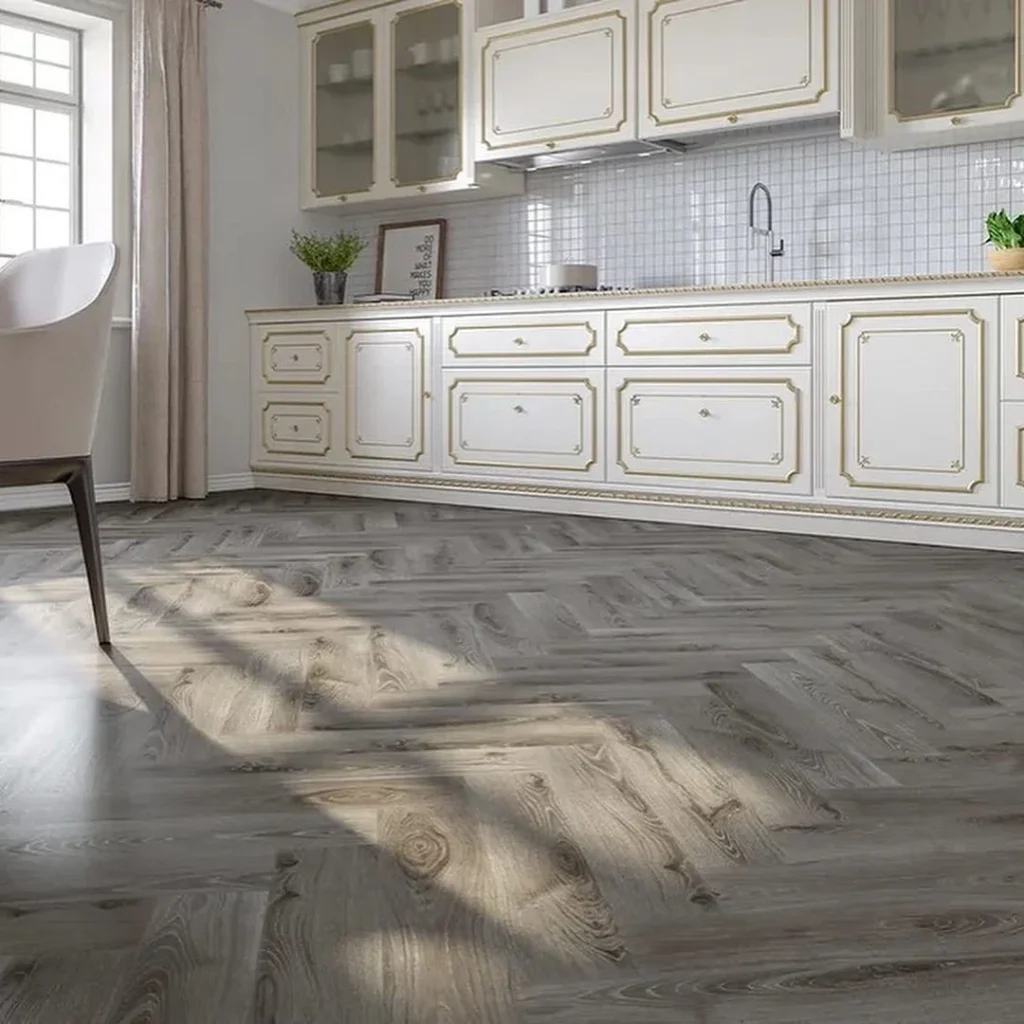
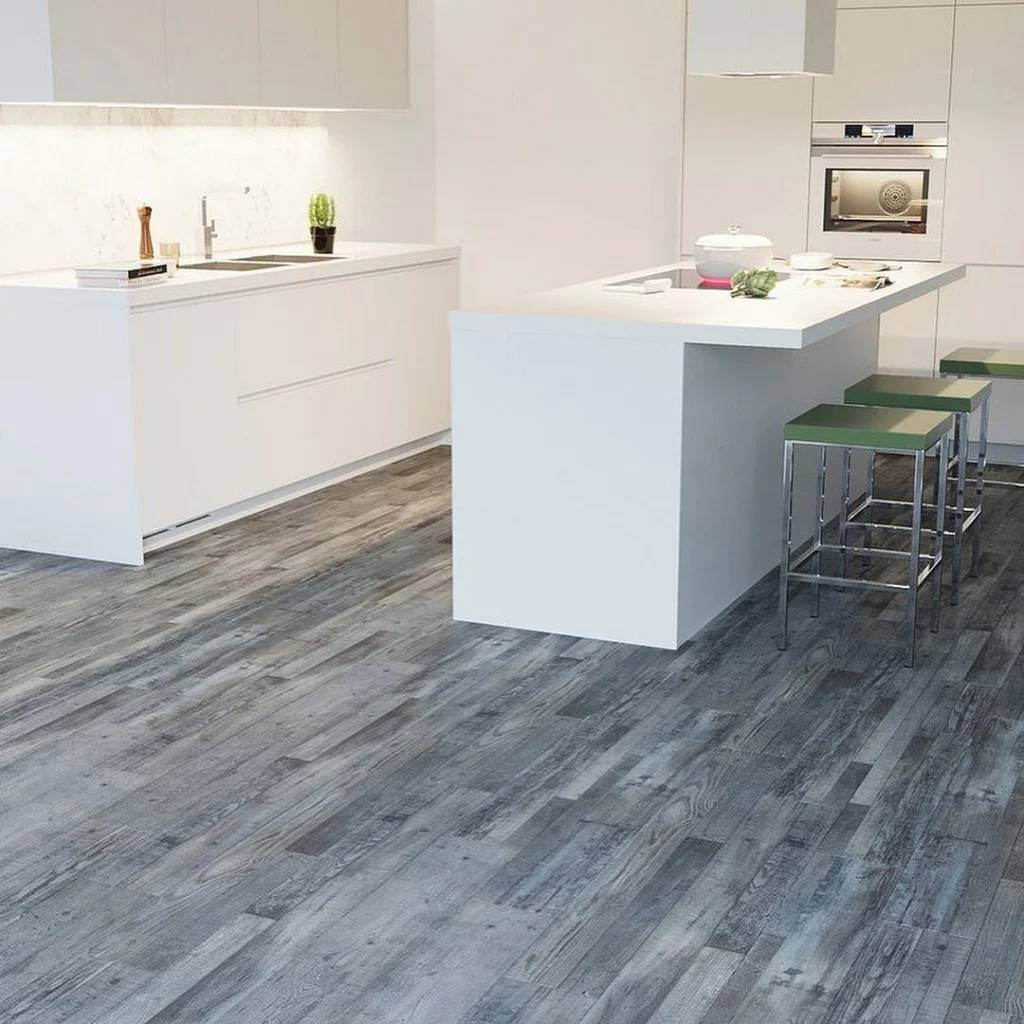
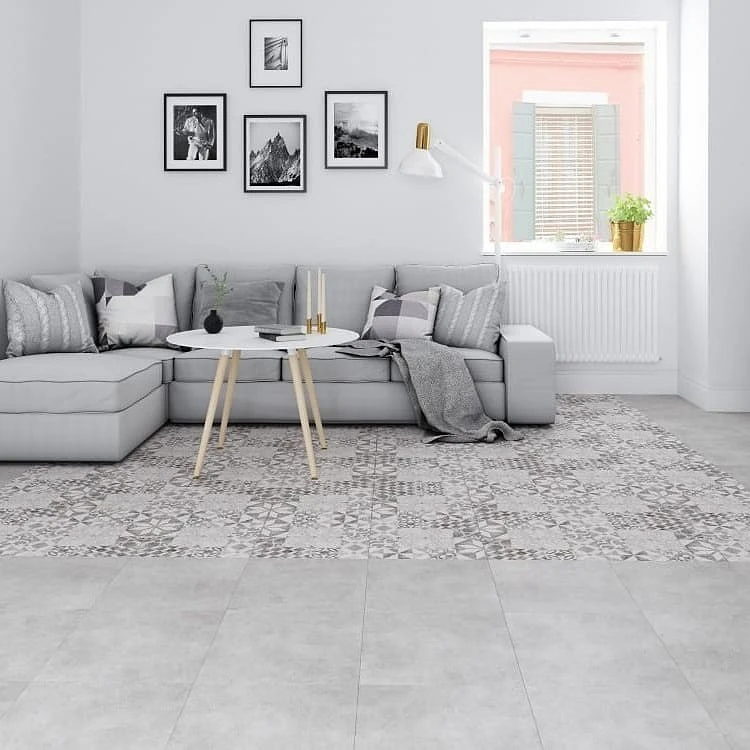
PVC tiles are a practical and durable floor finish. Besides, it is also beautiful. You can choose an imitation of parquet boards, wild stone, or any other material. Materials are combined, placing together models of different shapes, sizes, and colors. The result is interesting, effective combinations.