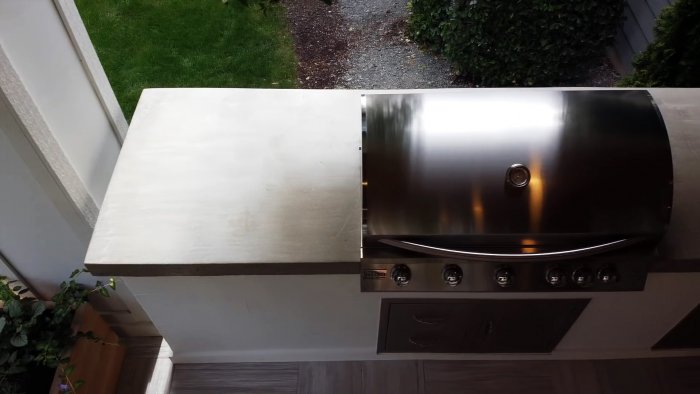
A concrete countertop looks fundamental, but it is too heavy to buy ready-made and then have it delivered. It is optimal to do it locally. If you approach the task with an understanding of the process, then it is quite possible to fill the countertop with your own hands no less efficiently than it is done in production.
Materials:
- any moisture-resistant sheet material;
- plastic corner for sides;
- reinforced tape;
- sealant;
- reinforcing mesh;
- ready-made dry concrete mixture with fiberglass;
- penetrating waterproofing for concrete;
- self-tapping screws
Tabletop manufacturing process
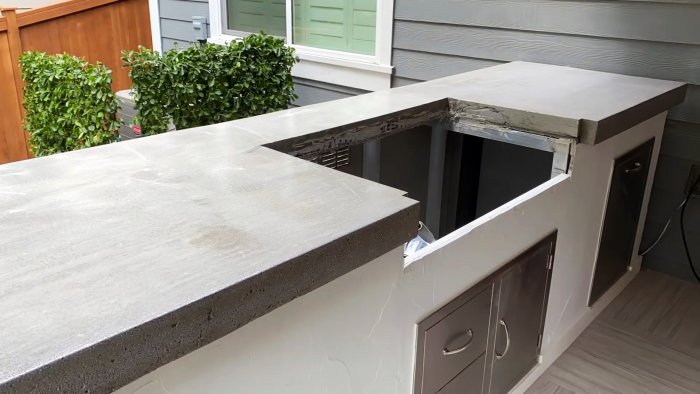
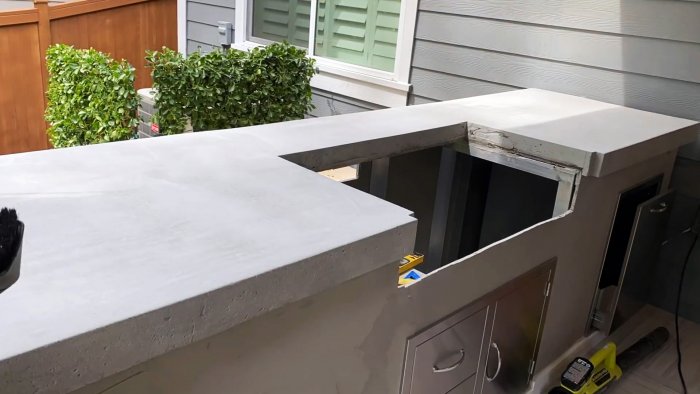
The table or kitchen modules for which the tabletop is made are installed in place and leveled. After this, you need to securely fasten the base to them under the tabletop. Concrete will be poured onto it and formwork will be attached. The base can be made of moisture-resistant plywood, flat slate, or other sheet material.
A plastic corner formwork of suitable height is screwed around the perimeter of the base.
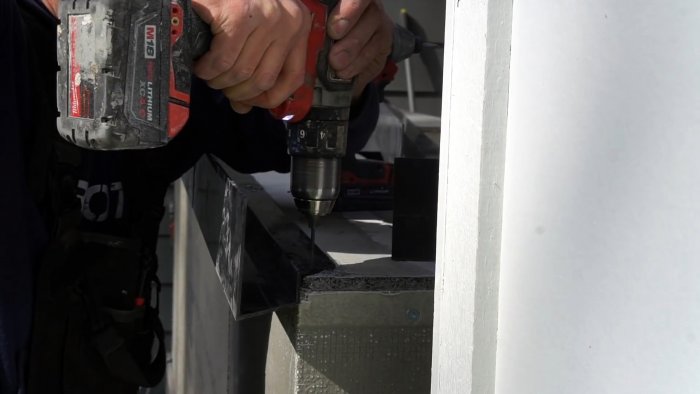
If you plan to install a built-in sink or slab into the countertop, then the windows for this are prepared immediately and also edged with corners, since then cutting the concrete will be too difficult.

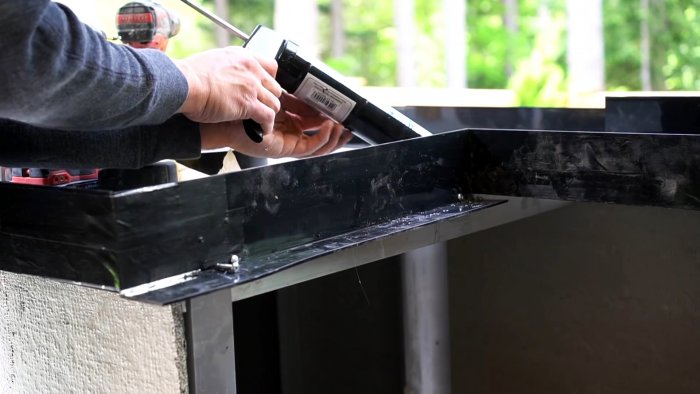
At the corners, the formwork is connected with reinforcing tape, all joints are sealed with sealant.
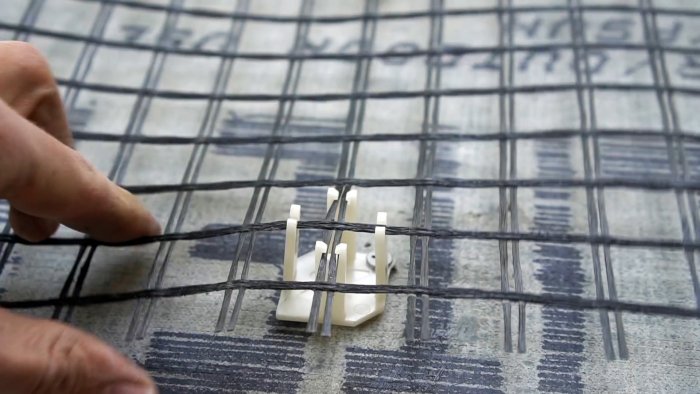
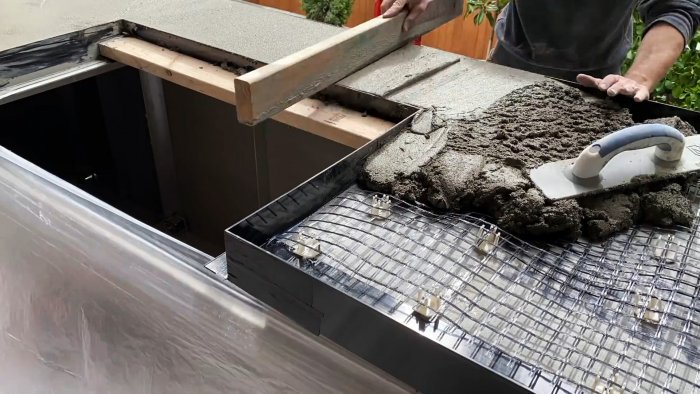
A reinforcing mesh is laid on the base.
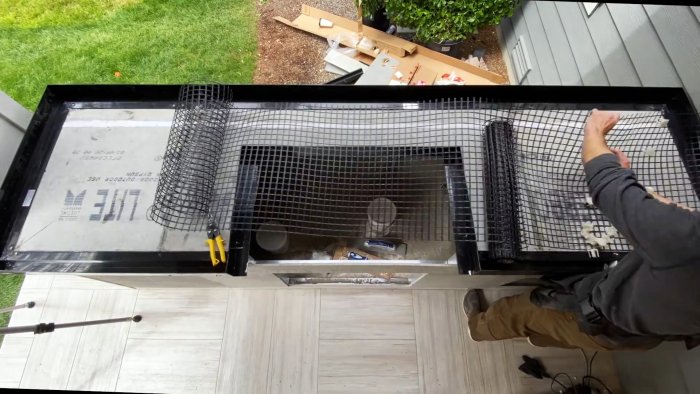
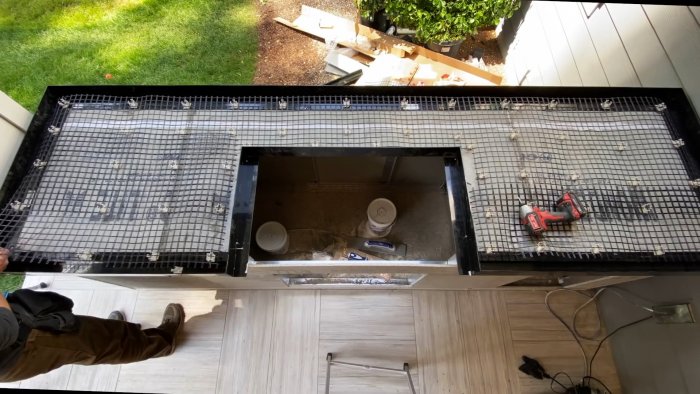
It needs to be raised so that it is located in the center of the concrete mass.
Then the concrete is prepared. You need to use a ready-made dry mixture with fiberglass and plasticizers, which, according to the instructions, is designed for the required pouring height.
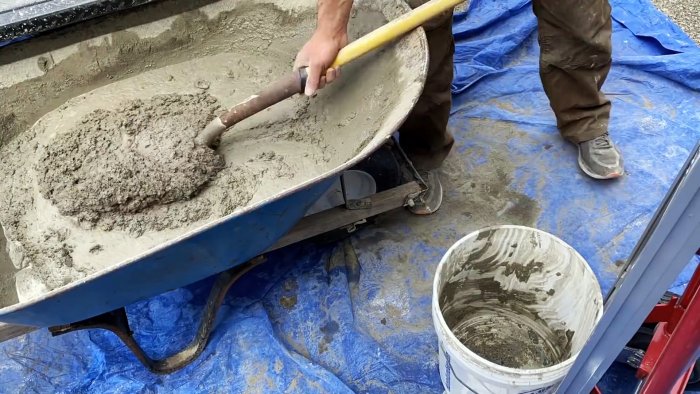
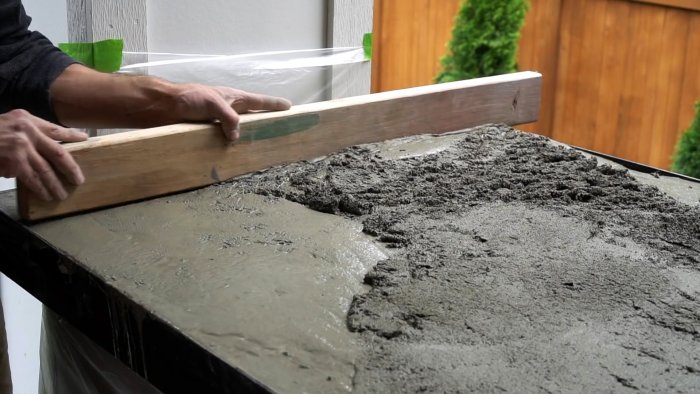
Concrete is mixed with water and poured to the level of the formwork, then smoothed.

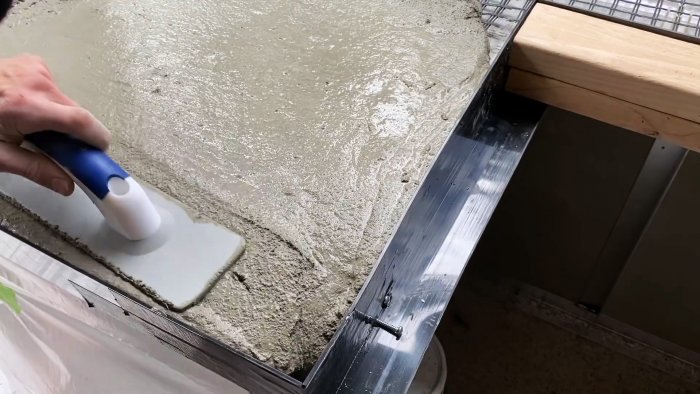
You need to try to smooth it along the sides; to do this, you can apply a vibrating grinder to the corners. As soon as the concrete sticks slightly, it must be leveled to perfection with a trowel.
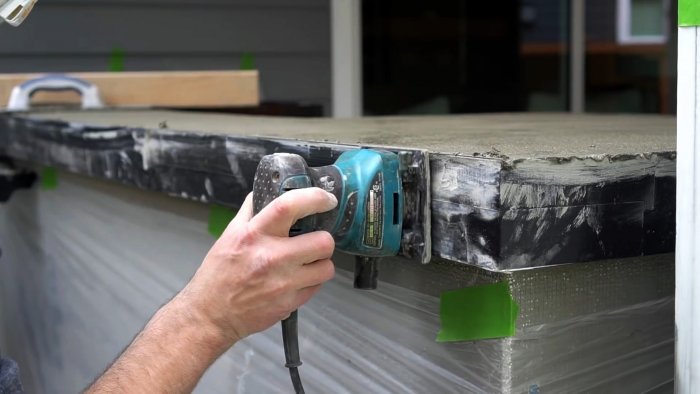
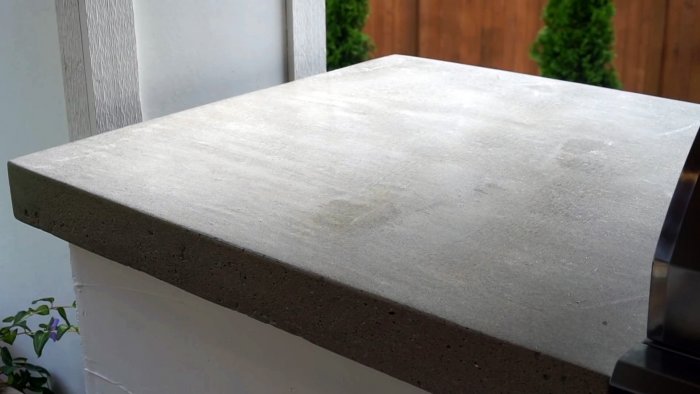
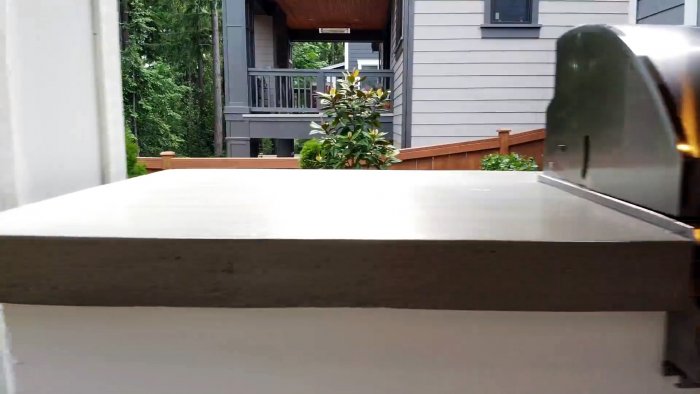
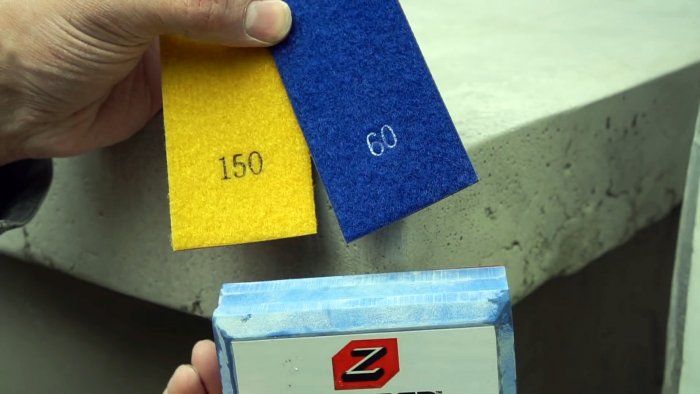
On the second day, the formwork is removed and the exposed potholes are covered with fresh concrete. The upper part of the tabletop is sanded with abrasive, first coarse, then finer. You need to achieve mirror smoothness.

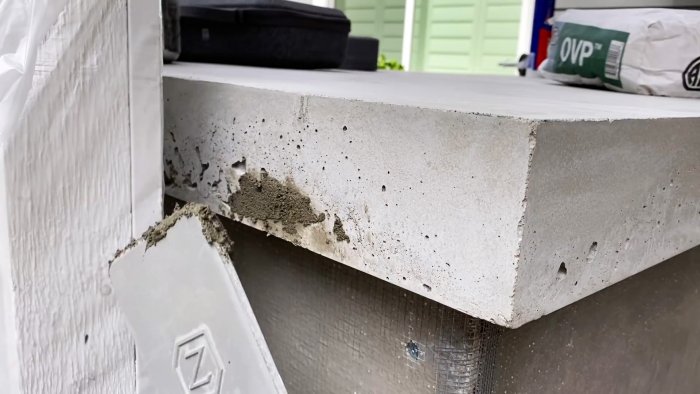
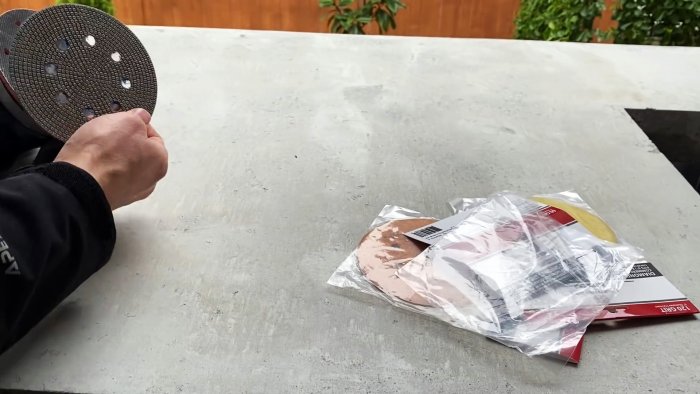
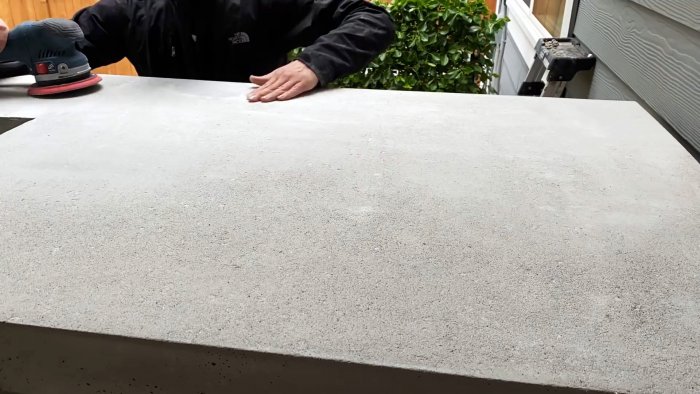
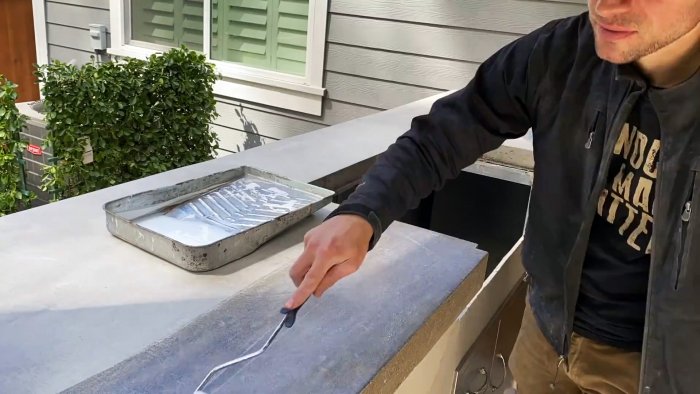
On the third day, you can finish sanding the ends where the potholes were covered and remove the edges. The countertop is then treated with penetrating transparent waterproofing.
There are specialized impregnations on sale specifically for countertops, which, after hardening, can come into contact with food.

If you use a high-quality dry concrete mixture with fiberglass and then polish it well, then a hand-made countertop will look no worse than a factory one, while it will cost several times less and is guaranteed to fit perfectly. The main thing is not to make it too thin so that it does not break.