Laying tiles indoors and for external cladding should be completed by grouting the tile joints. We will tell you how to grout tile joints, what materials to choose for this, and what mistakes to avoid.
WHY IS GROUTING NECESSARY?
Making tile joints is a mandatory final stage in laying tiles. It solves many problems:
- grouting tile joints works like a sealant: it does not allow moisture to pass under the tiles, and prevents the appearance of fungus and mold in the joints;
- processing of seams helps to hide small differences in their width and other minor defects – chips, dents in tiles, etc.;
- Grouting the tile joints on the floor and walls fills the remaining voids in the joints. This ensures a longer service life for the tile covering;
- grouting ceramic tiles is a decorative element that emphasizes the geometry of the tile and sets off its color.
HOW TO CHOOSE GROUT FOR JOINTS
The composition for sealing tile joints must meet several requirements:
- Compound. Grouts for ceramic tile joints are divided into cement and epoxy based on their composition. Dry cement mixtures are affordable, but are not durable and are susceptible to leaching and mold formation on the surface. Epoxy grouts are more expensive, but they are durable, impermeable to water and mold, do not wash out of the joint, and require compliance with certain recommendations when using.
- Water resistance. Not only bathroom grout must meet this requirement. Most often, tiles are laid in rooms that are in one way or another exposed to moisture. Therefore, we always recommend choosing moisture-resistant grout for tile joints in the bathroom, swimming pool, kitchen, and hallway; epoxy grout is such a universal composition.
- Resistance to external conditions. If you need grout for exterior use, pay attention to whether the mixture you choose is frost-resistant or UV-resistant.
- Protective properties – antibacterial, antifungal. High-quality mixtures contain special additives that prevent the growth of bacteria.
If you prefer to choose only high-quality materials for your home or work, pay attention to the brand.
For additional waterproofing of tile seams in the corners of walls, places where plumbing fixtures meet walls, and seams between mosaic parts, we additionally recommend using silicone seam sealant. This sealant can be used indoors and outdoors: at any operating temperature it provides reliable sealing of seams.
WHAT MATERIALS AND TOOLS WILL BE NEEDED?
To grout tile joints with your own hands you need:
- shaped spatula for cleaning seams;
- grout for tiles in the bathroom and other rooms. It must be diluted with water in the ratio indicated on the package to the consistency of thick sour cream;
- rubber spatula for filling joints with grout;
- a round rubber spatula or a piece of cable for smoothing seams;
- water and a sponge to wet the joints and wash off excess grout from the tiles.
HOW TO PREPARE SEAMS FOR GROUTING?
- The tile adhesive must gain the necessary strength and dry.
- The tiles and seams must be cleaned of glue residues, dust and any other contaminants.
- Before starting work, joints and tiles must be clean and dry.
HOW TO WORK WITH COMPOSITION
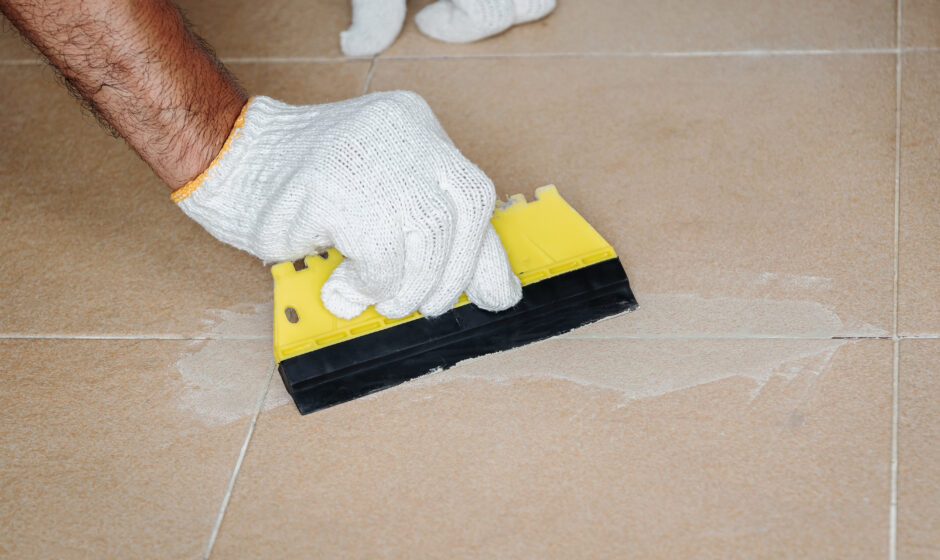
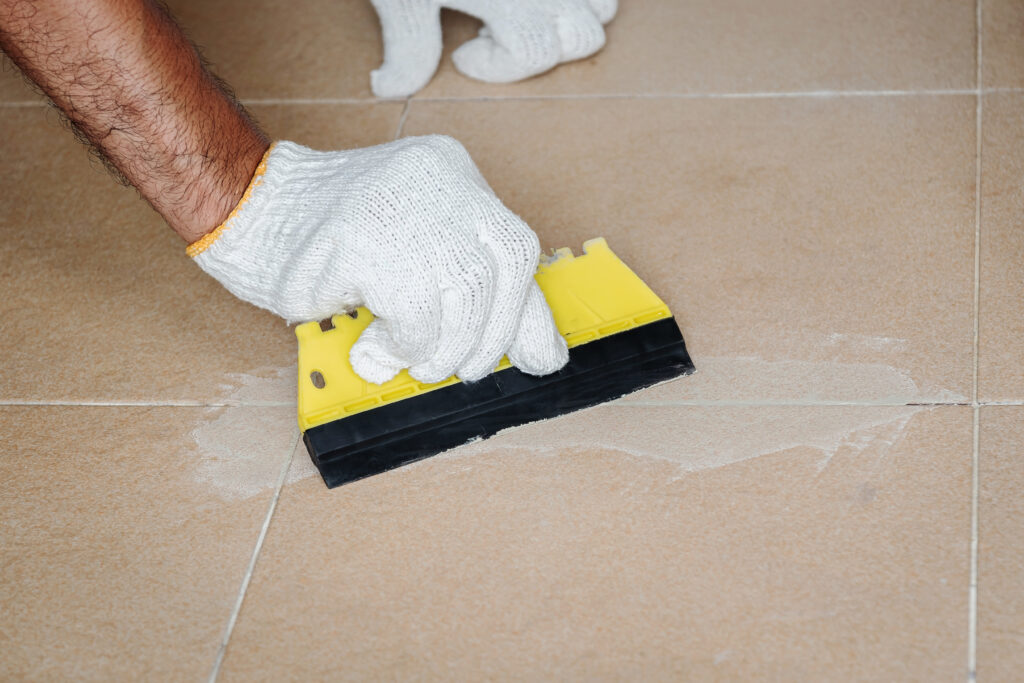
Seam filling
Fill the seams with the compound using a special rubber spatula, making movements diagonally to the seam. The seams must be filled with the compound to the full depth, without gaps or unevenness. Collect excess composition from the surface of the cladding using the same tool.
Gluing tiles
Use as an adhesive for gluing thin mosaics (for products less than 5 mm thick), which reduces labor costs for cleaning and preparing seams for further rubbing, and also reduces the overall consumption of material.
Cleaning the cladding
Clean the lining from excess composition before it hardens, no later than 60 minutes from the moment of its preparation, using a combined cellulose sponge soaked in water.
Collect the bulk of the dirt with a foam layer of sponge. Removal of grout residues and final formation of joints should be done with a cellulose layer of a sponge, making careful circular movements, without washing the compound out of the joints. The sponge should be washed in clean water as often as possible.
When working with mosaics, removal of residues can begin immediately after filling the joints with grout. When working with ceramic tiles and porcelain stoneware, for better joint formation, begin removing residues approximately 30-40 minutes after preparing the mixture at a temperature of +23°C. Increasing the temperature reduces the polymerization time of the composition.
Foam rubber is not resistant to epoxy resin and over time the sponge becomes unusable and becomes dirty. On average, one sponge is enough to clean 10 m2 cladding.
If minor traces of grout or a clear epoxy film remain on the surface after cleaning, these should be removed using special cleaner. The optimal time range for using the cleaner is from 4 to 12 hours from the moment the composition is prepared. 2-3 minutes after applying the cleaner, it must be completely washed off with warm soapy water. If necessary, the cleaning procedure can be repeated.
CLEANING THE INSTRUMENT
Wash all tools and equipment with warm water or speciel cleaner immediately after use. The hardened composition can be removed mechanically by preheating it with a hair dryer.
WHAT TO PAY ATTENTION TO WHEN WORKING WITH EPOXY COMPOSITION
- Before using the composition, you should read the recommendations of the manufacturer of the facing material and make sure that it can be cleaned from epoxy grout residues. Some types of unglazed tiles, natural stone and porcelain tiles have a highly absorbent, porous or rough surface. These types of tiles are susceptible to staining and cleaning them is very difficult or impossible. Even with careful cleaning of such materials, epoxy grout can create a wet stone effect on them. When working with these materials, it is necessary to carry out cleaning tests and avoid using grout of contrasting colors.
- Do not dilute the composition with water or solvents.
- It is acceptable to have different shades of grout from different batches. To avoid discrepancies, it is recommended to use composition kits from the same batch.
- The color of the cured composition may differ from the color representation on the monitor screen, printed products and the sticker on the package.
- To increase the life of the grouting composition, its components can be cooled (to a temperature not lower than +12 °C). After preparation, the composition can be divided into several servings. It should be taken into account that as the composition cools, its viscosity increases.
- If the composition is stored at low temperatures, it should be kept at room temperature for 24 hours before use. Forced heating is not allowed.
Read more: LAYING TILES: HOW TO GLUE TILES ON THE FLOOR, ON THE WALL