We’ll tell you what type of cabin design to choose, where to locate it, and how to build temporary housing on a summer cottage site yourself.
Construction of a cottage or house can take a long time. During this time, it is necessary to equip a temporary shelter where you can rest, change clothes, and, if necessary, spend the night. There will be a place to store tools and materials. Craftsmen advise setting up small temporary housing. You can rent a mobile trailer, buy it, or build a cabin with your own hands. Let’s figure out how to complete the last task.
Types of temporary structures
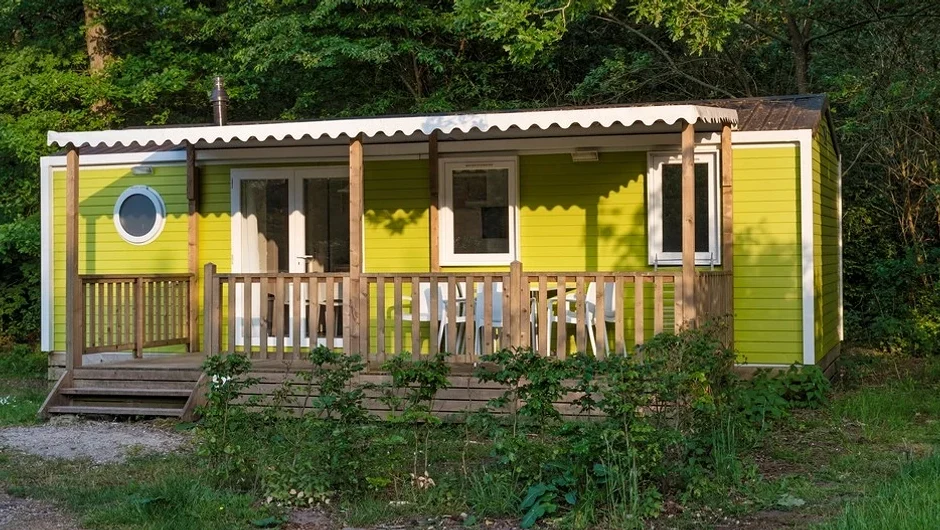
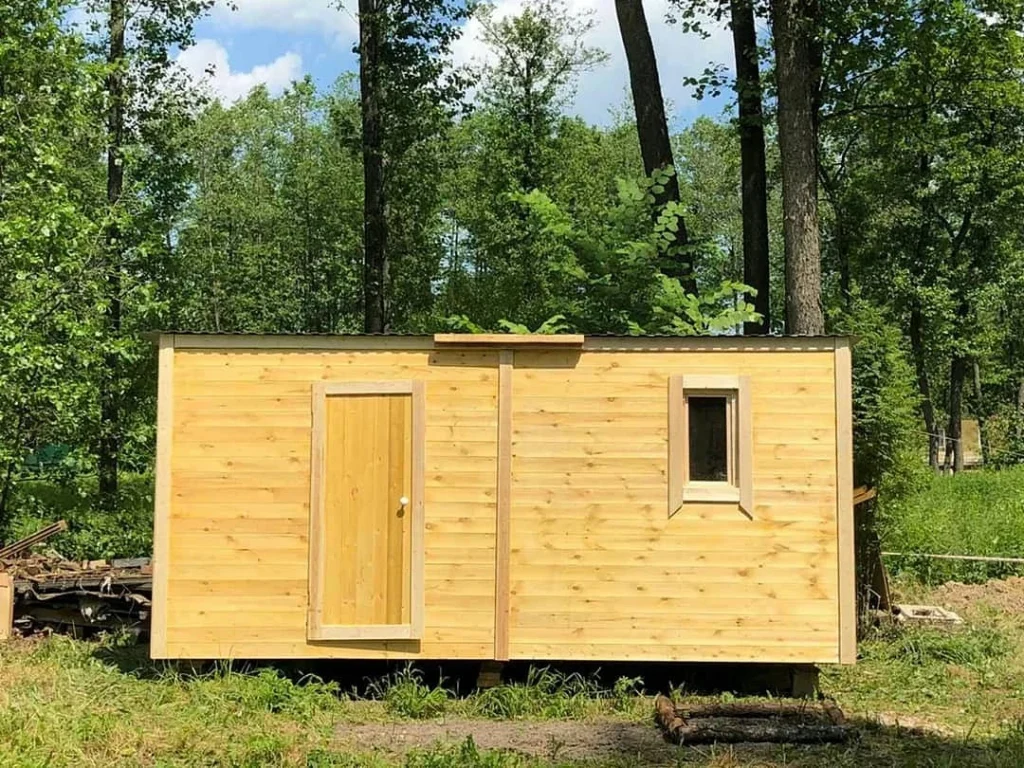
A small building measuring 3×6 m or so is erected for temporary residence. If you plan to use it in the cold season, be sure to insulate the building. Insulation will not be superfluous in the relatively warm autumn and spring months. Often, owners plan to build a change house as a utility room and then convert it into a bathhouse, summer kitchen, or even a guest house. Therefore, they are built from high-quality materials, with good finishing and possible communication.
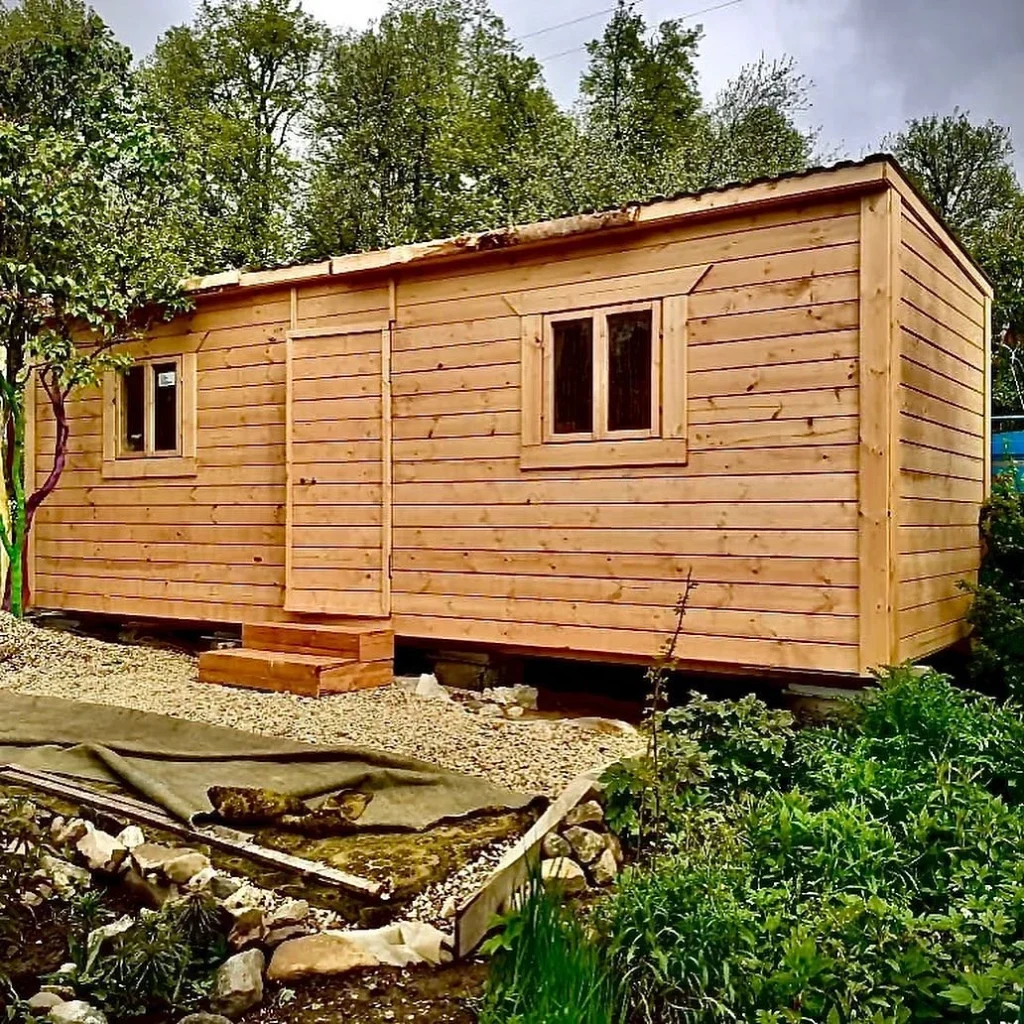
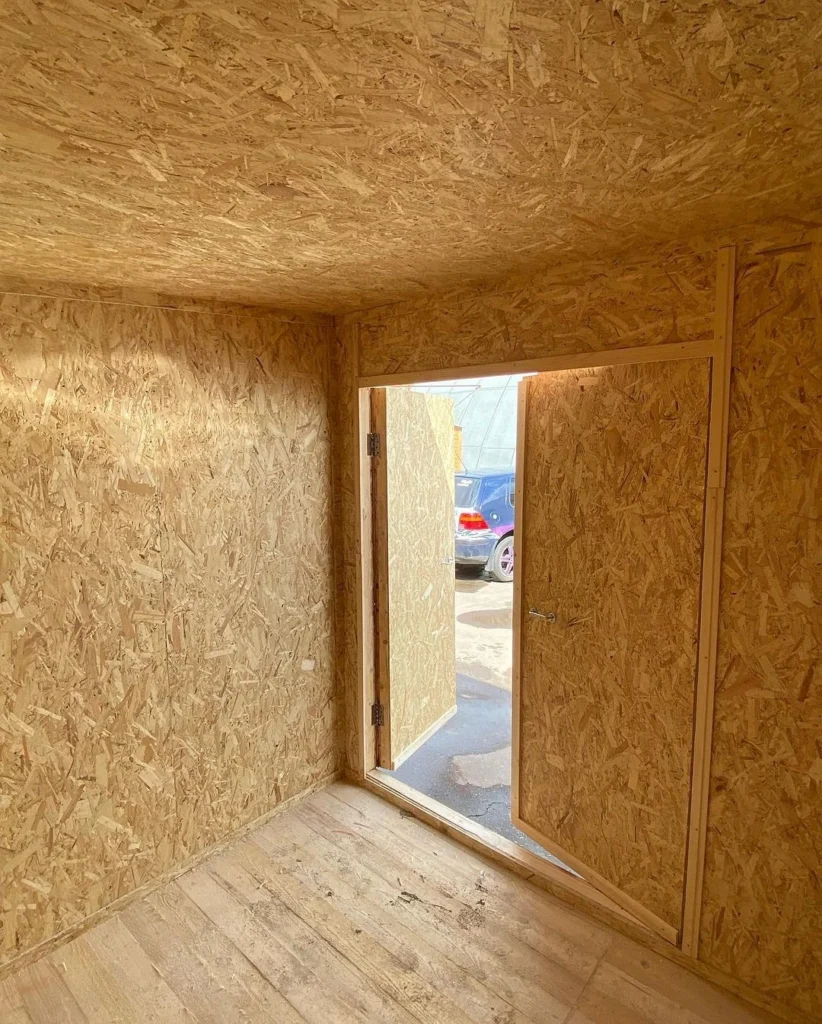
There are many design options. Most often a frame structure is installed. The base is made of wooden beams or metal elements. In the second case, the building is stronger and can be transported to another location. Sheathed with clapboard, boards, OSB boards, and siding.
You can build a house from panels or sandwich panels. They are easy to assemble, but you have to buy components, which increases the cost of the project. If you do not plan to further re-equip the trailer, you can choose the simplest and most inexpensive materials: plywood or any suitable lumber. True, they will not last long; after a short time, they will require repairs.
Before building a house, think through its layout. Most often, two solutions are used. In the first case, the entrance is made on the side wall. The internal space is not divided; it is extremely rare to install a partition. The second option is more convenient and is used more often. The entrance is located in the center. The middle part of the building is separated on both sides by internal partitions. It turns out to be a vestibule at the entrance, from which doors lead to two rooms. Their purpose can be different: a warehouse and a resting place, a kitchen and a bedroom. Sometimes a bathroom and shower room are located in one of the blocks. Then it is necessary to install utility lines, which can be done if desired.

Rules for choosing a site for construction
The construction of a cabin on a site begins with choosing a location. This is an important point because if the structure is planned to be permanent, its location should be convenient for further use. Several factors are taken into account when choosing.
- A temporary building is placed near the entrance to the yard. Here it will not interfere with construction work; it will be easier to assemble and subsequently disassemble.
- A stationary structure, which is planned for conversion into a summer kitchen or guest house, is placed close to the place where the house will be built. There should be the possibility of connecting utilities.
- The building, which will later become a bathhouse, is being built in compliance with fire safety requirements. It is best to build it at some distance from the house but with the obligatory supply of sewerage and water.
It’s good if the place is level so that you have to spend less effort preparing the site.
Required building materials
After choosing the type of construction and layout, you need to build drawings of the cabin with your own hands and prepare a list of building materials. Let’s figure it out what is needed for a wooden frame structure. This is an inexpensive and practical option.
- A 100×50 mm beam is used as a base for strapping beams or racks. If insulation is planned, space is required for a heat insulator. Then you will need racks with a large cross-section. 50×50 mm bars are chosen for jibs and jumpers.
- The floor joists, as well as the rafters under the ceiling, are made from edged boards with a section of 50×100 mm. The roofing sheathing is assembled from 25×100 mm boards.
- For cladding inside and outside, you can use a wooden lining, preferably class A. Other solutions are possible. For example, wood boards on the inside and siding or corrugated sheets on the outside.
- A tongue and groove board with a thickness of at least 30 mm is suitable for the floor.
- Mineral wool is usually used as insulation. To operate the room in winter conditions, you will need to lay a layer at least 10 cm thick. For autumn-spring use, a layer of 5 cm is sufficient. It can also be insulated with other insulators, for example, polystyrene foam.
- For the roof, choose ondulin, corrugated sheet, or euro slate.
- Small concrete blocks or solid bricks will be needed for the foundation.
In addition, you will need hydro and wind protection; it is better to take a film membrane, door and window locks, metal corners, and fasteners. Before work, all lumber is treated with an antiseptic and fire retardant to protect against water and flame.

Step-by-step instructions for building a cabin with your own hands
Let’s look at the construction process using a frame structure as an example. with a wooden base covered with clapboard. We offer detailed instructions.
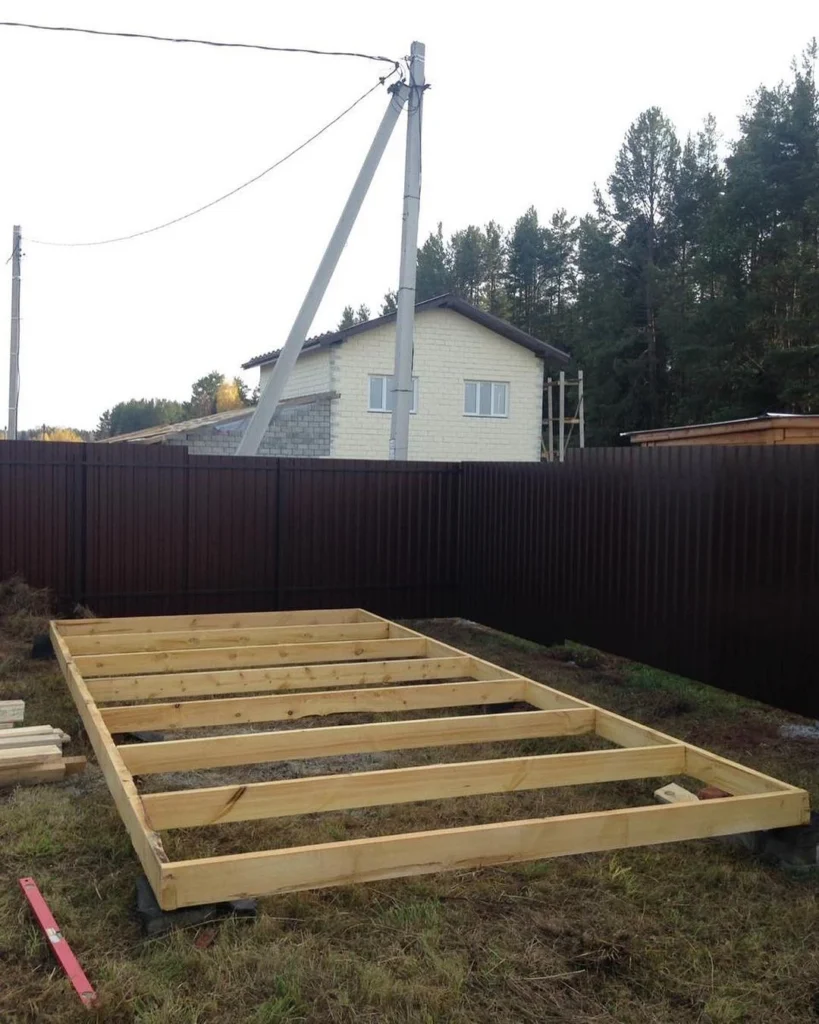
1. Installation of the foundation
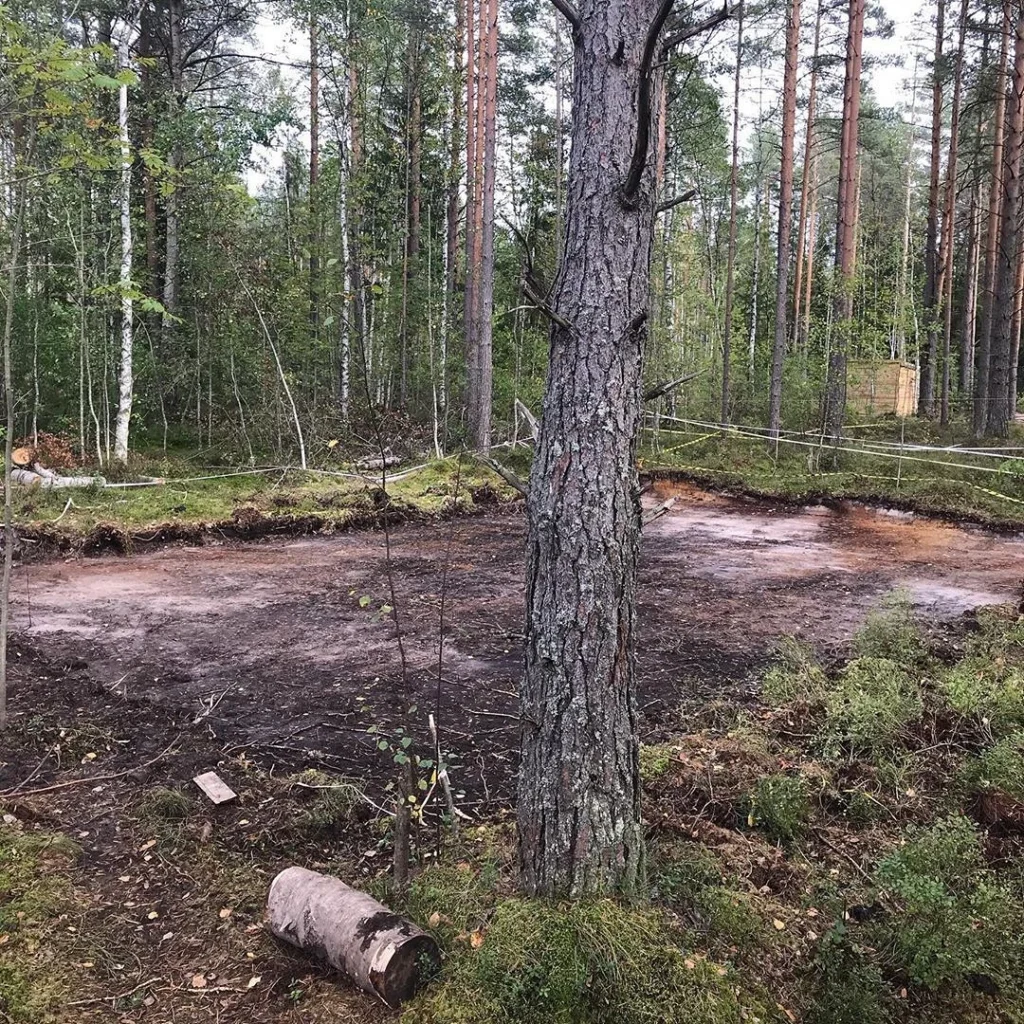
Start by clearing the site for the building. Remove bushes and trees, uproot stumps, and remove stones if necessary. The cleared area is leveled so that there are no unevenness or significant elevation changes. After this, a site for the foundation is outlined. Concrete blocks or brick columns are used as support.
If its width is less than or equal to 250 cm, supports are placed in each corner and under the partitions. For structures without partitions, support blocks are placed in increments of 150-200 cm. For houses with a width of 300 cm or more, an intermediate beam must be installed. It also requires supporting elements. They are placed in three rows parallel to each other.
A layer of turf is removed from the area marked for the foundation and the surface is carefully compacted. Cover it with geotextiles, pour crushed stone screenings and sand on top, and compact it again. You can do it differently and prepare a place for each support. In this case, holes 250-300 mm deep are dug under them. Crushed stone is poured into them and compacted thoroughly. Such a crushed stone cushion will be a good base for a supporting element.
All that remains is to place the blocks. Start from the corners. The exposed elements are aligned by level. Their upper edges must be in the same horizontal plane. Long boards are laid on the corner parts or cords are pulled. These are guidelines for installing the remaining columns. They are placed and the horizontal position is checked again. Finished supports must be protected from moisture. They are coated with bitumen insulation or two layers of roofing felt or similar material are laid.
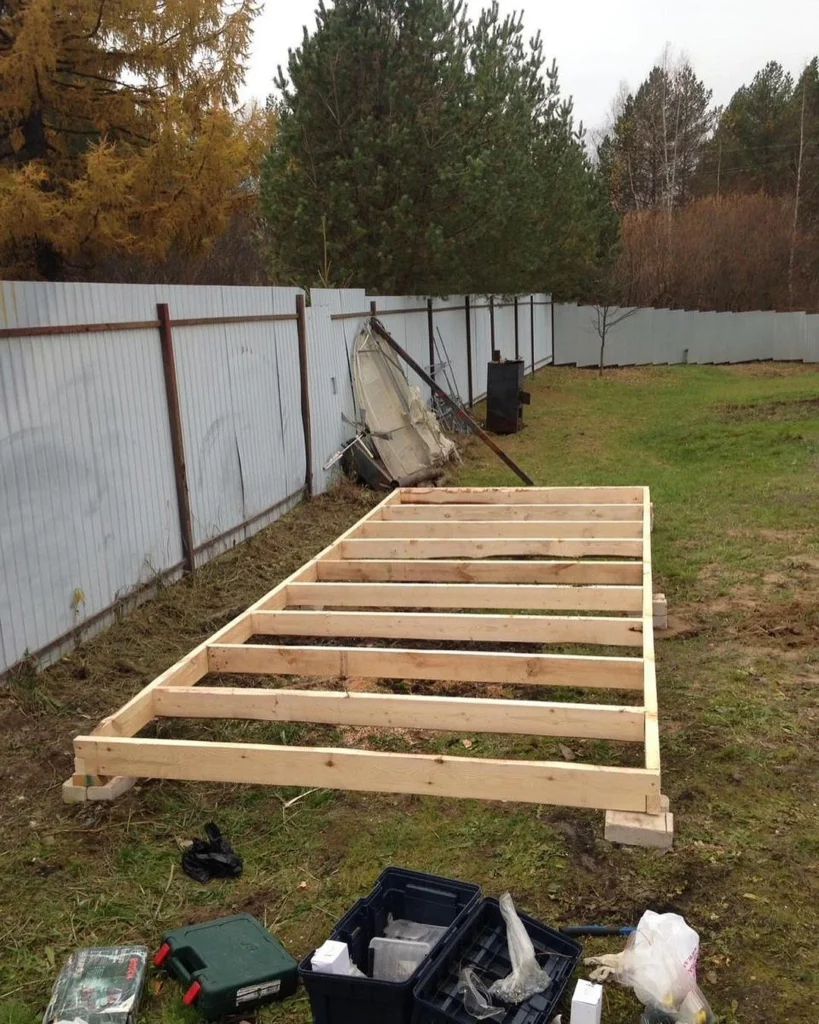
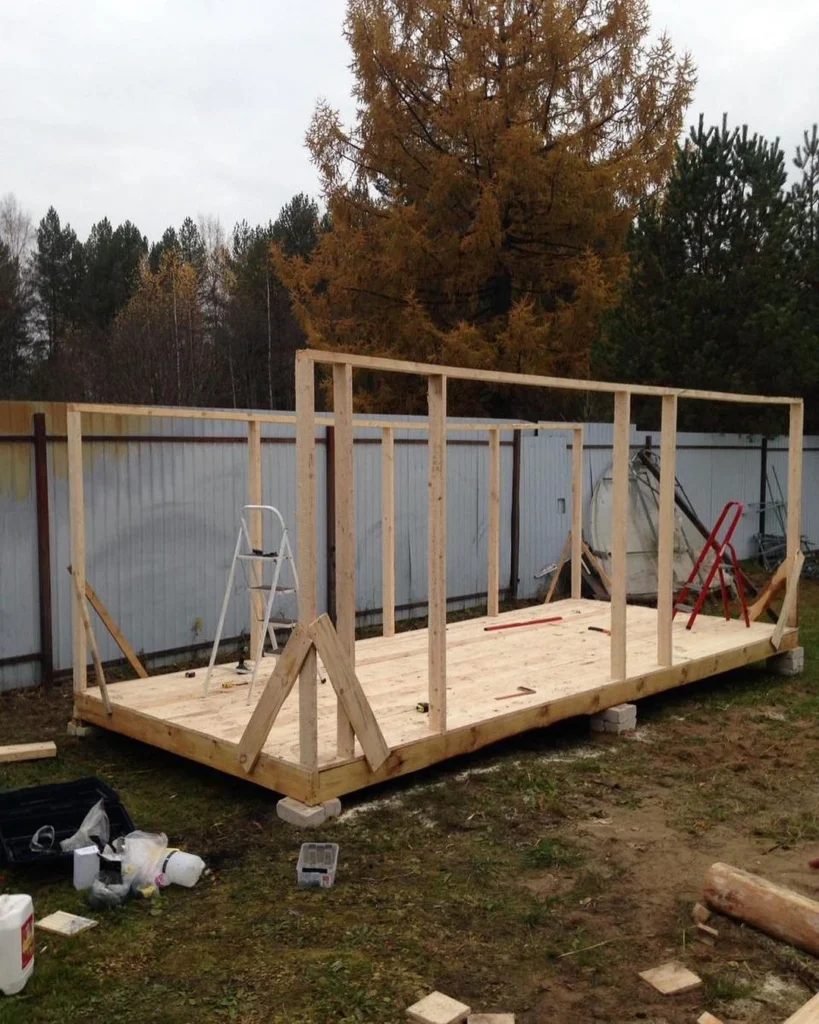
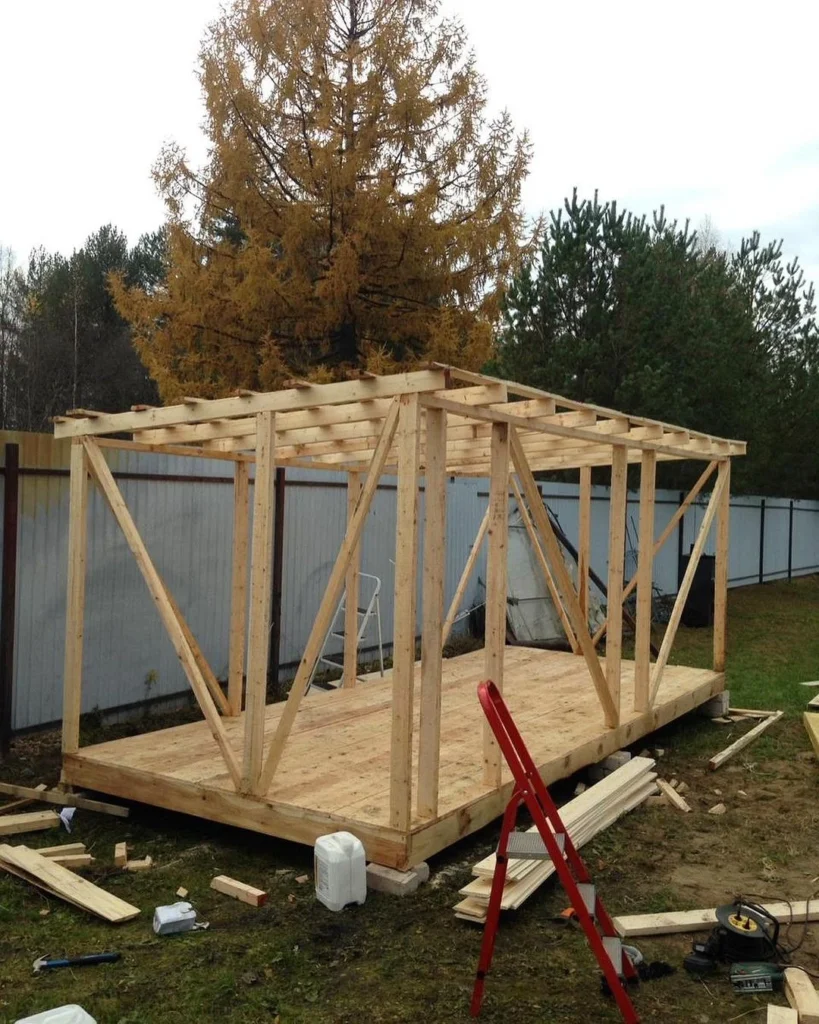
2. Assembly of the frame
Often, it is welded from metal square pipes. The result is a strong and durable system, but its price will be significantly higher. You can do it differently and build a frame from timber. All racks are positioned strictly vertically relative to the frame, temporarily secured with supports. The vertical is checked, after which it is finally secured, and reinforced with metal corners. Then install wooden jibs, they will strengthen the structure.
Be sure to place racks in window and door openings. For windows, horizontally directed lintels are installed. Later, window boxes will be placed here. Do the same with the door opening.
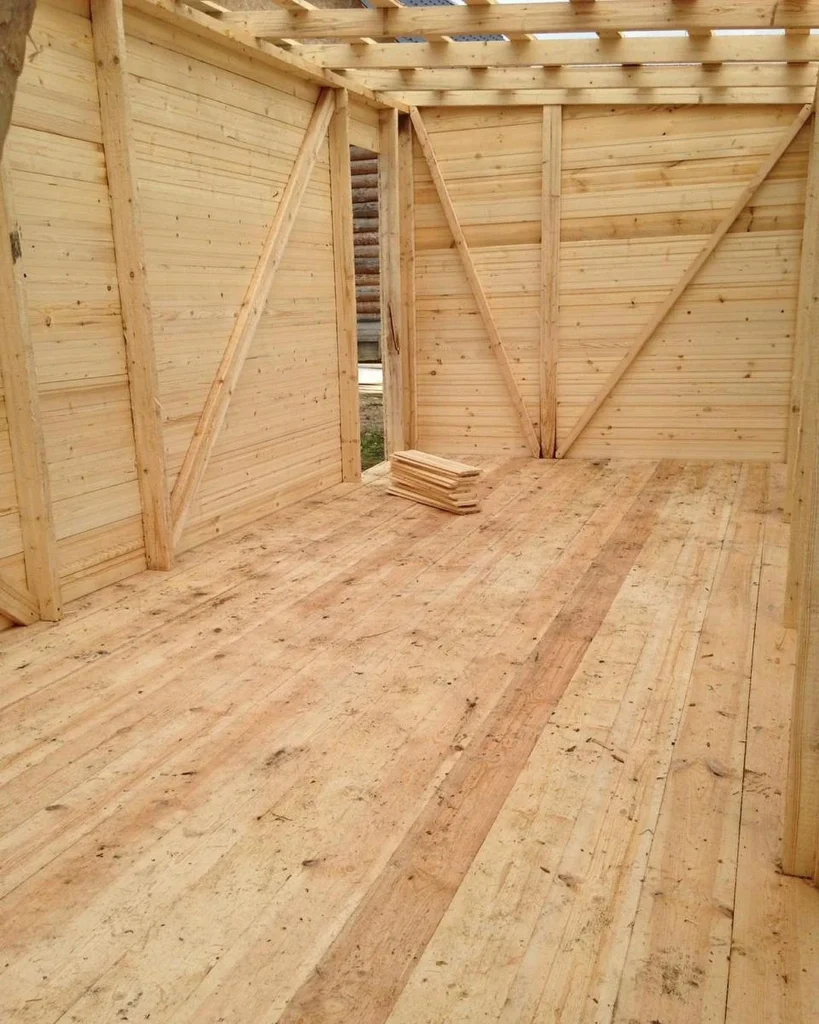
Waterproofing is laid on the joists. It will protect the base from moisture and rotting. A heat insulator is placed on top. It is best to take polystyrene foam or other slab insulation. It is trimmed so that it fits tightly between the joists with little resistance. If the building will not be used in winter, you can do without it. The insulated floor is covered with boards.
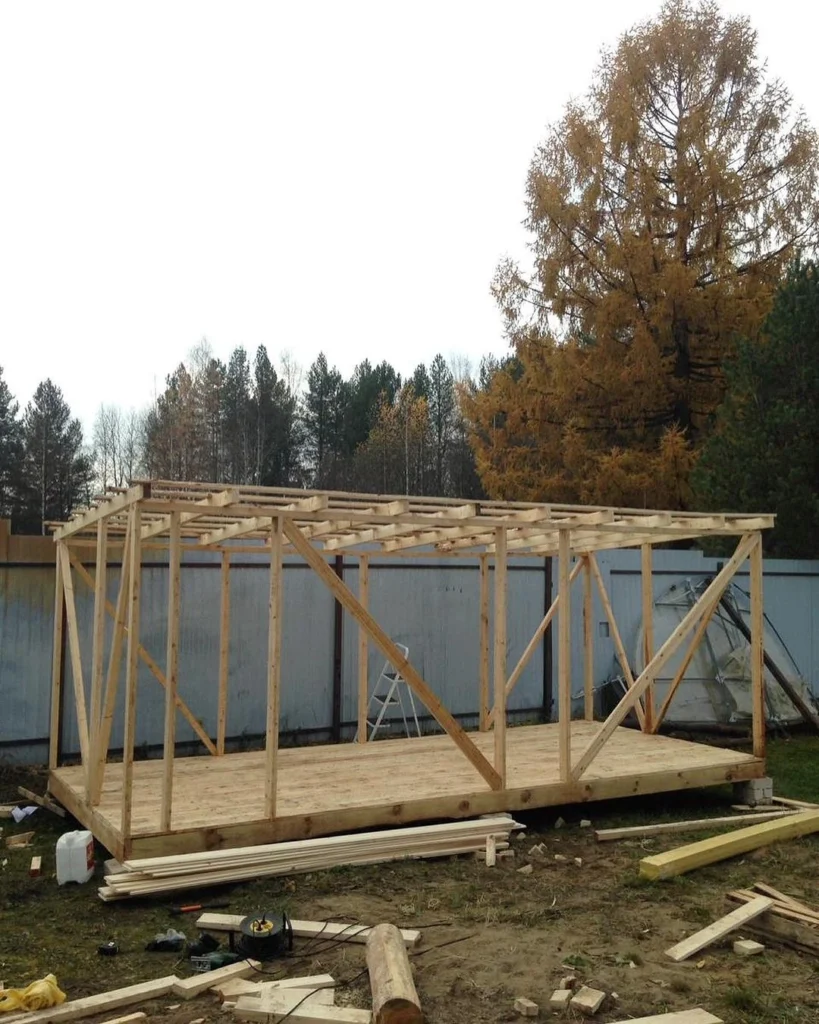
Begin to arrange the roof. Most often it is single-pitched with a slight slope. A wooden frame is laid on the upper edge of the bars, and rafters are placed on it. This will become the basis for the sheathing on which the roof is laid. A vapor barrier is placed on the finished sheathing. This is a membrane or film. It is laid overlapping and secured with tape so that there are no holes left.
It is advisable to lay a layer of insulation over the insulation. This could be mineral wool, polystyrene foam, or similar materials. It is advisable to protect the cotton insulator from moisture with an additional film layer. Wet, wool loses its properties. Plywood is laid over the waterproofing. The roofing covering is placed on it. Usually, it is inexpensive: ondulin, slate, or modern varieties of roofing felt, corrugated sheets.
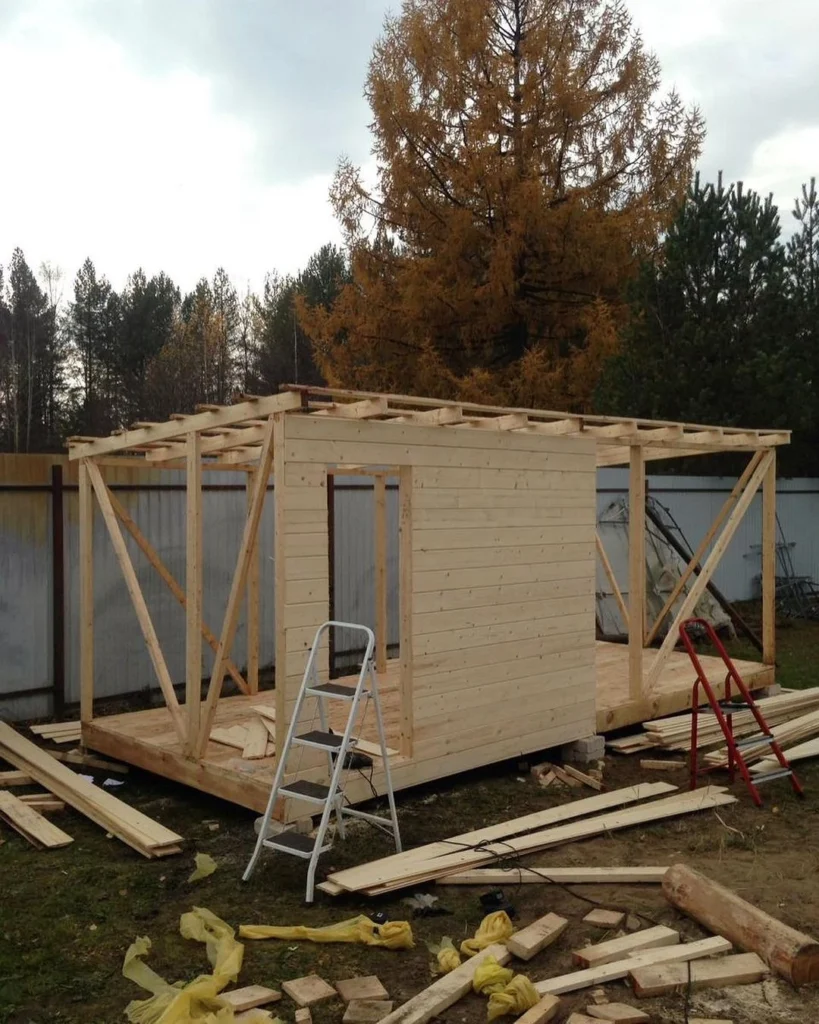
3. Frame covering
The racks are sheathed with lumber, for example, clapboard or plastic siding. This is a board laid across the posts on which the frame will rest. The external wall cladding is completed. If you need to insulate a house, you can also do it yourself. Any roll or slab insulation is laid from the inside. Fix it to the walls by the manufacturer’s recommendations.
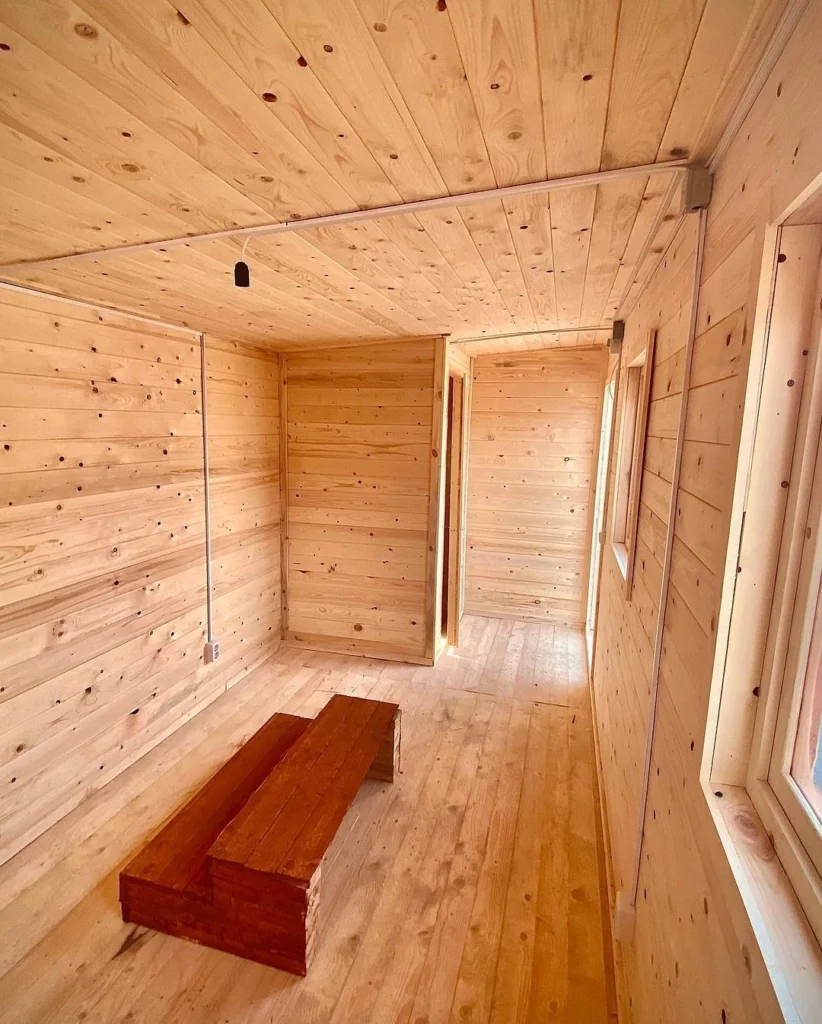
All that remains is to sheathe the inside of the building. You can use wooden lining. It is fixed on top of the insulation on the walls. It is also suitable for the ceiling. Upon completion of the work, door and window blocks are installed. If necessary, install partitions and cover the wood with any paint and varnish material. Construction has been completed.
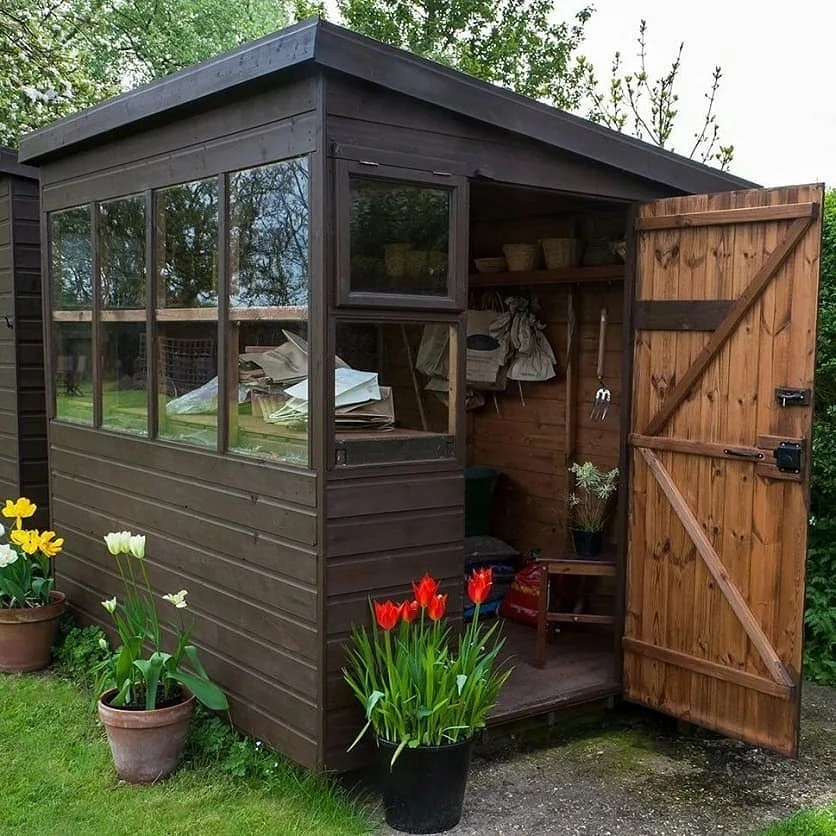
Step-by-step instructions on how to make a cabin with your own hands are quite simple. If desired, a novice master can handle the construction. It is important to choose the right location and type of cabin. If a permanent cabin is planned, which will subsequently be rebuilt, high-quality materials are chosen. A temporary structure made from wood panels will not last long.
Read more: Build a Simple, Inexpensive, Outdoor Storage Shed