We tell you what ondulin is and analyze the technology for installing it on the roof: from assembling the sheathing to installing additional elements.
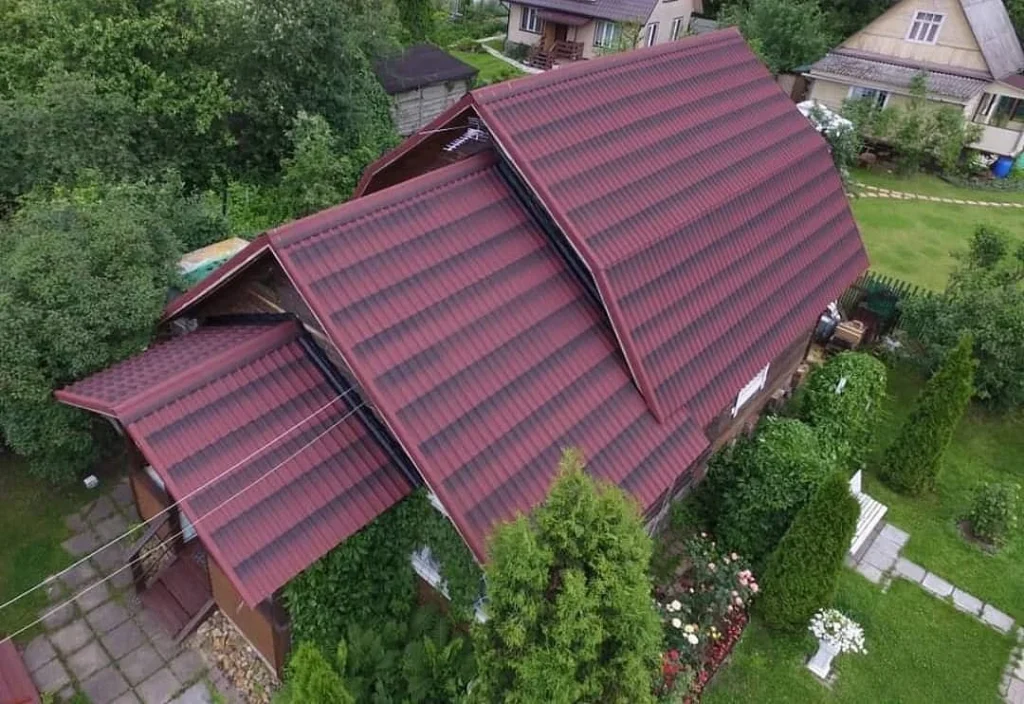
Ondulin attracts with its low price and good performance properties. It is chosen for covering the roofs of country houses and residential buildings, bathhouses, and outbuildings. The material is easy to install; even a novice roofer can handle it. We will analyze in detail the technology for installing ondulin.
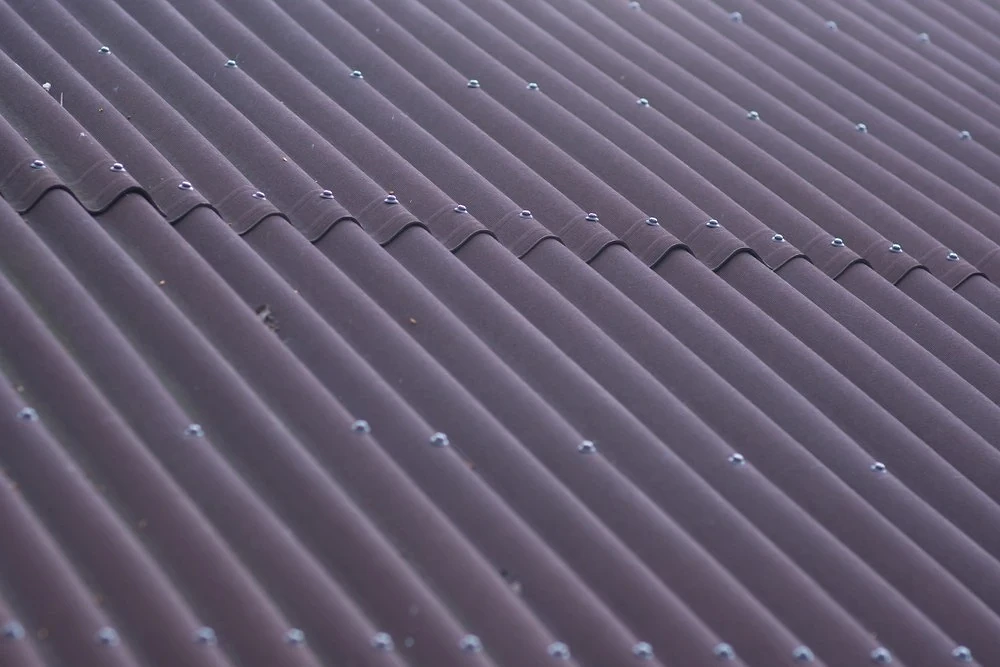
Ondulin: what kind of material is it?
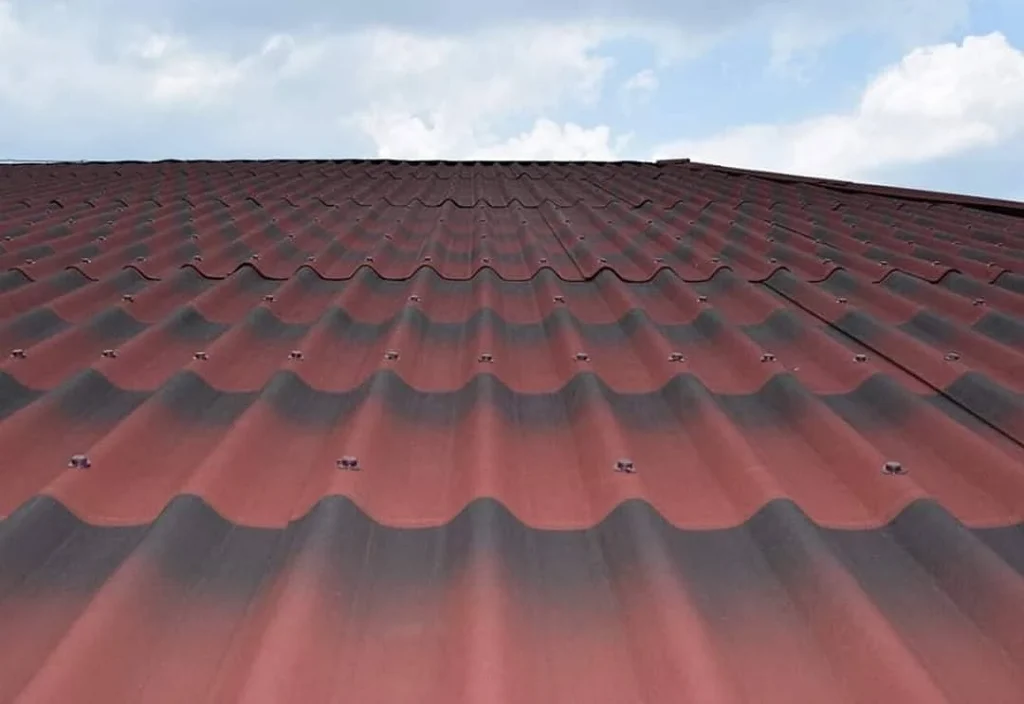
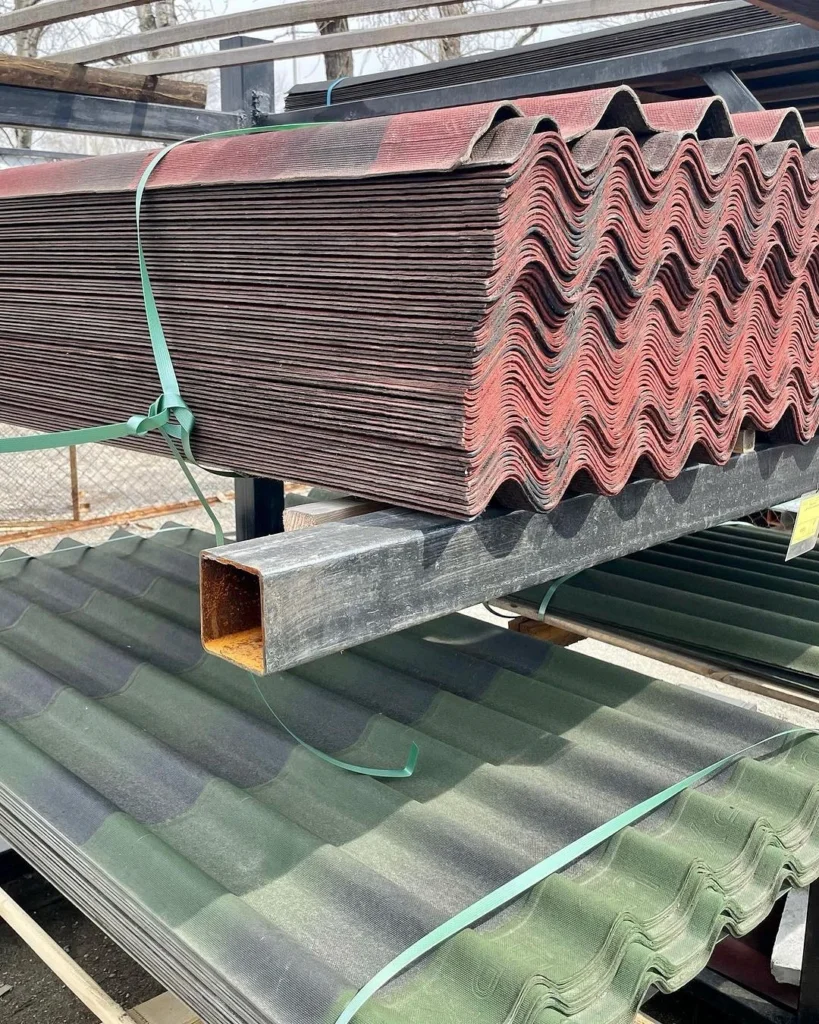
The basis of Onduline is cellulose fibers. They are mixed with various additives, pressed, and soaked in molten bitumen. The result is a plastic, lightweight, water-resistant material that looks like tiles. It is painted with penetrating pigments in a variety of colors. True, over time, in a strong sun it fades, and bright colors become faded. The material is environmentally friendly and safe.
Ondulin is resistant to aggressive chemicals; acids and alkalis do not destroy it. However, mosses and fungi readily settle on porous surfaces. Onduline tolerates frost and heats well. But at low temperatures it becomes brittle, and in hot weather, it softens a little. The material, especially multilayer, is a good insulator. This distinguishes it favorably from, for example, metal tiles. It dampens sounds, so rain noise is not heard in the rooms.
Ondulin sheets are easy to lay. Given their lightweight, this can be done alone. Moreover, installation on an old roof, for example, on slate, is allowed. Properly laid Onduline will last at least 15-20 years and even longer. Disadvantages of the coating include burnout and insufficient fire resistance. Another disadvantage is the direct dependence of the strength of the ondulin roof on the correctness of its installation. If the technology has been violated, the strength will suffer first.
How to calculate the required amount of material
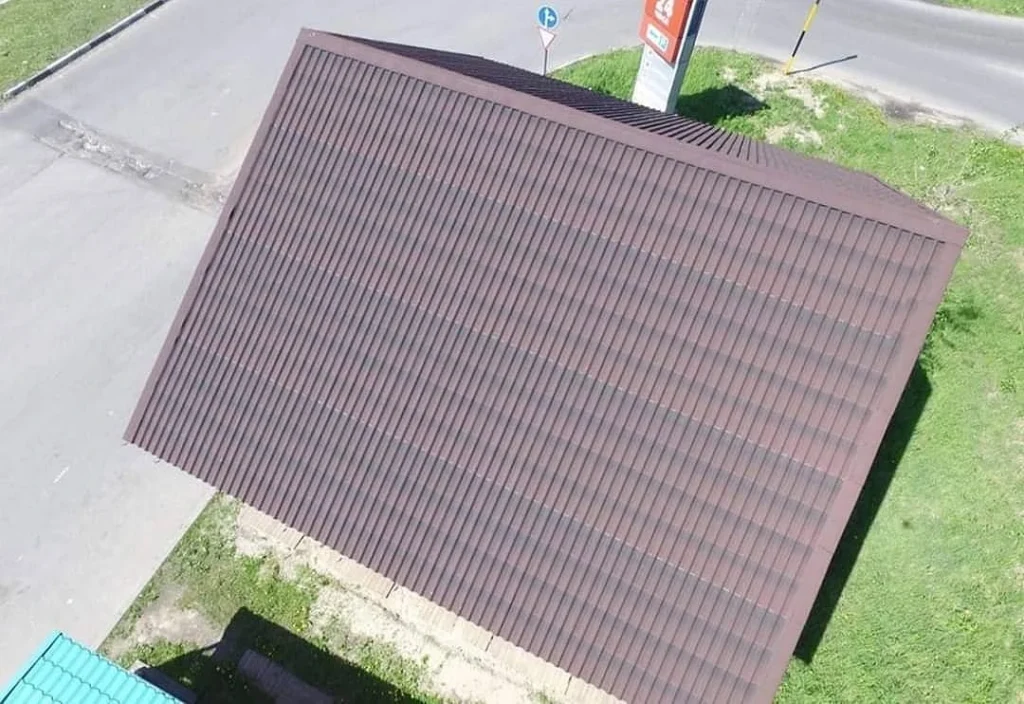
It is not difficult to calculate how much material is needed. To do this, you need to know the roof area. It is calculated by multiplying the length of the slope by its width, in the case of a pitched roof. If there are two slopes, the resulting values are added. If the roof has a complex shape, the areas of its sections are calculated, then everything is added up. The resulting number must be divided by the usable area of the ondulin sheet. It differs from the usual area in that it does not include end and side overlaps. The flatter the slope, the larger the overlaps should be.
Once the usable area has been calculated, you can determine the required amount of roofing material. To do this, you need to divide the area of the entire roof by the usable area of one sheet. The resulting number must be increased by 10-15%. This reserve will be useful if some fragments are damaged during cutting or installation, etc.
Fastenings are purchased along with the cladding. These are nails with a special head. The old type of fastener has a decorative insert that is attached to the head after driving the nail. The new modification is released without it. If possible, it is better to choose the second fastening option. It installs faster. The color of the caps is selected according to the color of the ondulin. One sheet requires 15-20 nails, this depends on its modification. It is advisable to take fasteners with a small margin.
In addition, you will need wooden blocks for assembling the sheathing, plastic hydro- and vapor barrier. Fasteners and tape to secure them. If the roof slopes are flat, install a continuous sheathing. To make it, you will need cement-bonded particle boards or OSB boards, moisture-resistant plywood, and boards.
Technology for laying ondulin sheets
We will step by step analyze the process of installing an ondulin roof.
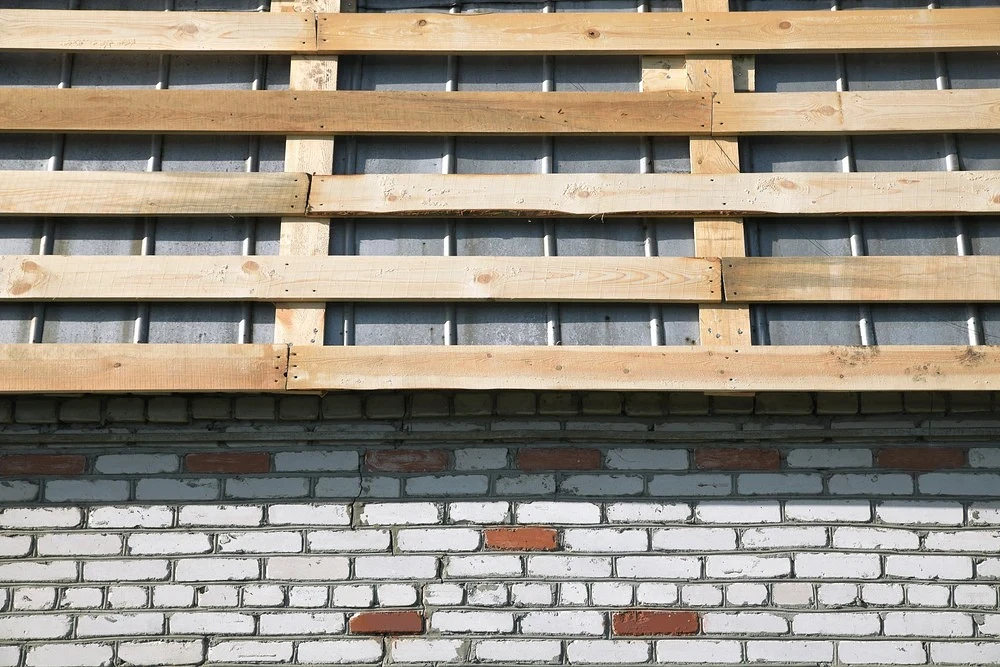
1. Installation of sheathing
For Onduline, a continuous or sparse sheathing is installed. The choice is made based on the slope angle. If it is in the range from 5˚ to 10˚, choose the solid option. An important point: it is prohibited to use ondulin to cover even more flat roofs.
Continuous sheathing
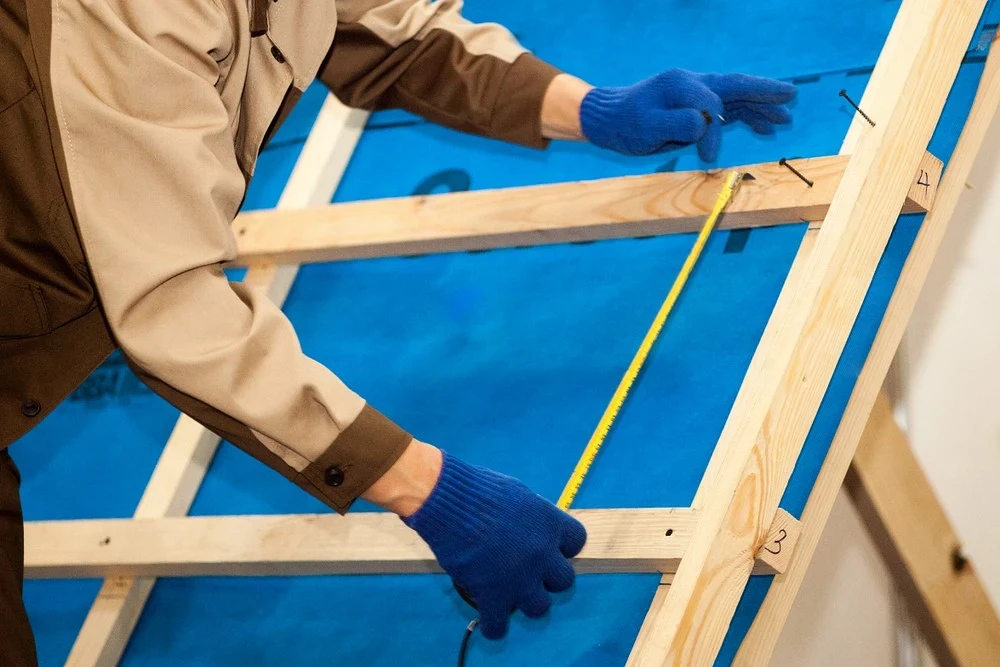
Fits on rafter legs. It is advisable to pre-arrange waterproofing: strips of waterproofing film are laid on the rafter legs, and secured with counter-lattice bars with a cross-section of 0.5×0.3 cm. Sheathing slabs are mounted on top. Their thickness is from 1-1.2 cm. They are laid perpendicular to the rafters in a checkerboard pattern so that the joints of the slabs in the rows do not coincide. There must be a deformation gap of 3 mm between the plates.
Sparse design
It is assembled from timber with a cross-section of 0.5×0.5 cm or leveled boards with a cross-section of 0.25×1 cm. As in the previous case, it is advisable to first lay waterproofing. This is done in the same way as already described above. The size of the sheathing step depends on the steepness of the slope. If it is in the range from 11˚ to 15˚, the distance between the centers of adjacent guides should be no more than 45 cm. For a slope greater than 15˚, this distance increases to 61 cm.
The top guide is always laid along the ridge. The lower one is placed along the edge of the rafter legs. It should be taken into account that the length of the loose edge of the ondulin sheet cannot be more than 300-350 mm. Otherwise, it will break. To strengthen the edge of the roof, it is recommended to strengthen the sheathing in this part, that is, lay an additional element between the guides laid according to plan.
2. Laying Onduline
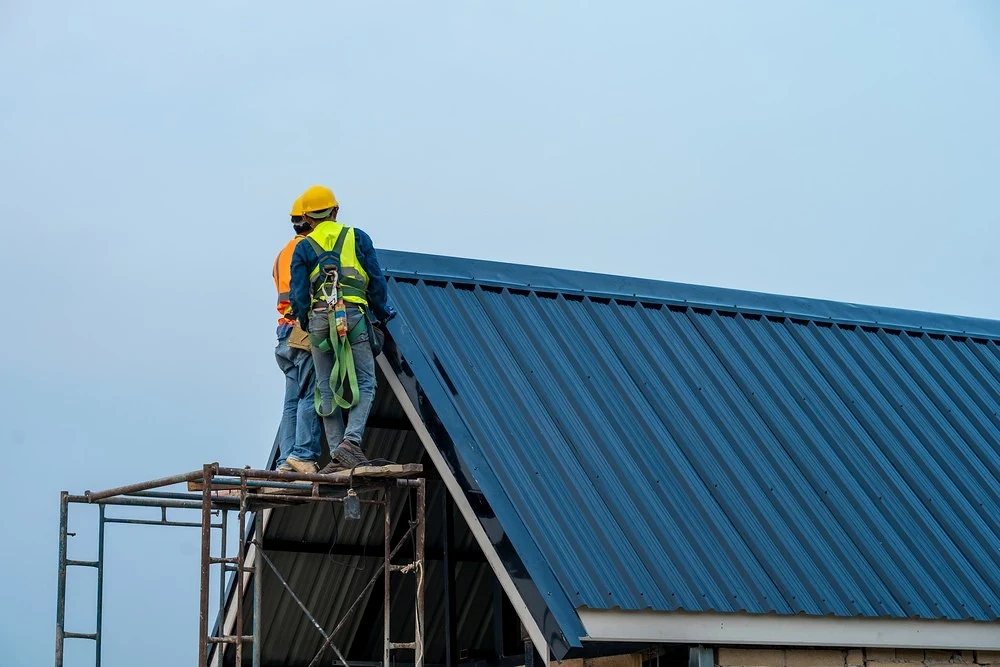
The service life of ondulin on the roof depends on the installation, so it must be done without errors. Choose suitable weather for work. You can’t do this in the heat. At temperatures above 30˚C, the sheets become excessively plastic, which will adversely affect the quality of the assembled roof. At -5˚C the material becomes brittle and very difficult to install. You should take care of safety equipment for working at height: safety belts, helmets, etc.
Laying begins on the leeward side. This is especially important if there are strong enough constant winds. They will interfere with normal operations. Start laying ondulin from the bottom edge of the slope. The position of the first sheet is carefully measured and controlled by a level. If the vertical or horizontal is broken, after laying a row or two the error will become too noticeable, and a complete redo will be required to correct it.
You can lay the sheets using a “ladder”. First – the bottommost element of the first row, then half of the sheet in the second row. The second piece in the first row is laid next, the second in the second and the first in the third. And further according to this scheme. Novice roofers often lay out ondulin in rows from bottom to top. In this case, it is advisable to start the second and all other even rows with half of the Onduline slab, so that there is no linear order of the joints.
It is very important to do the overlaps correctly. Their size depends on the steepness of the slope. The standards are presented in table form.
| Tilt angle | Number of waves in overlap, pcs. | Overlap at the ends, mm |
|---|---|---|
| From 5˚ to 10˚ | 2 | 300 |
| From 11˚ to 15˚ | 1 | 200 |
| Above 15˚ | 1 | 120 mm for sheets with a smart lock, 170 mm for other models |
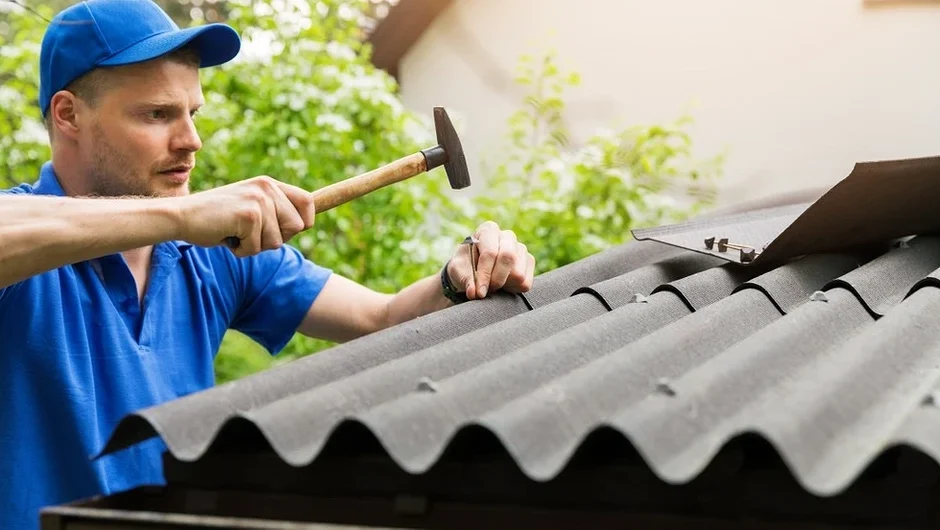
After the Onduline sheet is leveled and laid in place, it is nailed down. Let’s figure out how to attach ondulin. This also needs to be done correctly. First, the part is fixed at the corners with four fasteners. Then the bottom row of nails is punched. They are driven strictly into the top of each wave. Only those on which new sheets will be laid are left without fastening. Hammer nails from the center to the edges. The second and third rows of fasteners are installed a little differently. They are scored in a checkerboard pattern, every other wave. On average, there are 20 fasteners per part.
It is important to drive nails correctly. This means that each fastener is positioned exactly in the center of the wave, but not on the side or below. The element is placed strictly perpendicular to the ondulin plate. Otherwise, a leak may appear in this place. The nails must be driven in carefully, without excessive force. So that the cap tightly covers the hole. If it is pressed into the material, the wave will be deformed, which is extremely undesirable.

During the installation process, you will have to do some trimming. The easiest way to make a cross-cut is with a regular hacksaw. True, its teeth quickly become clogged with crushed bitumen, so the tool must often be dipped in a bucket of water. Silicone grease also helps. It is applied with a spray can before each cut. It is even easier to cut the part with a jigsaw. No lubrication is needed here; bitumen can be easily cleaned off small teeth.
The markings are applied using a colored construction pencil and a piece of Onduline with a smooth edge. A longitudinal cut is made with a sharp construction knife. They “draw” a line between the waves several times, then break off the edge with a sharp movement. Another important point. You need to move carefully on the roofing, especially in the heat. The leg is placed strictly across the ridges. Never step on the bottom of the wave. Otherwise, the Onduline will be deformed.
3. Features of installation of additional elements
The roof consists not only of slopes, it also has other elements. There are especially many of them on roofs with complex shapes. Let’s look at how to install the main additional elements.
- Pediment overhangs, also known as gables. Covered with special tong parts. They are mounted from the bottom up, with each element lying above overlapping the underlying one by 120-150 mm. The tongs are attached to the sheathing guides and the wind board.
- Skate line. To cover it, a ridge overlay is produced. It is placed on the ridge and secured with nails to the sheathing guide. The fasteners are driven through one wave. Adjacent linings are overlapped, minimum value is 120 mm.
- Endova. It is decorated with a special element resembling a ridge cap turned inside out. According to the instructions, it is placed under the roofing and secured to pre-lathed boards. The parts are overlapped with a size of 150 mm.

A special filler is used to fill the gaps between the wave crests and extensions. These are plastic parts that exactly follow the shape of the wave. They are used as sealed plugs, but ventilation slots can also be left. They are easy to make if you remove the plugs from the holes drilled at the factory.
Read more: TOP 10 mistakes developers make when building a roof