
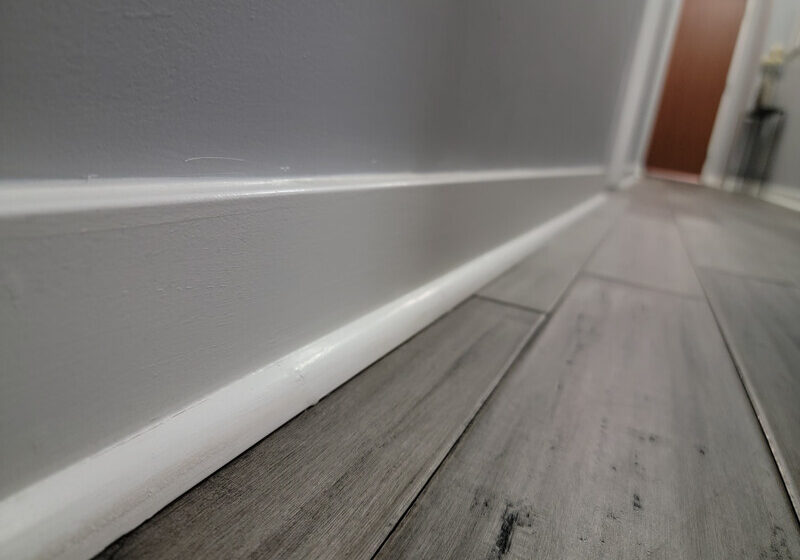
Skirting boards give the room a finished look. They are more than just an aesthetic feature; they also cover the joints between the floor and the walls. Skirting boards are similar in many ways to crown molding, but typically have a less complex design—after all, they are located well below your line of sight.
Types of skirting boards
Before purchasing trim, you should consider several different styles and materials based on the walls and floors of your home. Some of the most commonly used baseboard materials are PVC, hardwood, and vinyl. Some of the different styles are flat, stepped, mid-height sculpted baseboards, and taller sculpted baseboards. Each one has a different look, so choose the one that best suits the space it’s in.
Required Tools
Although the installation process is not complicated, you will need special tools to get the job done correctly and efficiently. As always, take precautions when working. Safety should be a top priority when doing any DIY project. Be sure to wear safety glasses and gloves, especially when operating the saw.
To install skirting boards, you will need:
- Angle ruler
- Tape measure
- Miter saw
- Nail gun
- Putty
- Caulking gun
- Glue CA
- Finishing (plinths)
How to install skirting boards
Follow these seven steps to install skirting boards:
1. Measure twice…
Before you even buy the material, you need to know how much of it you will need. Carefully measure the dimensions of the room in which you plan to install skirting boards. As the old saying goes, you should always measure twice to avoid any mistakes when it comes time to cut. Once you have measured the space, you are ready to purchase the material. You should buy extra ones in case you make any mistakes while cutting the pieces.
2. …Cut once
At this point, you should use an angle ruler to measure the angles of the corners. In theory, corner angles should be 90 degrees, but in practice, this is not always the case. Likewise, if your trim butts up against a door, the point where it touches may not be a right 90-degree angle. For odd angles, Nassrin’s DIY recommends using an angle ruler. Measure the angle, then place it against the baseboard and mark the location. You can later use this mark to cut it with a miter saw. By measuring and cutting trim at precise angles, you’ll get a much cleaner installation. If you don’t have an angle ruler, you can assume the angle is 90 degrees.
For inside corners, you’ll need to cut two pieces of trim at a 45-degree angle. Per the manual, place the scraps on the saw table and cut them at a 45-degree angle. Cut the second piece of trim at a 45-degree angle on the side where it will meet the first piece. If you need to make a cut where the trim meets the door, you can make a straight cut or an odd-angled cut, depending on how they meet.

3. Trim corners
It may be tempting to leave the sides of the outer corner pieces as you cut them and just paint them to match. However, for the sake of appearance, it is worth covering the raw edge with what is called a “return.” To make a return, simply cut a small piece of trim at a 45-degree angle. Then use CA glue to glue it to the end of the larger piece of trim facing the other way.
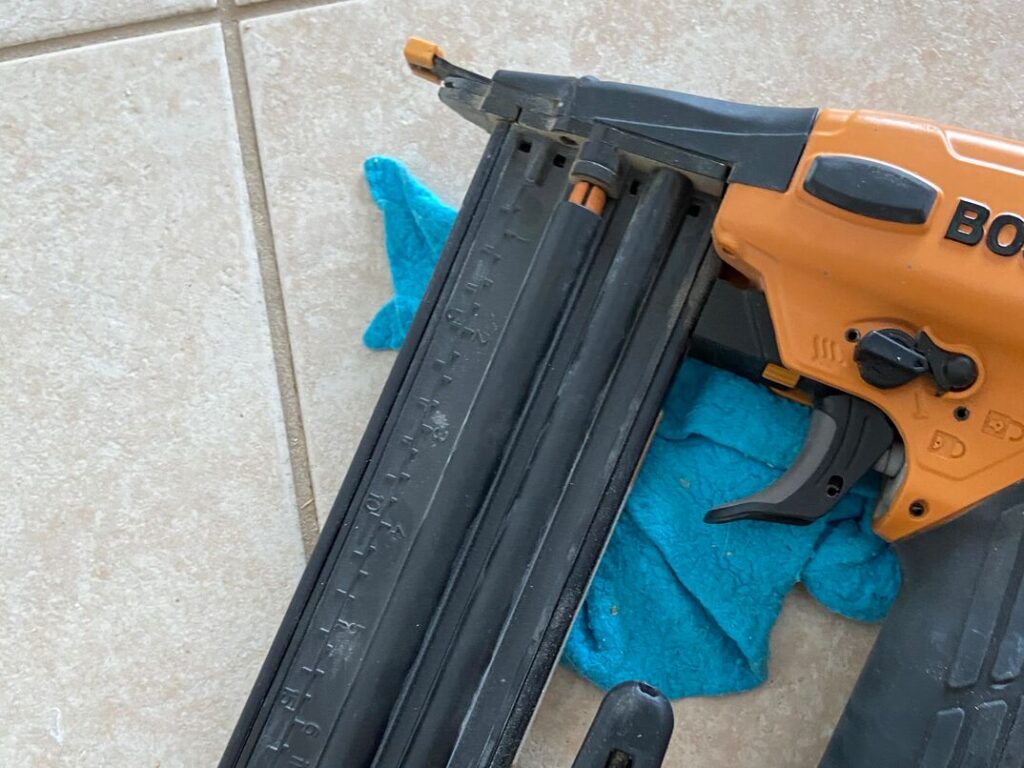
4. Nail in place
Once all the baseboards are cut, it’s time to nail them. It is best to use a nail puller for this; the hammer can damage the finish if you’re not careful. Attach the baseboards to the wall and attach nails to the bottom and top of the baseboard. The distance between each nail should be about 50cm. Use a nail finder to find where to start nailing the top, then drive a nail every 50cm in either direction from there. Do the same with the bottom trim.
5. Fill nail holes
Once you’ve nailed your baseboards to the wall, you’ll probably notice a lot of nail holes. Putty is the best material for filling them. Other materials shrink over time, so painting your baseboards will leave noticeable indentations. Use a putty knife to apply the putty and level it out. You can also use your finger to add putty into the holes.
6. Seal gaps
Use caulk to fill any gaps and small cracks. Add caulk all over the top of the trim and into any gaps you find in between. Smooth and level the caulk with your finger or knife to give it a crisper appearance.
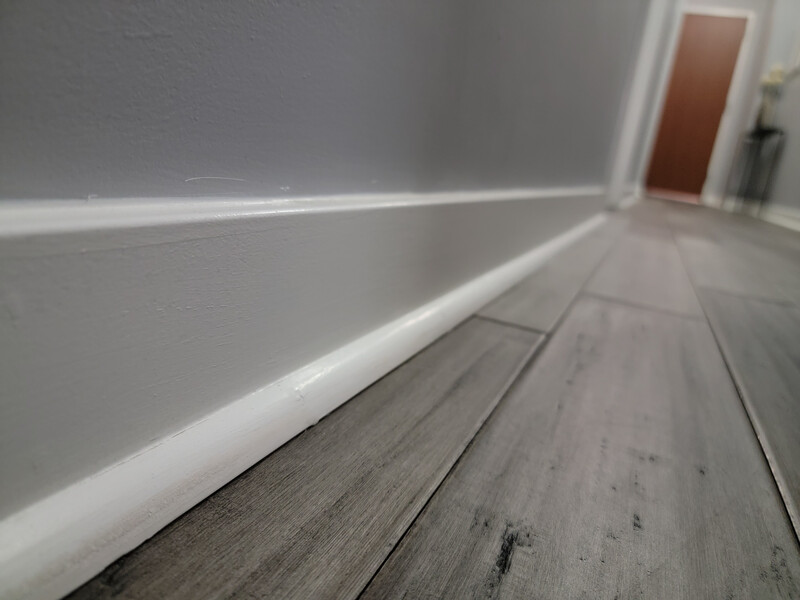
7. Paint
Depending on the type of trim you purchased, you may be able to paint it after installation. Painting trim is not a difficult task, but you must be careful to achieve a professional look. Some baseboards come pre-primed, so find out if you need to prime the trim before painting it. You should also find out what type of paint is best for the type of baseboards you purchased.
First, you will need to wait for the caulk to dry. Depending on the type you buy, this can take anywhere from 30 minutes to an hour or more. Once it’s dry, apply painter’s tape to the floor and walls to prevent paint from getting everywhere. Paint across the trim using long strokes.

