A columnar foundation is suitable for most country buildings – a frame house, outbuilding, garage, veranda, or bathhouse. We understand the design features of a columnar foundation and tell you how to make it.
What is a columnar foundation
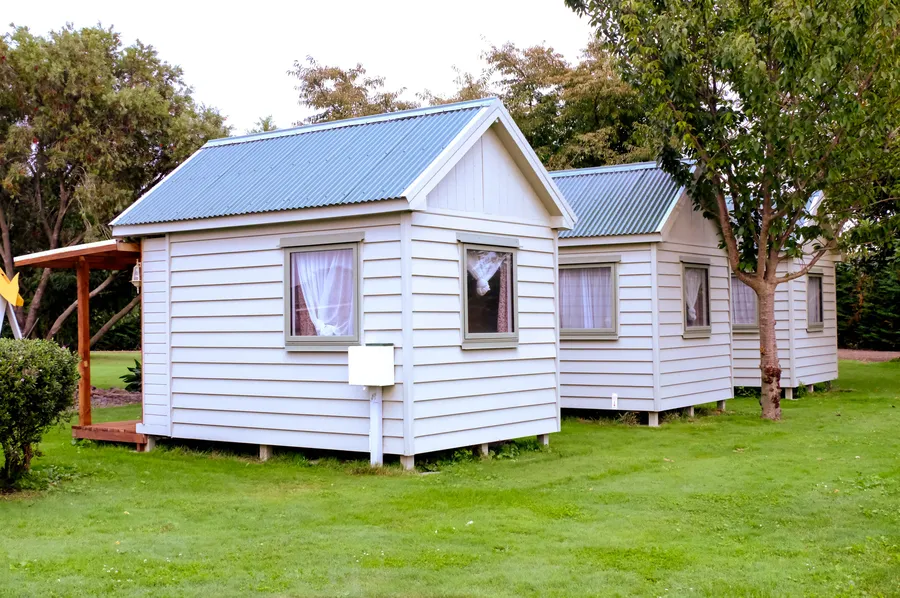
A columnar foundation is a system of supports in the form of columns on which a structure is placed. It is suitable for light buildings (for example, for a summer house made of thin timber), but is not suitable for houses with thick walls and several floors.
The columnar foundation solves two problems:
- forms a flat horizontal base for construction
- raises the building above the ground, so that moisture from the soil does not penetrate the structure of the construction and does not destroy it
Columnar foundations can only be used on flat horizontal areas (without slope). All pillars must stand with the same depth, otherwise when the ground freezes they may tilt or rise unevenly. Moreover, such progress is possible every spring.
Artur Ershow
The heaving of the soil directly depends on the amount of moisture in it. Dry soil does not swell because it does not contain water, which when frozen turns into ice and expands. If the soil is damp, then in addition to the foundation, you need to make drainage around the building, and surround the building itself with a blind area and equip it with gutters – they will collect rainwater from the roof and drain it to the side. Thanks to this, there will be much less moisture in the soil around the house and swelling will also decrease.
Design Features
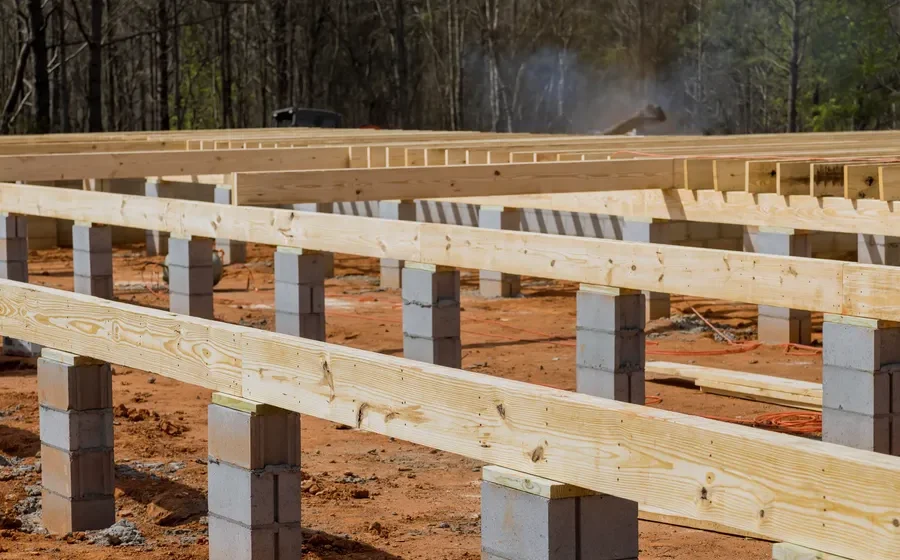
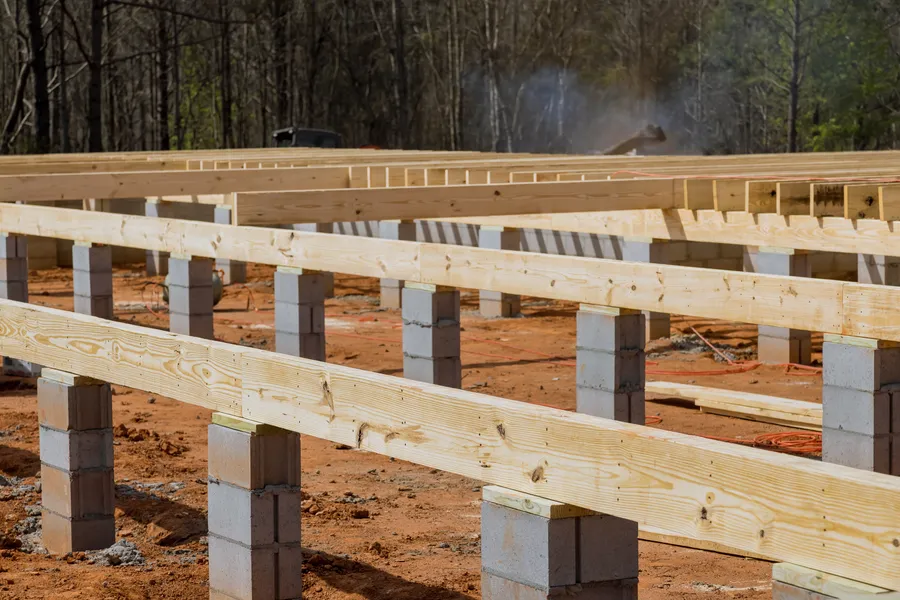
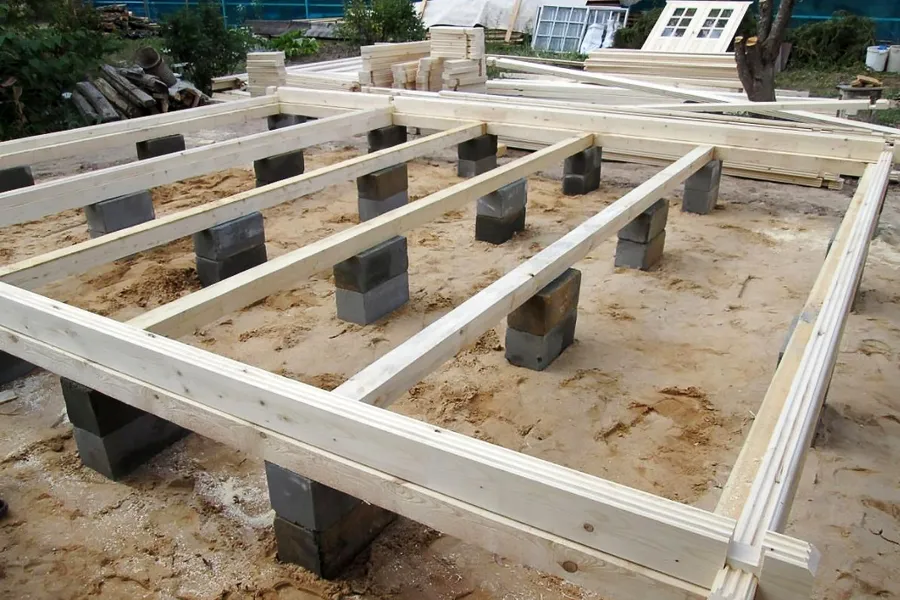
Foundation pillars are installed at the corners of the building, at the intersections of internal walls, as well as at intermediate points so that the distance between the pillars is about 1.5–2 m. For the lightest buildings (outbuildings or sheds), the distance can be increased to 3 m.
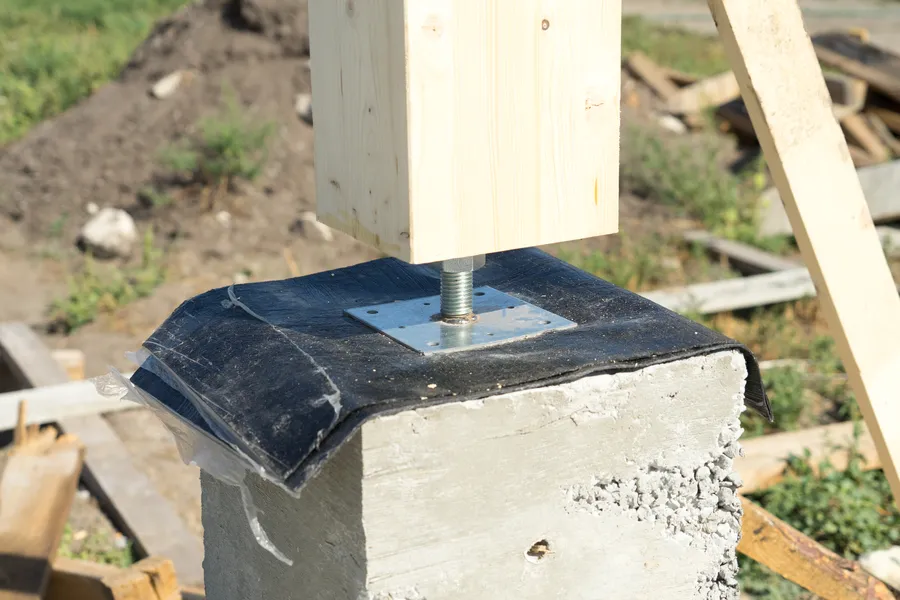
Floor beams are placed on top of the pillars or a grillage is installed. To protect the structure of the building from moisture rising along the pillars, gaskets made of roofing felt or other waterproof sheet material are placed between the beams and pillars. In this case, the beams and pillars are not fastened in any way – they lie freely on the upper end of the pillars.
Based on the amount of immersion into the ground, a columnar foundation can be:
- non-buried – the pillars are installed directly on the surface of the ground
- shallow – 0.2–0.5 m
The choice depends on the soil and the thickness of the fertile layer. If the site has sand or clay, you can install a shallow foundation. If the soil is loose and it is necessary to remove the fertile layer, then the pillars are buried to their extent.
Thanks to this arrangement of the pillars, the forces of frost heaving almost do not act on them from the sides – only from below. These forces are balanced by the weight of the building, which is directed downward. As a result, when the soil freezes, the foundation remains stable.
A column foundation may look like a pile foundation, but the latter works differently. To prevent movement of the foundation during frost heaving of the soil, the piles are buried 1.5–1.7 m or more. Thanks to this, they transfer the weight of the structure to the ground below the freezing depth, and there is no heaving there.
Advantages and disadvantages
The main advantage of a columnar foundation is its ease of installation with a minimum amount of excavation work. To make a columnar foundation for a small building with your own hands, you will need only 1–2 days. Compared to other types of foundations, columnar foundations require the least amount of materials. In addition, it can be installed on most types of soil.
Disadvantages of a columnar foundation:
- Can only be used on flat horizontal areas
- low load-bearing capacity (suitable only for light one-story buildings, for example, a summer house)
- in a house on such a foundation, it is impossible to equip a basement or subfloor
Types of columnar foundation
You can use different materials for pillars:
- timber or logs
- brick, foundation, or wall blocks
- concrete
- concrete with rubble stone
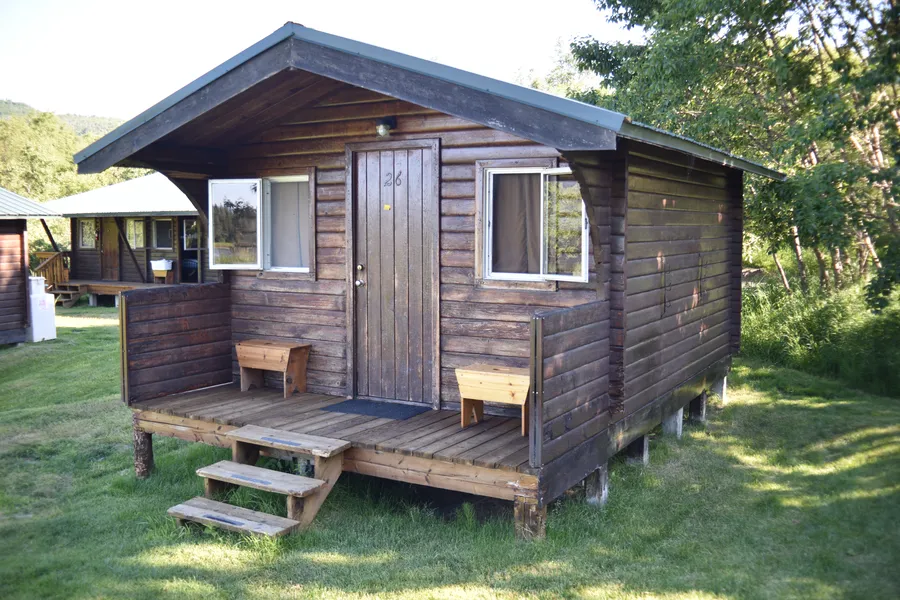
Wooden column foundation
Pillars 30–50 cm long are cut from timber or logs and installed on the end. This is the simplest and cheapest option, but the service life of a wooden foundation is also the shortest: wood in wet soil quickly rots and is destroyed by insects. Therefore, a wooden columnar foundation is used for temporary buildings – outbuildings, verandas or terraces.
A foundation made of oak, aspen, or larch lasts on average twice as long as a foundation made of spruce or pine. To extend the service life of wooden poles, they are protected from moisture before installation – they are soaked in used machine oil, and antiseptics, or the surface is burned with a burner to a depth of several millimeters.
Prefabricated column foundation
The pillars are erected from red solid brick, foundation, or wall blocks. The masonry is fastened with cement-sand mortar.
This is one of the fastest types of columnar foundations to construct. At the same time, it turns out to be durable – it can be used for frame houses, bathhouses, and other buildings.

Monolithic reinforced concrete column foundation
At the prepared site, formwork is installed in the form of a wooden box without a bottom, which can be made from scraps of board, and then it is filled with concrete. Several reinforcement rods 20–30 cm longer than the expected height of the column are installed vertically in the box. Then the concrete is poured. When the concrete hardens, the formwork is removed, and a building is erected on the resulting pillars.

Rubble concrete column foundation
Just as with the construction of reinforced concrete pillars, formwork is installed on the prepared site. It is then gradually filled with concrete and rubble stone. Construction continues after the mortar has hardened and the formwork has been removed.

Do-it-yourself columnar foundation: instructions
We’ll tell you how to make a foundation for a utility block from expanded clay concrete or concrete blocks. Their dimensions are such that from one block placed on the end, a column of the required height and cross-section is obtained.
What is needed for installation
Materials:
- blocks
- sand or crushed stone
Tools:
Preparatory stage
Clear the site for construction and make markings. First, mark the corners of the structure with wooden pegs: measure the distance between them using a tape measure. Check that all diagonals are the same length to within 1–2 cm.

Using a laser level, make marks on the pegs with a pencil or chalk at the height at which you will later install the posts. Then stretch a thin cord around the entire perimeter between the pegs at the height of the marks. Check the lengths of each side and the diagonals again. Divide the perimeter into equal sections according to the number of pillars – these will be their installation locations.
Excavation
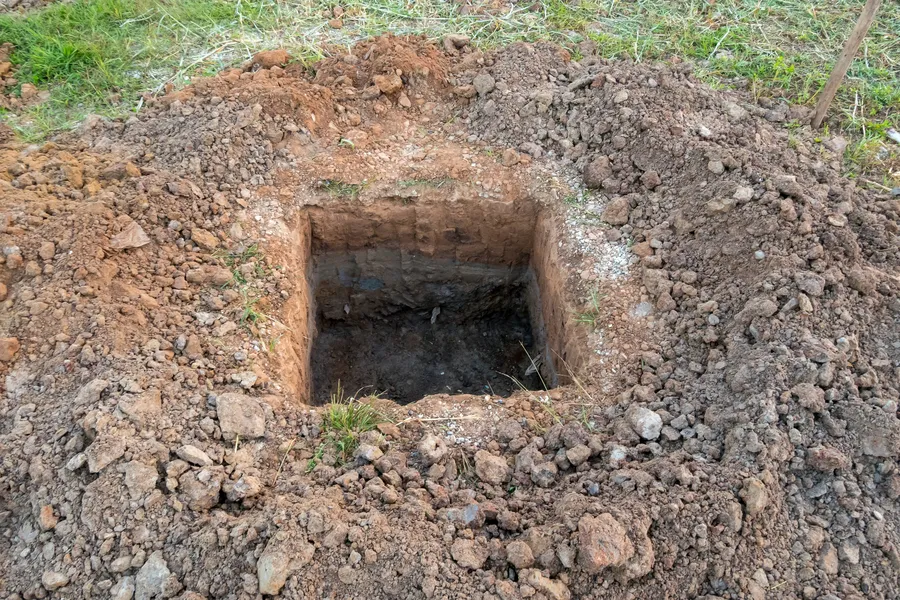
In those places where the pillars will be installed, remove the top fertile layer of soil with a shovel. Then dig holes whose width is 30–35 cm larger than the size of the expanded clay concrete block. For a block measuring 19 x 19 cm, you need a hole approximately 40 x 40 cm. Place a 10–20 cm thick layer of sand or small crushed stone at the bottom of each hole and compact it.
Installation of supports
Place a block in each hole. Align the height of the block with the stretched cord. If necessary, add sand or crushed stone to the bottom of the hole. Control the horizontal level of the upper plane using a building level. Along the cord, check that the pillars stand along the same line, a deviation of 1–2 cm is allowed.
After installing all the posts, fill the holes. It is best to use sand for this: when it freezes, it swells less. Fill it in stages, compacting each layer before adding a new portion. After all the holes are filled, remove excess soil and level the area.
Cut out waterproofing pads from roofing felt or other waterproof material that are 3–5 cm larger than the top end of the pillars. Cover the ends with them. The columnar foundation is ready, and now you can begin constructing the grillage or building immediately (sheds, for example, are built without grillages).
Summary
A column foundation is a simple and inexpensive solution for a summer house or outbuilding. It can be used on almost any soil, provided that the area is level. When the terrain slopes, the columnar foundation may tilt under the influence of frost-heaving forces.
The depth of the columnar foundation is kept to a minimum: the pillars are placed on the surface of the earth, having first removed the fertile layer. Posts can be made from brick, building blocks or concrete. One person can handle the construction.