We tell you why you need to prime walls, analyze the types of different mixtures, and find uses for them.
Wall decoration is perhaps the most important step in renovation. When choosing different finishing materials for surfaces made of wood, plasterboard, or brick, many people wonder whether it is necessary to prime the walls before puttingty. We talk about this in our article.
Why do you need a primer?
Opinions vary greatly on how to prime walls before puttying and whether this step is even necessary for finishing an apartment or house. Some craftsmen assure that this point in the repair can be skipped, while others are scared of dire consequences. To make an unambiguous conclusion about whether it is necessary to prime the walls before puttying, let’s look at the functions that the primer performs.
So any material has its special structure. Each of them is porous in its own way and has small microcracks and chips. The primer can fill in all these imperfections, thereby strengthening the material. In addition, priming helps improve adhesion to the plaster or the substance you will use to putty, due to its components. And in the future, finishing materials will not further chip or crumble.
After drying, this solution forms a durable protective film that does not allow any stains or smudges to pass through. Thanks to this solution, the putty will lie more evenly and be easily distributed. Priming also protects from excess moisture, fungi, mold, and various insects.
Having studied all these features, we can conclude that priming surfaces is necessary. There are cases when the solution has to be applied in several layers. This, for example, happens with porous brick or concrete, which absorbs the first applied layer.
Choosing material
Choose based on what you will be covering and what properties you need. Compositions are divided into three types.
- Concentrated
- Dry mix
- Ready composition
The acrylic type has always been in great demand in the construction market. It is universal, a beginner can handle the job. Acrylic also does not have a strong odor and dries in about three days.
By surface type
There are specialized substances that help achieve a certain effect. For smooth concrete, a solution containing sand is suitable, which will create a rough texture and thereby improve adhesion.
It is better to treat wood with a solution that repels not only water but also prevents the occurrence of pests and their penetration into the material.
The metal should be coated with a mixture that prevents rust. An alkyd primer that contains zinc chromate and zinc phosphate is suitable here. But keep in mind that it can take about 16 hours to dry.
The drywall also needs to be primed. A universal coating is good for it. Wallpaper glue can also be used as this “strengthener”. But there must be an inscription on its packaging that it is suitable for such work.
By room type
It is worth paying attention, if you are renovating a bathroom, basement, or any other room with high humidity, then purchase an antibacterial composition.
For interior work, you should not purchase polyvinyl acetate, glyphthalic, perchlorovinyl, bitumen, or polystyrene types of mixtures. They are very poisonous and dangerous to health. They can be used exclusively for the exterior.
By color
Attention should also be paid to color. Typically, primer mixtures are made either colorless or white. However, there are also color options. It is important here that its color does not differ much from the topcoat.
Read reviews before purchasing trim. A universal solution – a substance with a high degree of penetration. It won’t hurt anything.
In addition, purchase products from the same brand to avoid misunderstandings due to inconsistencies in ingredients.
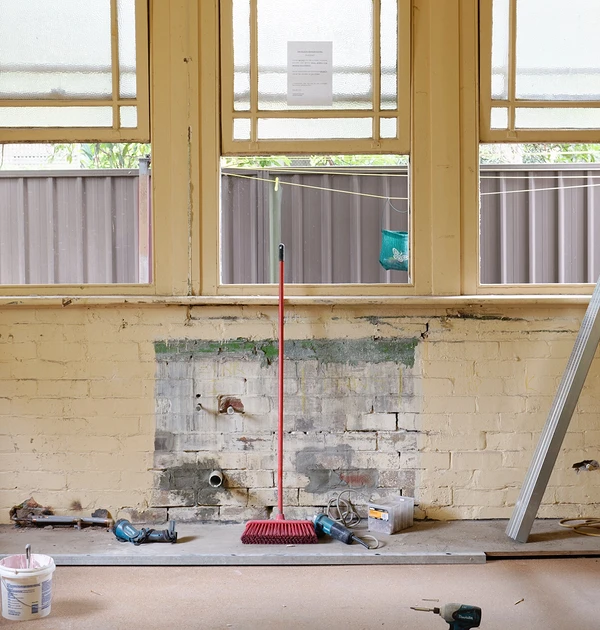
Preparing the walls for priming before puttying
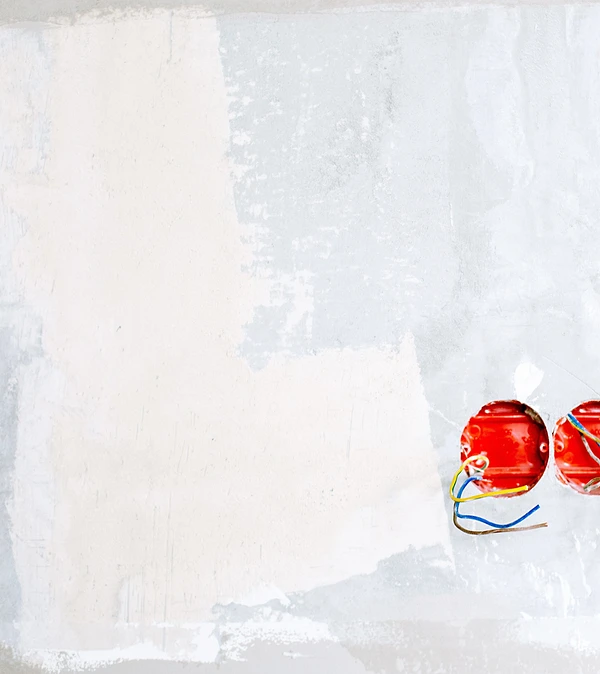
1. Cleaning old finishes
Clean them of dirt and old coating if it is already falling off.
On old paint, which adheres quite firmly, you can use sandpaper. If chips and cracks are already visible on it, then it also needs to be removed. A metal brush or a special solvent will help with this.
The surface must be absolutely dry. If you apply the substance to a damp wall, you risk greatly disrupting the process technology.
2. Prepare the mixture
Next, we proceed directly to preparing the composition. This should not be difficult, since clear instructions for diluting it are always indicated on the packaging.
So, the dry mixture is diluted with water in certain proportions, concentrated formulations need to be diluted, and ready-made ones only need to be poured into a convenient container. Pay attention to the consistency of the mixture – it should be clean without lumps.
3. Protect your hands and face
Don’t forget about protective equipment. Wear a mask and gloves; if the soil smells strongly, you will also need a mask.
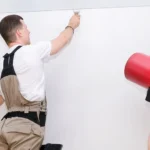
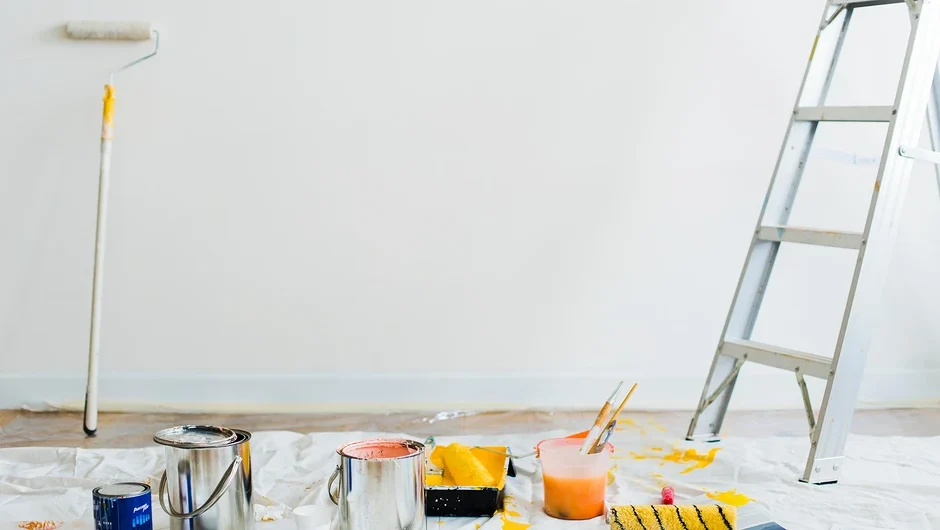
4. Choose a tool and get started
There is no specific tool for the solution, so you can choose what is most convenient for you.
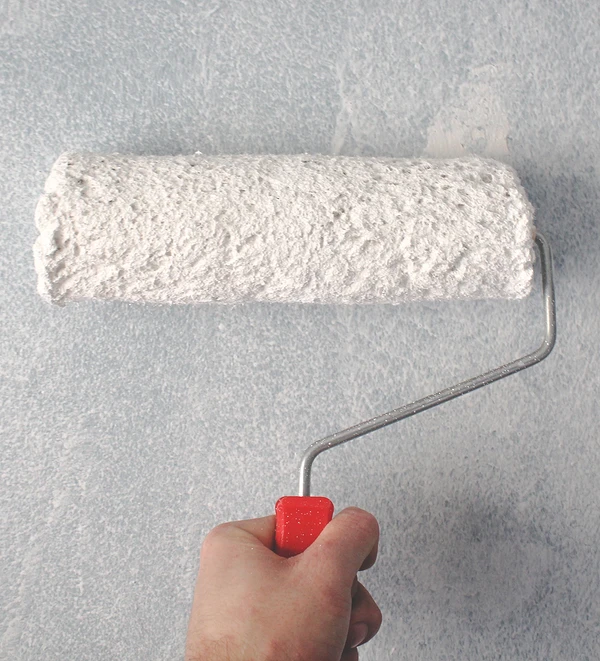
- Roller – it will allow you to quickly apply the composition. At the same time, it is easy to remove excess solution from it.
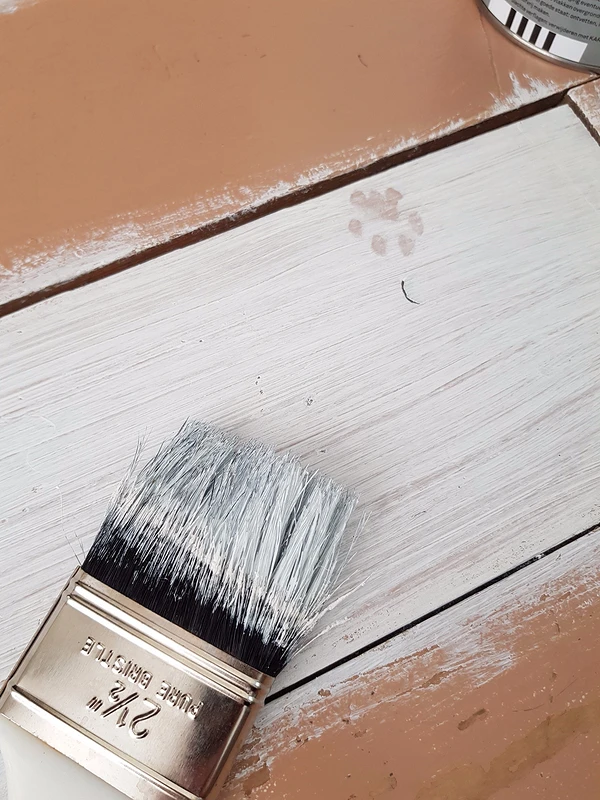
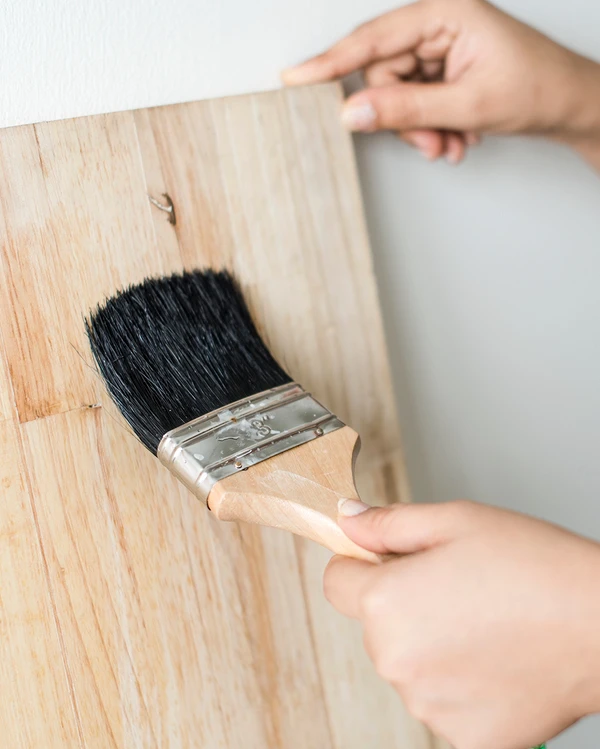
- A wide brush may take a little longer to work with. However, it has a very significant advantage, such as the ability to reach the most difficult-to-reach places. Usually, these are joints or corners. In any case, this tool perfectly replaces the roller.
- Sprayer – it is mainly used for large rooms. However, it should be borne in mind that the composition is very difficult to remove from any surface. Therefore, skin and clothing must be protected.
It is very important to monitor the indoor temperature during this time. Temperature can have a detrimental effect on the density and properties of the applied substance.
If we talk about how long it takes for the primer to dry on the walls before puttying, it depends on the number of layers of the substance applied. One layer of shallow penetration composition takes about 6 hours. Drying of more durable materials will take about 12 hours.
Debunking myths
The biggest misconception among beginners is that drywall does not require priming the walls for putty. No, that’s not true. This is especially true in cases where the surface is being prepared for wallpapering or tiling.
This is a rather heavy finish that can “slip” over time. Therefore, drywall needs to ensure strong adhesion to the cladding. In addition, do not forget to treat the side walls and joints of the sheets. Otherwise, the putty applied to them may crumble.
Also, some believe that it is optional to prime the already prepared surfaces on which the cladding will be applied. This opinion is also not entirely correct since this layer also needs to be strengthened. Therefore, the finishing layer of primer will only strengthen the already applied mixture, making it durable and resistant to damage.
Read more: How to sand the walls after finishing putty and repair