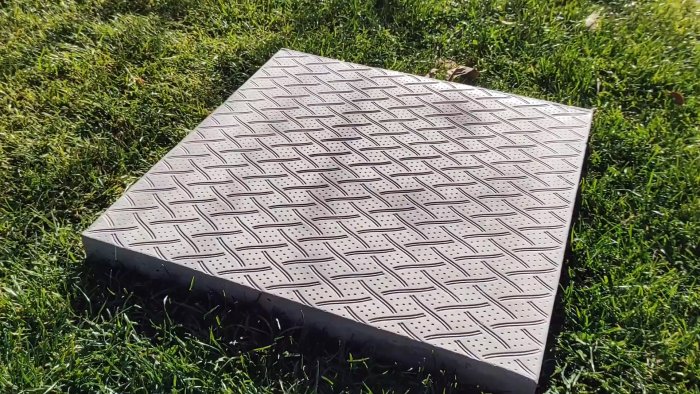
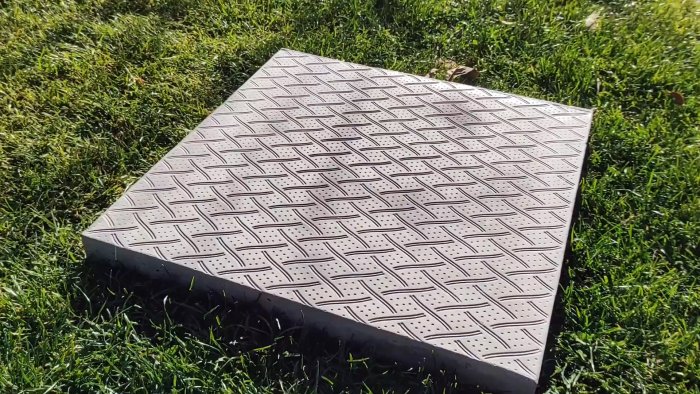
To arrange garden paths, you usually don’t need many tiles, but even in small quantities, you will still have to pay a tidy sum for them. At the same time, casting them yourself into a purchased mold is expensive, because it does not pay for itself with small production volumes. Therefore, for most summer residents and residents of the private sector, it will be more practical to make a mold and cast the tiles using the following technology.
What you will need:
- Foam ceiling tiles;
- rail 50-70 mm wide;
- wood screws;
- paint brush;
- sand;
- cement;
- fine crushed stone;
- masonry mesh.
Process of making mold and casting tiles
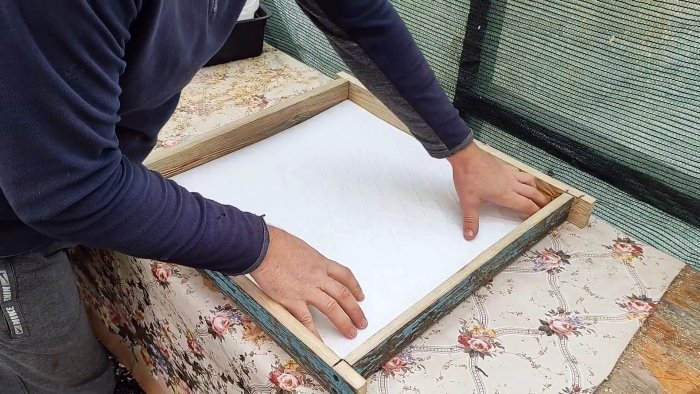
To make the mold, you will need 50×50 cm foam ceiling tiles with a pattern you like.
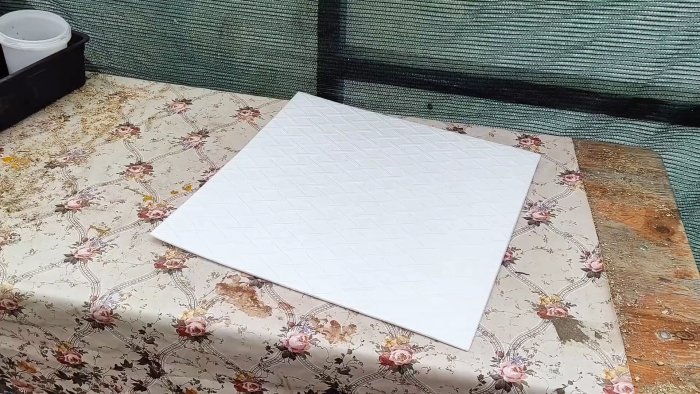
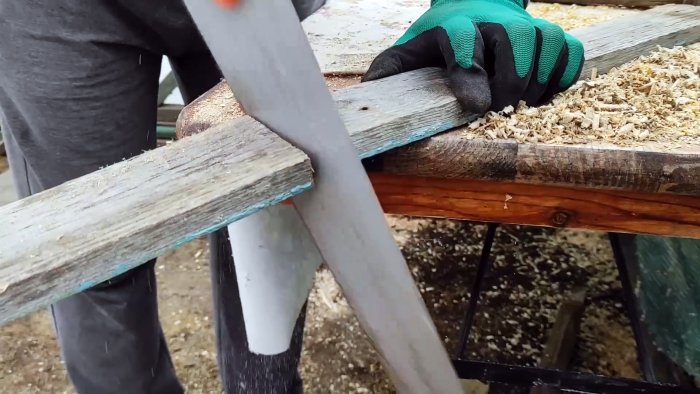
Under it, a square formwork is assembled from a lath using self-tapping screws. The tile should fit flush into it.
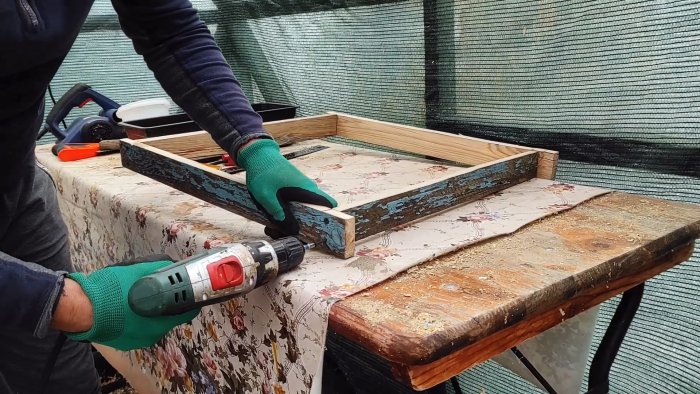
When assembling, keep in mind that the relief of the substrate should be on top.
We place our form on a flat base and pour a little cement and water solution into it. Now distribute it in a thin layer over the entire surface using a brush.
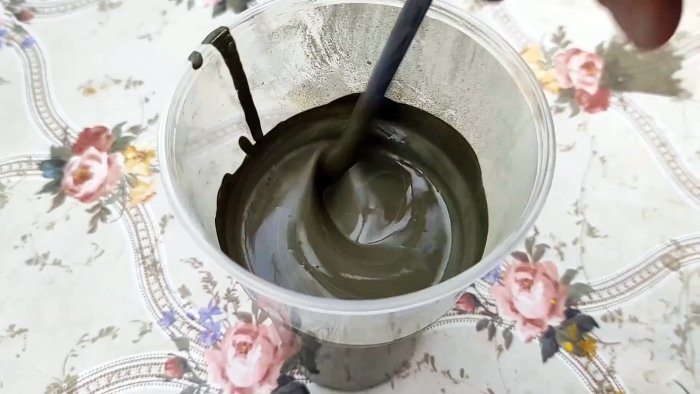
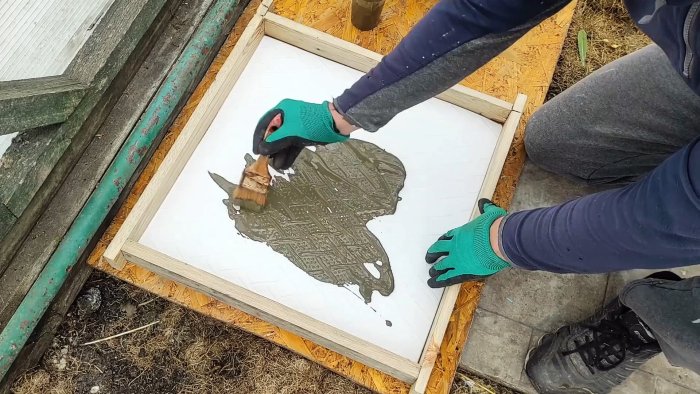
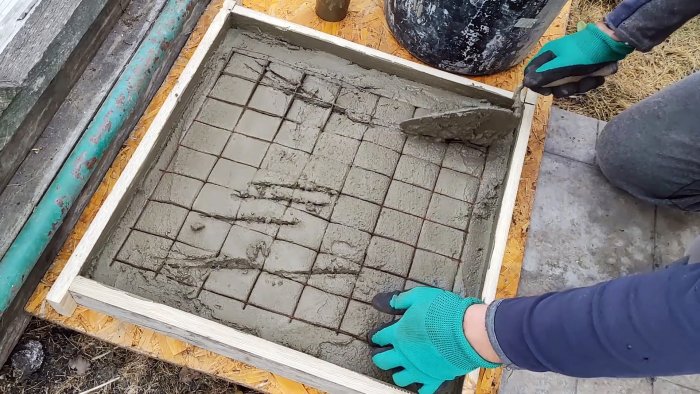
Next, fill it all with a solution of two parts sand, one part cement, and half part small crushed stone. Concrete must be applied so as not to disturb the thin cement layer of the coating. Then the masonry mesh is immersed in it.
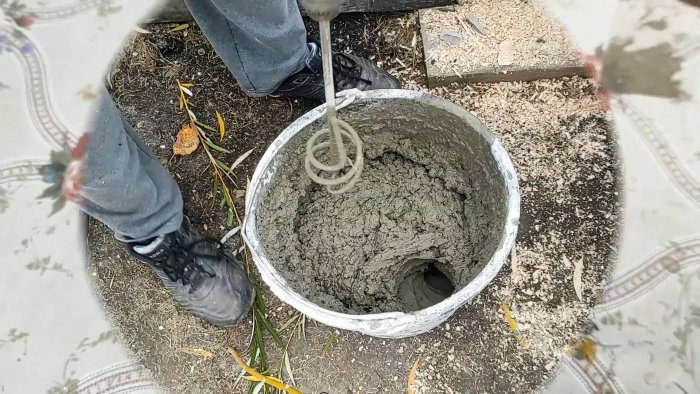
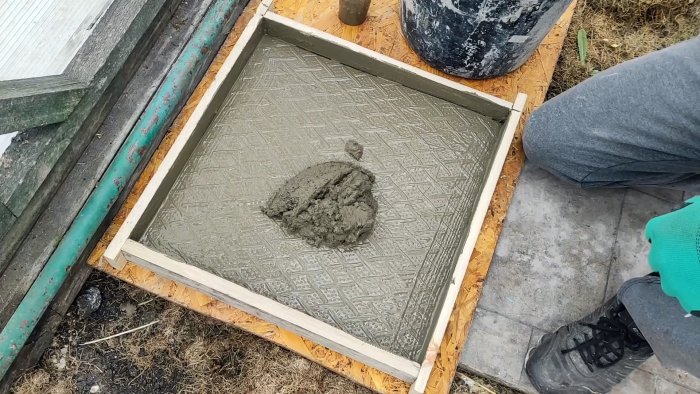
The solution is leveled in the handicap, after which you need to shake the substrate to compact it. Ideally, of course, use a vibrating table for this.
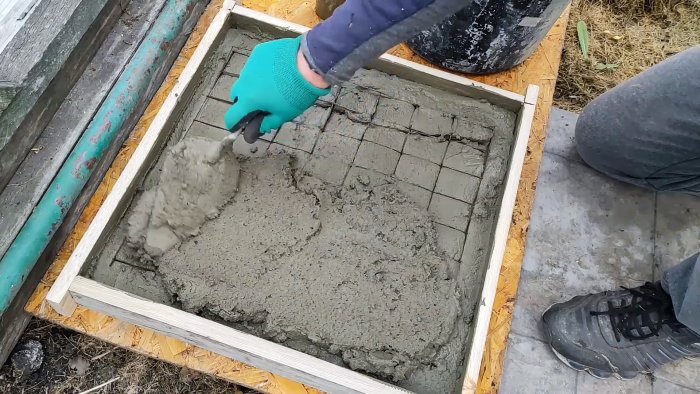
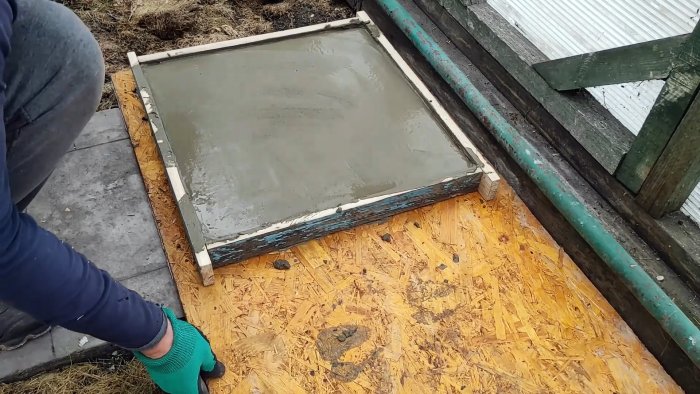
When the concrete has hardened, turn the form over and disassemble the formwork by unscrewing the screws. If you do this, the foam backing will remain intact and can be reused.
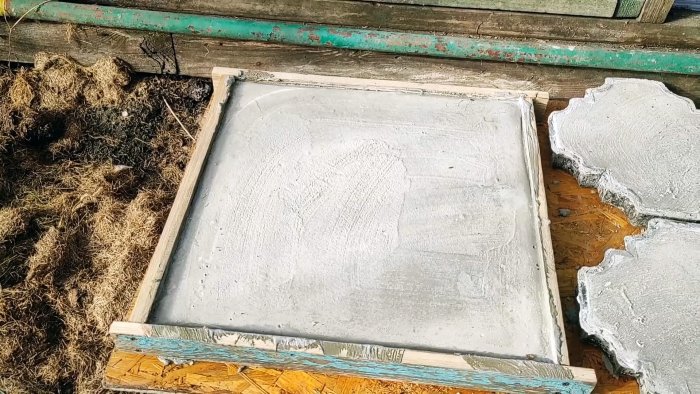
It happens that a border of beads remains on the finished tile. While the concrete has not yet completely hardened, it can be easily removed with a spatula. It also sands well. This is how you can make the required number of tiles with a thickness of 50-65 mm, spending mere pennies on molds.

