We talk about the reinforcement cage for a strip foundation, the features of its assembly, and describe in detail the technology for reinforcing the structure.
The peculiarities of the strip foundation do not allow the use of ordinary concrete for its construction. In this case, reinforced concrete is required, that is a concrete stone with steel rods placed inside it. The strength and service life of the entire structure depends on how competently the process of laying the metal frame, or reinforcement, is carried out. Let’s look at all the intricacies of reinforcing a strip foundation.
What kind of reinforcement is used for strip foundations
In the design of the future building, the section dimensions, location, type, and number of reinforcement elements must be specified. This is the result of calculations based on the mass of the building, geological features of the area, etc.
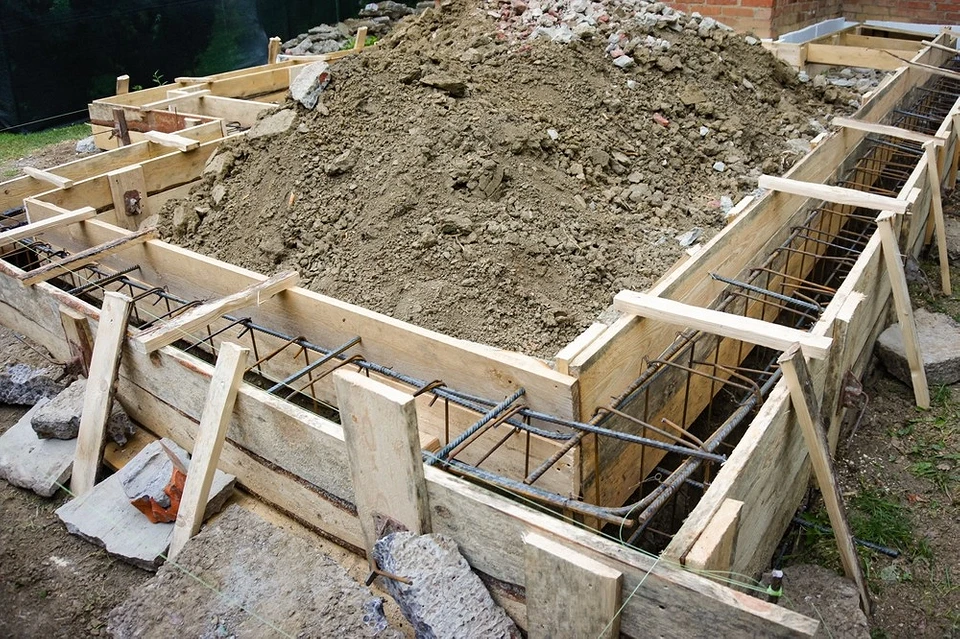
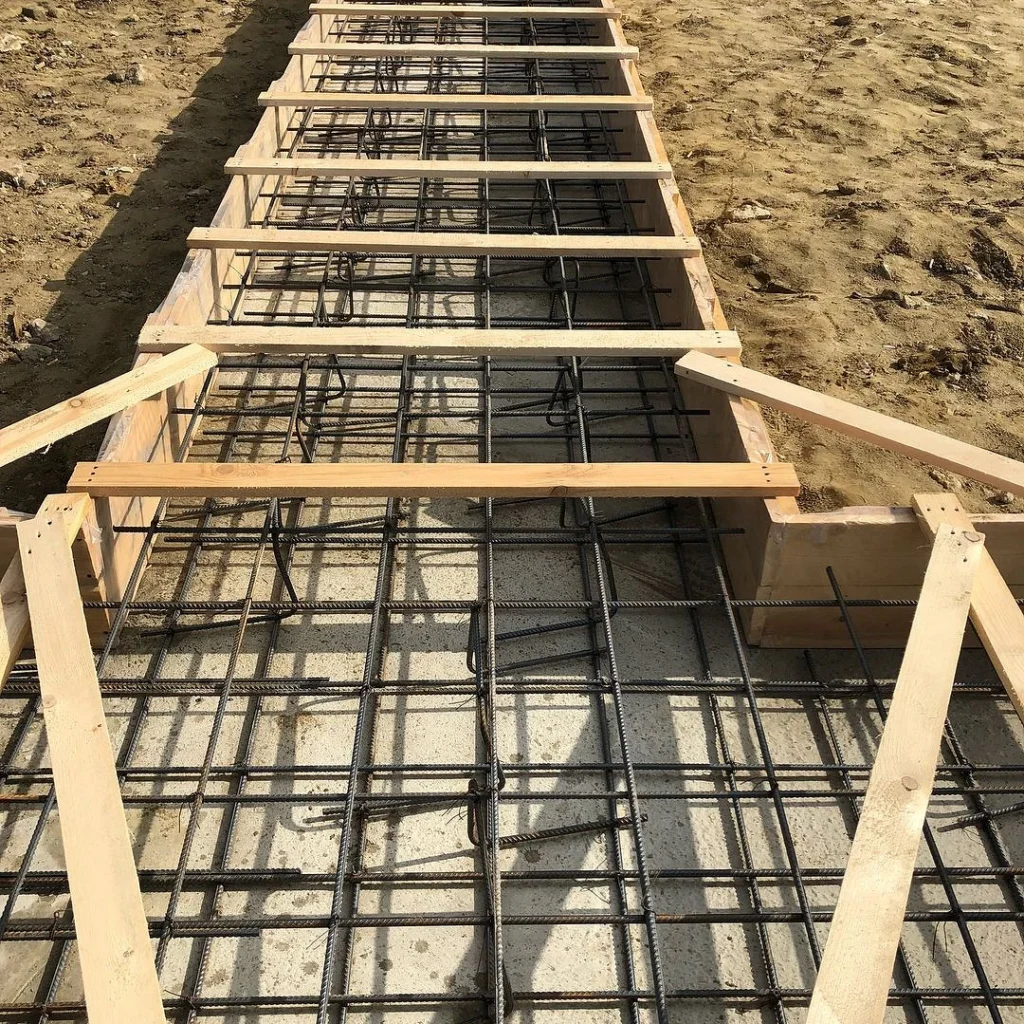
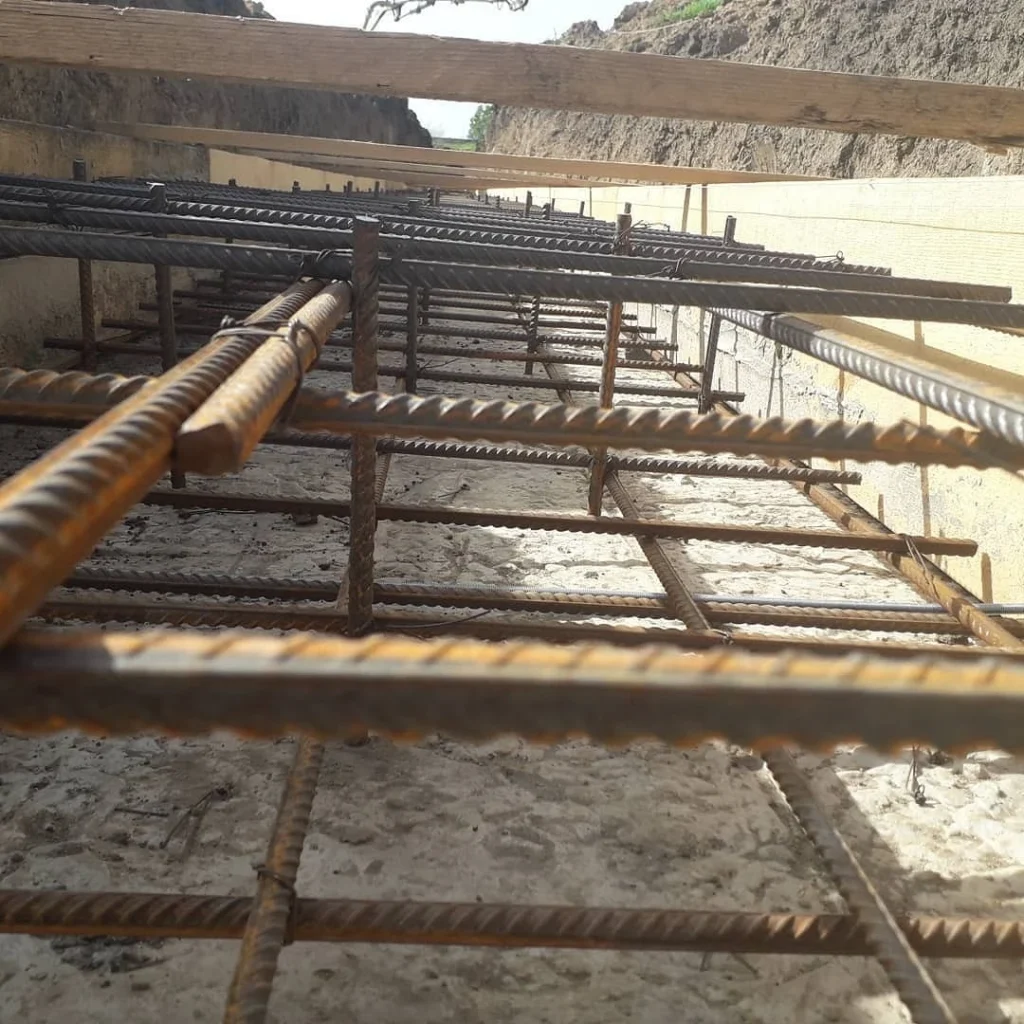
In cross-section, the reinforcing frame of the foundation tape is a quadrangle. This is explained simply. The foundation is affected by two oppositely directed forces: the mass of the building from above, and the force of soil heaving from below. In the middle of the belt, such loads do not occur. Therefore, to compensate for the pressure of shallow and medium-deep foundations, two reinforcing belts are enough: above and below. A third belt is added to deeply buried foundations. They are made from durable rods of class IIIA or IIA.
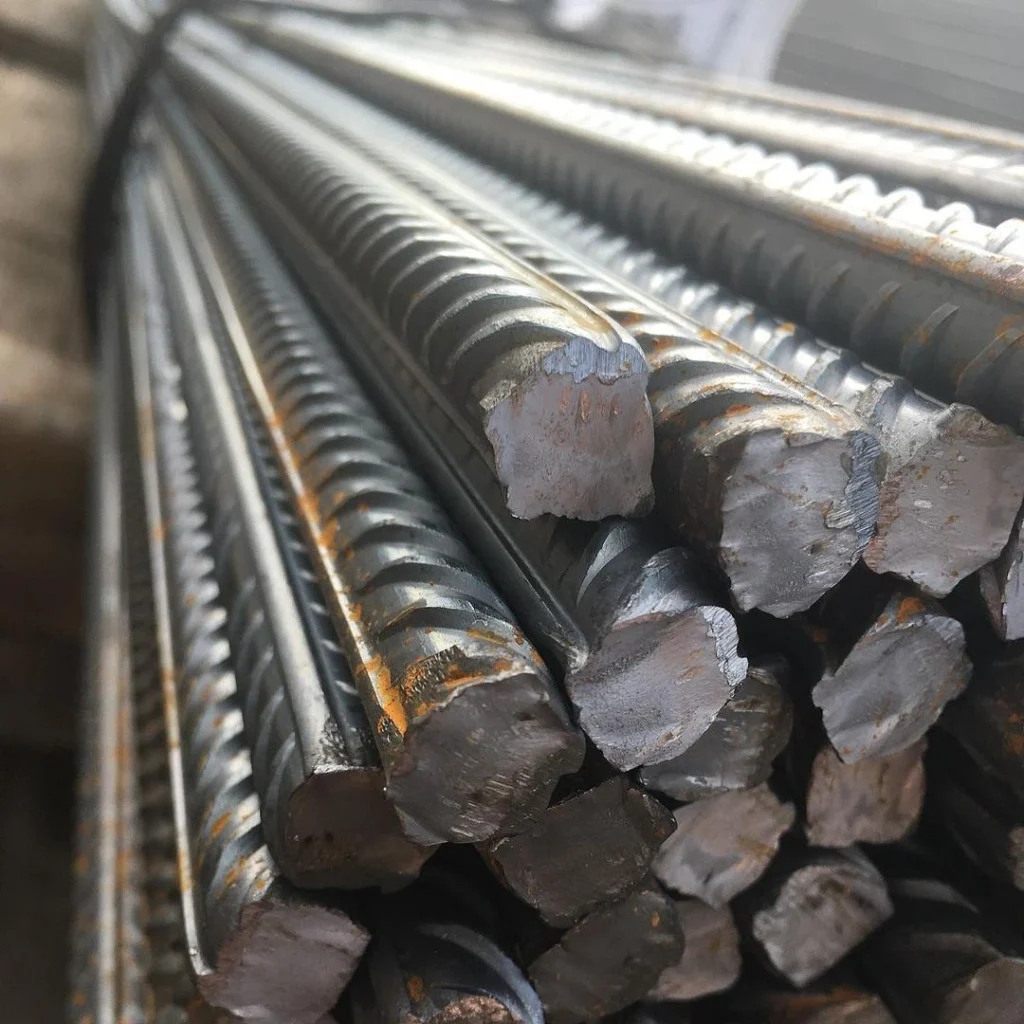
You need to choose a ribbed profile, it has better adhesion to concrete stone. The diameter of the horizontal rods is calculated based on the cross-sectional area of the frame and the type of reinforced concrete element. Usually, these are rods with a diameter of 10-12 mm, but it can be different.
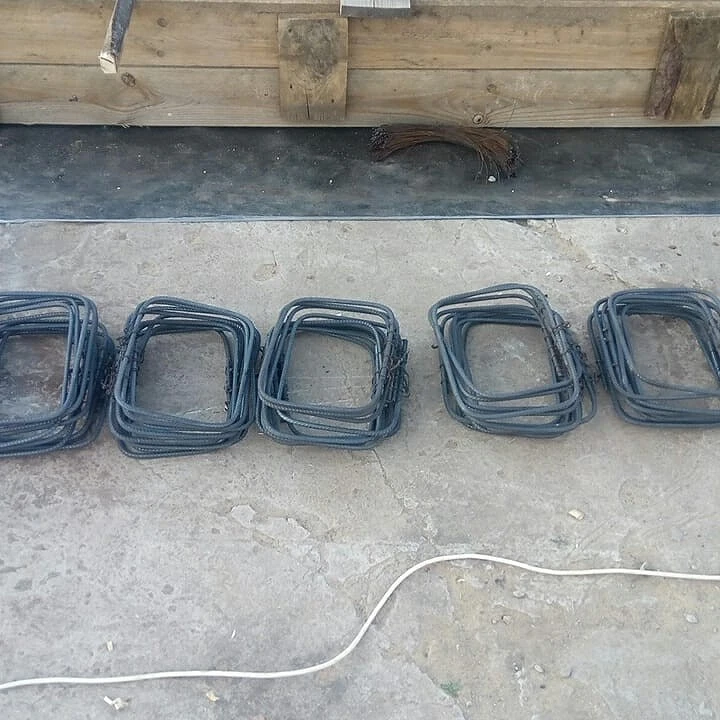
To hold the longitudinal bars in a given place, structural jumpers are used. They are made from thinner and smoother rods. Class AI and thickness from 6 to 8 mm are suitable. Typically, such a rod is bent into the shape of a quadrangle collar to facilitate the process of assembling the frame.
In addition to metal rods, fiberglass rods can be found on sale. They are lighter and do not corrode. However, they are rarely used in private construction. Such a part can only be bent in a factory setting.
Features of the assembly of the reinforcement cage
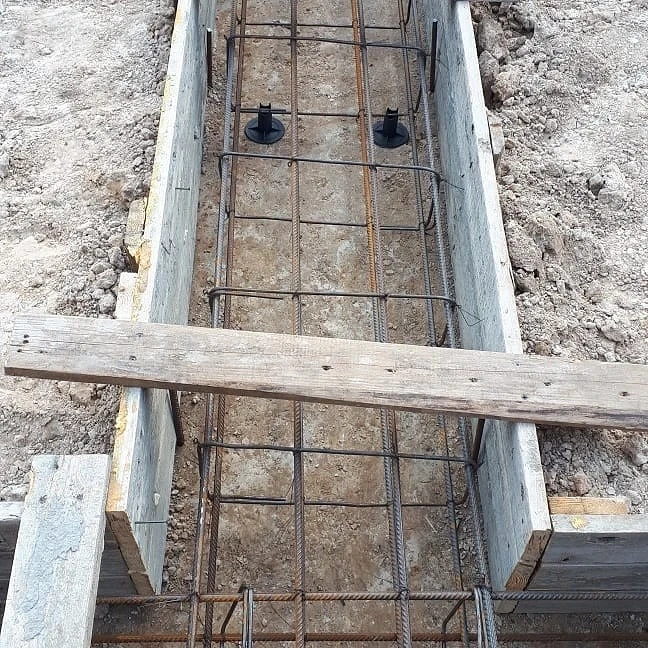
The strip foundation reinforcement scheme is calculated during the construction of the project. According to the requirements, the distance between horizontal belts is not more than 400 mm. The installation spacing of structural lintels must be equal to or less than 300 mm. Another important point is the distance from the edge of the part to the beginning of the rod. The reinforcement is completely embedded in concrete. If it comes to the surface somewhere, corrosion of the metal is inevitable. Therefore, the minimum distance from the edge of the concrete slab to the steel rod is 5 cm.
Taking into account the constructed diagram, the reinforcement is assembled into a single structure. Let’s look at the features of this process.
Methods of knitting rods
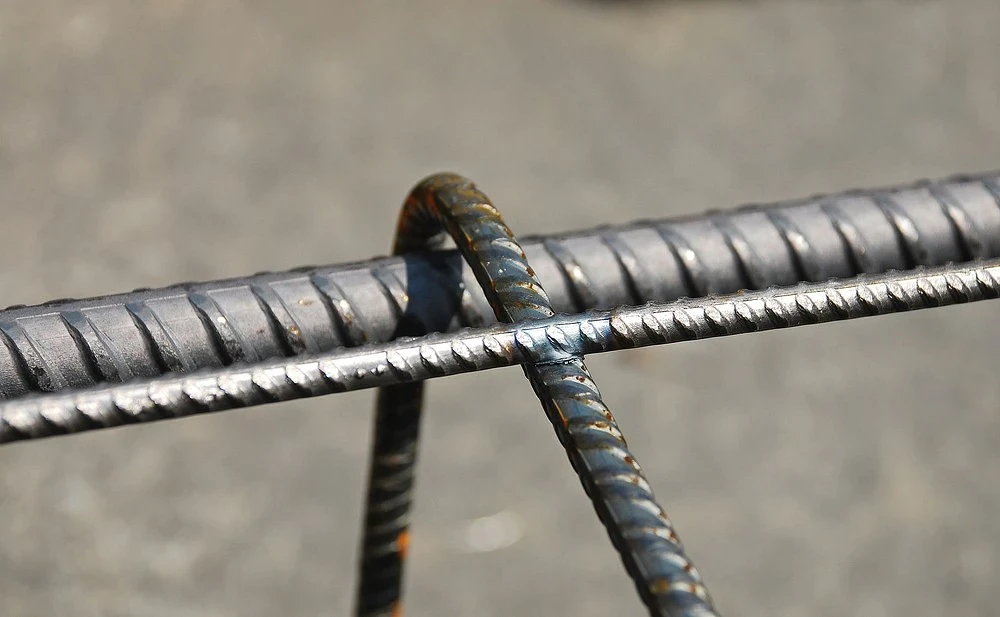
Free movement (or play) of the reinforcement mesh within the structure will cause stress, which will affect the strength of the building. To prevent this from happening, the rods are firmly connected to each other. Three methods are used for this.
First -welding. Steel elements are connected using spot welding. It’s fast and reliable, but not always possible. At the welding site, the metal becomes brittle and is more susceptible to corrosion. Therefore, welding is used only for materials that have the letter “C” in their markings. This means that welding is permitted and the weld will not affect the strength of the element.
You can connect metal parts using plastic clamps. With their help, the elements are pulled towards each other and securely fastened. It’s easy and fast. But plastic clamps are also used quite rarely. This is because they cannot withstand low temperatures, as well as the fairly high price of the clamps. In addition, it is strictly forbidden to move a frame tied in this way. Knit only in formwork.
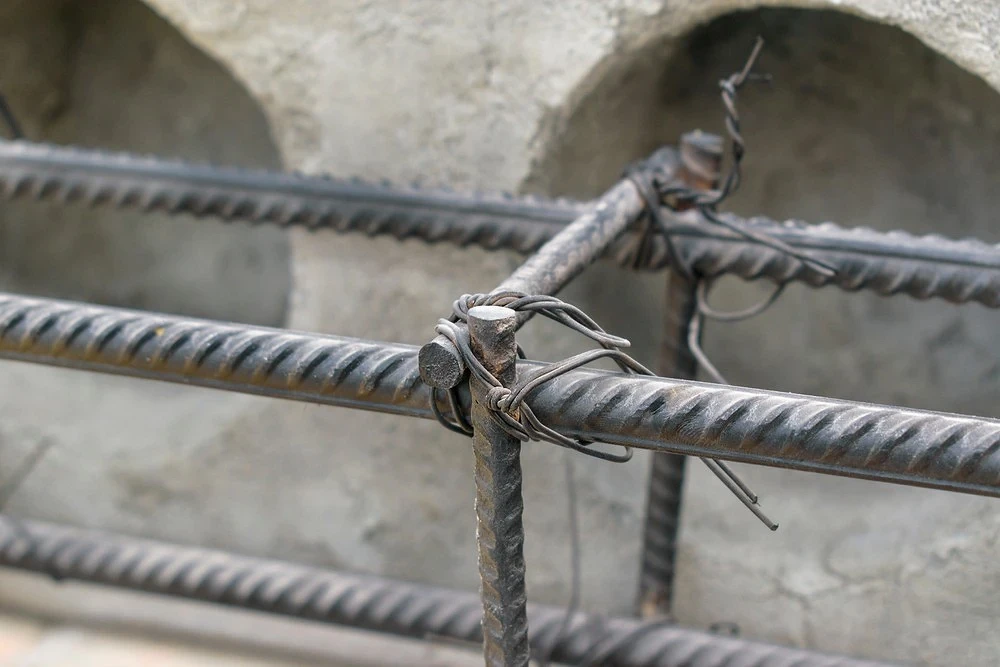
Knitting reinforcement for a strip foundation wire – the main connection method. This is the cheapest and most effective, and sometimes the fastest way. This type of knitting is performed using various devices. More often the wire is secured with a special crochet hook. This is an inexpensive device that you can make yourself. It’s not difficult to learn how to knit reinforcement with them. In just a few hours, an inexperienced reinforcement worker can quickly knit rods. The disadvantage of the technique is the insufficient rigidity of the finished frame. Therefore, it is best to knit it directly in the formwork.
Craftsmen also knit wire joints using pliers or a screwdriver with an inserted hook. There is another device – a knitting gun. It reliably connects parts in just a second, which is important because the volume of work is very large. At the same time, the gun is bulky, so it cannot be used in all areas. And most importantly, it requires special wire and is expensive. But if you have the opportunity to rent a gun, it is best to do so. This will speed up the work significantly.
Corner reinforcement
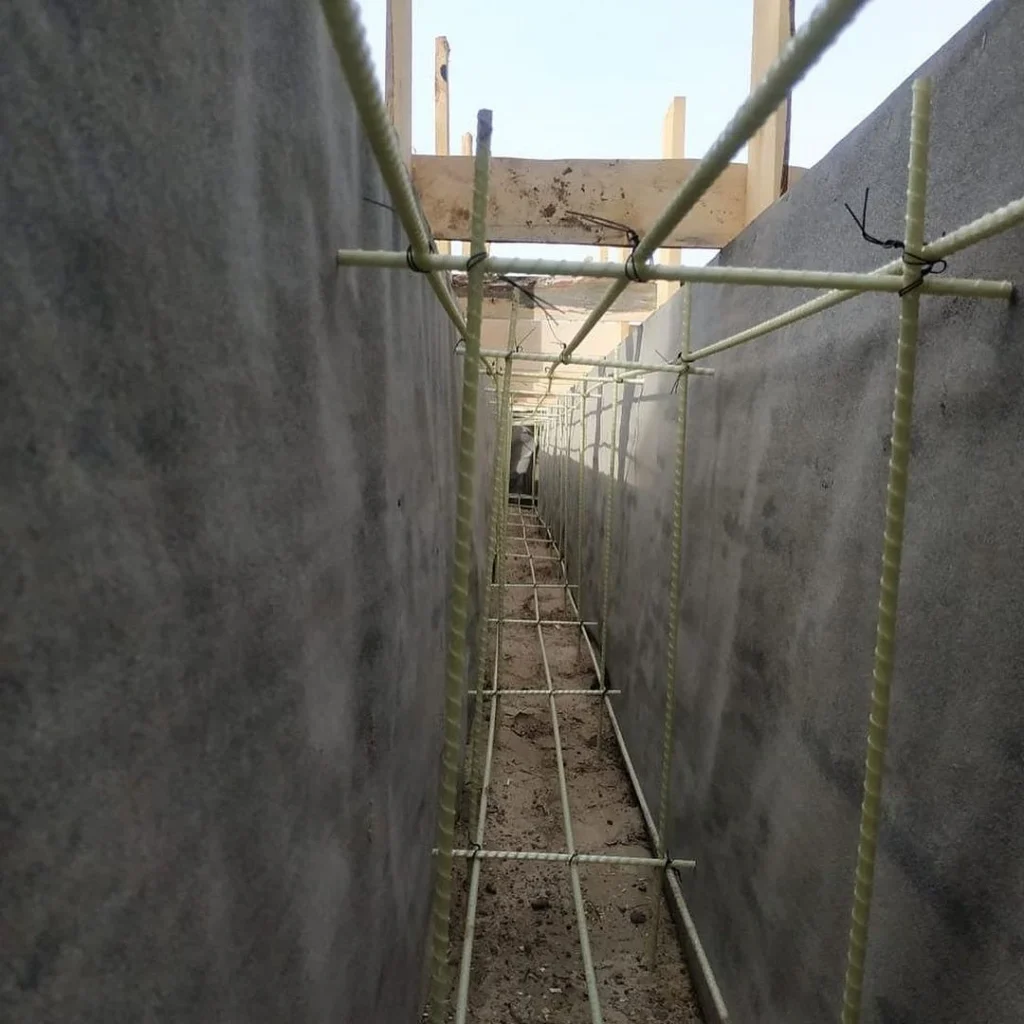
The weakest and most vulnerable areas of the foundation tape are considered to be the junction of walls and corners. Here loads coming from different walls are connected. To redistribute them correctly, special techniques are used. Simply connecting steel rods will not solve the problem, since it will not redistribute the load. As a result, after some time, under the influence of overloads, reinforced concrete will begin to crack and crumble.
That’s why two connection options are possible. The first assumes the arrangement of an overlap from a rod. The rod running along one of the walls is bent onto the other. The length of such a bend should be at least 65-70 cm. If the length of the rod is not enough, L-shaped curved clamps are used. The length of each side is at least 65-70 cm. In both cases, the center of the bend should be at the corner.
The connections are made in the same way. Here, too, either bent rods or L-shaped clamps are used. Transverse structural jumpers also participate in the redistribution of load in corner areas, so their installation step is halved.
Read more: How to pour a strip foundation: step-by-step instructions
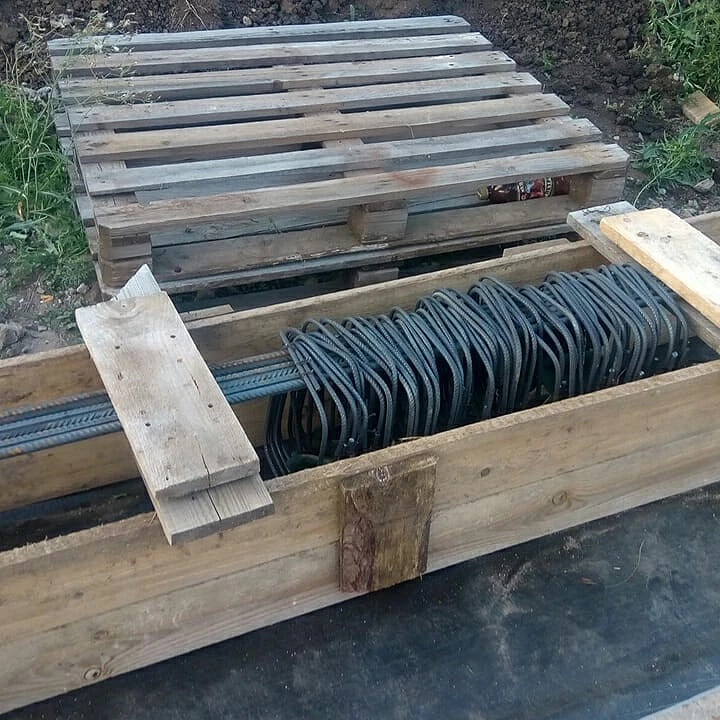
Reinforcement structure assembly technology
The reinforcement frame for the strip foundation is assembled after the installation of the formwork. It is best to do this directly in the trench. This way the structure does not have to be moved, which eliminates even small shifts of the rods. But this is not always possible. If the tape is deep and narrow, it is inconvenient to knit the rods inside the trench. Then a different technique is used. The frame fragments are tied on the surface. It’s best somewhere near a trench. Then they are transferred to the pit, placed in it, and connected to each other. It’s easier to work this way, but it can be hampered by the fact that the structure is heavy and inconvenient to carry. This needs to be done as carefully as possible. Both of these options have their advantages and disadvantages. Which one to use is decided by the craftsmen on the spot. The decision is made taking into account the conditions in which you have to work.
We will analyze in detail two ways to correctly knit reinforcement for a strip foundation in a trench.
Method 1
All operations are carried out in this sequence.
- We place stands at the bottom of the pit so that the rods are raised by at least 50 mm. If there are none, brick fragments will do.
- We lay out the longitudinal rods of the first armored belt on top of the stands.
- We place and secure the transverse elements on the laid rods.
- If crossbar clamps were used, place them on top of the rods of the second armored belt and fix them. For crossbar racks, everything is the same. But we do not lay the longitudinal rods on top but tie them to the posts.
Method 2
The technology is slightly different from that described above. Here is the sequence of actions.
- We drive support posts made of a rod with a diameter of 16-20 mm into the bottom of the pit 2 meters deep. We place them in the corners and at the intersections of horizontal rods.
- Between them, at the distance calculated in the project, we drive the structural jumper bars into the ground.
- We tie the elements of the lower armored belt to the exposed support posts. Then we knit the reinforcement to the structural lintels.
- We tie the parts of the upper armored belt to the support posts. We do this so that the distance from them to the upper edge of the foundation is at least 50-70 mm.
- We fix the horizontal reinforcement to the lintels.
The process of reinforcing a foundation strip is not the easiest and takes a lot of time. But if you wish, you can assemble everything yourself. To get a good result, do not neglect the help of specialists. It is best to entrust calculations and design to them. A house built on a properly designed foundation will last for many years.
Read more: WATERPROOFING STRIP FOUNDATION