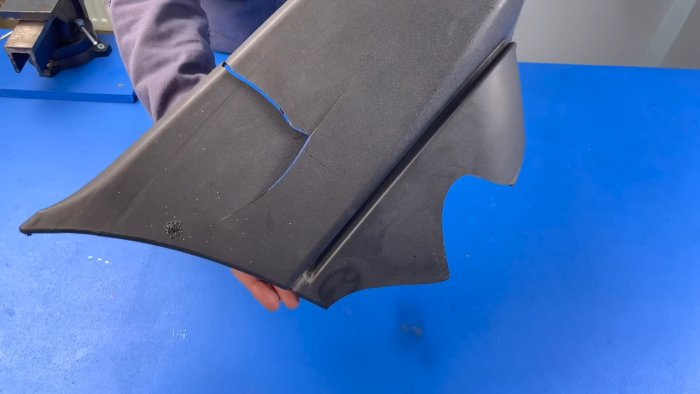
If the plastic is cracked, then there is no need to immediately run to the store and buy a new part. Firstly, it can be very expensive (for example, a car bumper), and secondly, it cannot be found if it is a product from previous years of production. But it can be restored using available materials and tools.
Do-it-yourself restoration of cracked plastic part
We clean the plastic from dirt and dust. We return its parts to their original position using the elastic properties of the material.
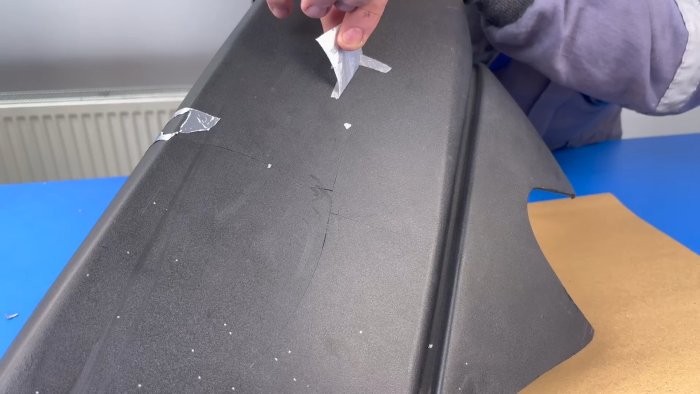
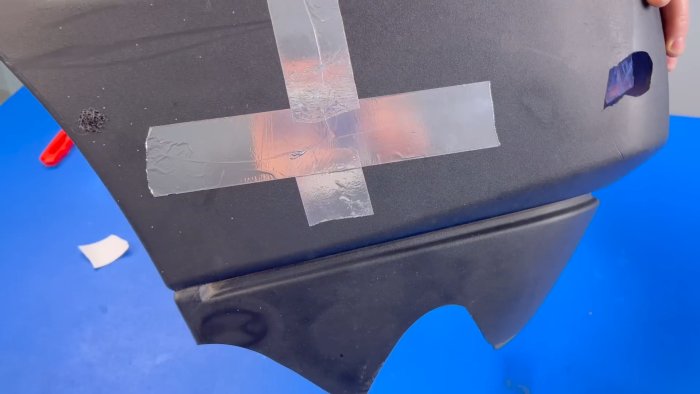
We fix the damaged site on the front side with aluminum tape, gluing it along the cracks.
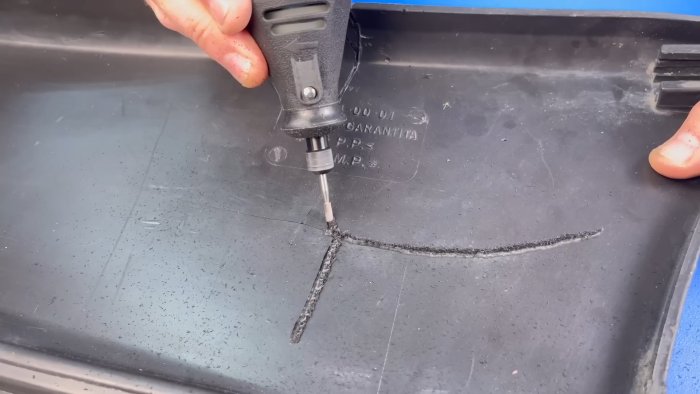
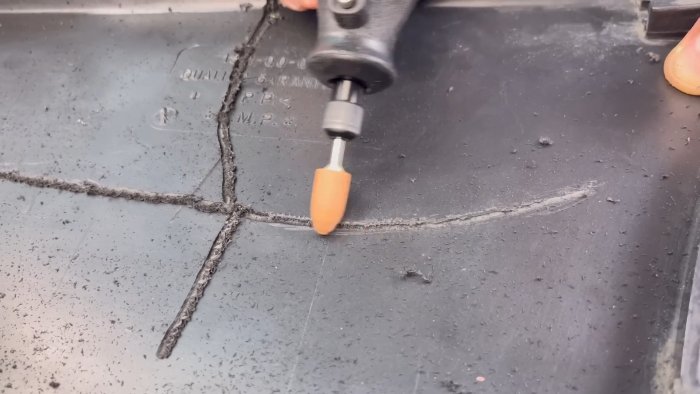
We embroider and grind from the inside of the crack with a suitable milling cutter and a grinding stone.
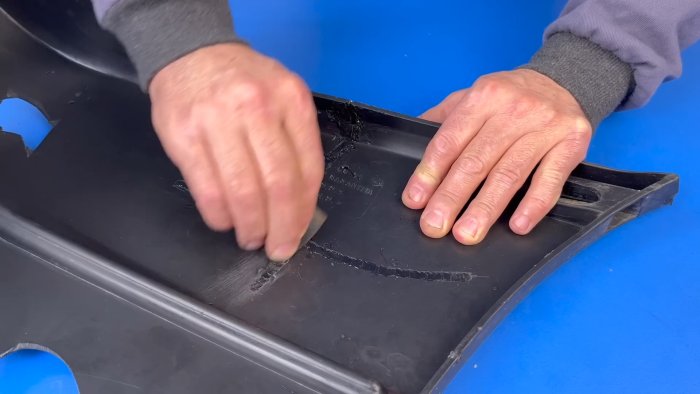
Remove the plastic shavings with a knife blade and wipe the damaged area with a clean napkin.

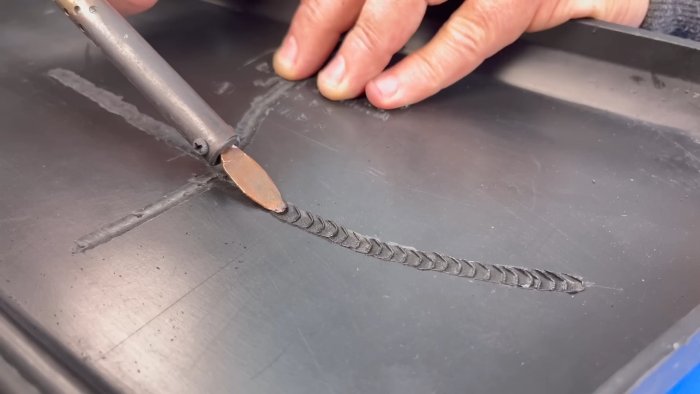
We replace the narrow soldering iron tip with a wide one and, softening the plastic along the cracks, we make transverse “stiffening ribs” that strengthen parts of the product on the sides of the cracks.
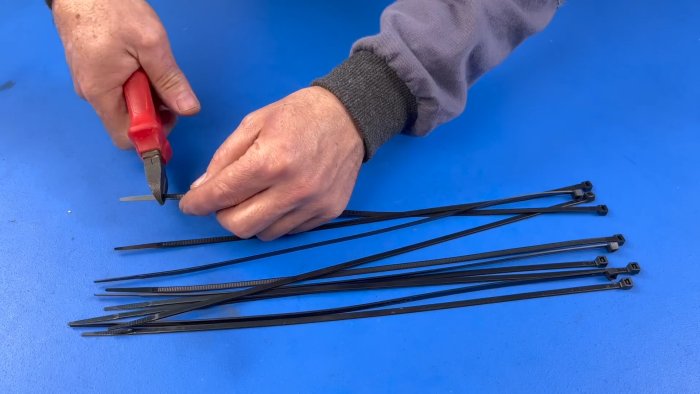
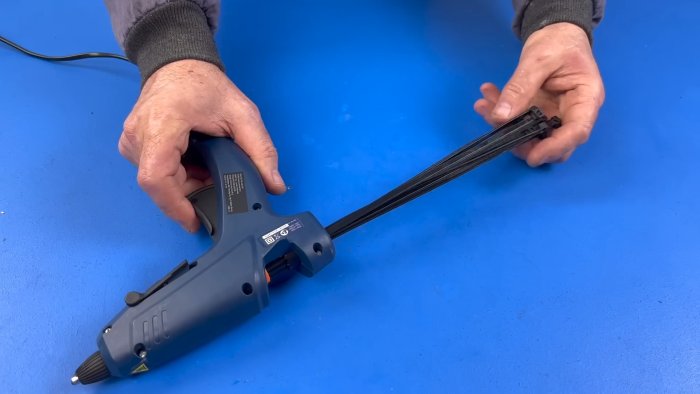
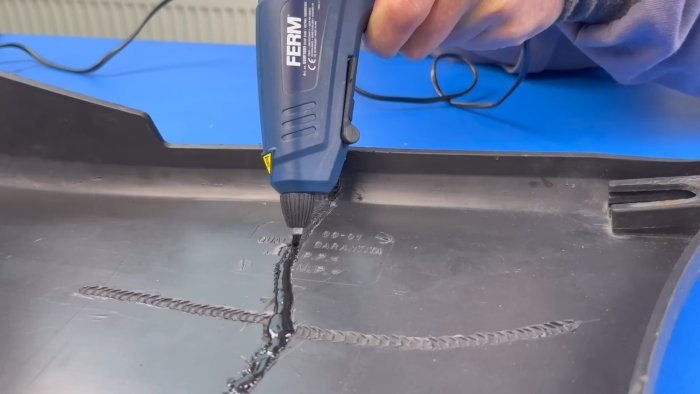
We bite off the ends of the cable ties and, filling the glue gun with them, fill the recesses along the cracks with molten plastic.
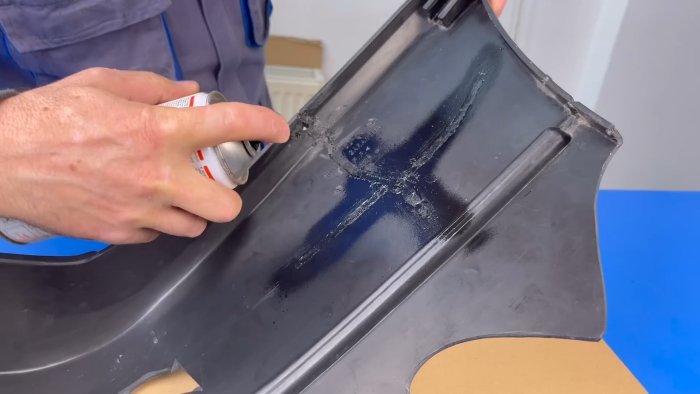
After it has cooled, we cut off the weld seams, sand it with sandpaper, and coat it with acrylic spray.

We remove the aluminum tape from the front side and make sure that the damaged site has been restored and is almost invisible during visual inspection.