If one laminate board in the middle of the floor is damaged, you have to remove all the adjacent boards to the nearest wall and, after replacing the damaged one, put them in place. A lot of hard and painstaking work. But there is an option to replace one board with defects without removing the adjacent ones. If you have at least basic carpentry skills and show patience, then any adult can cope with such work.
Will need
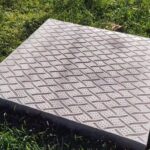
- Laminate board;
- construction tape;
- hand-held circular saw;
- rubber mallet;
- quick-drying wood glue;
- oppression (you can use buckets of water), etc.
The process of replacing a damaged laminate board in the middle of the floor
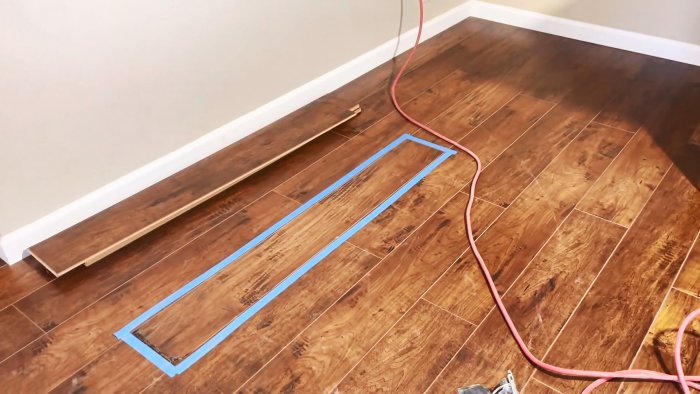
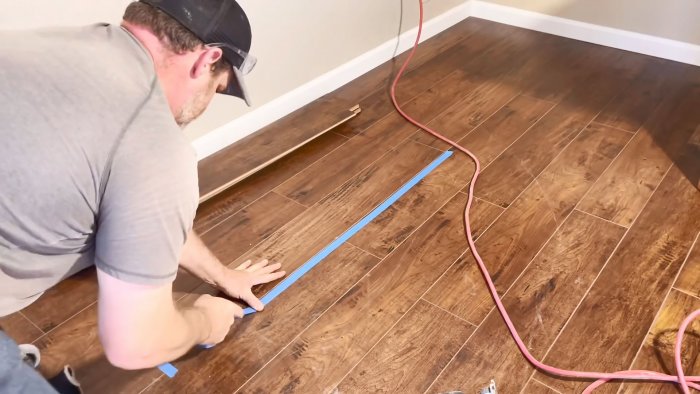
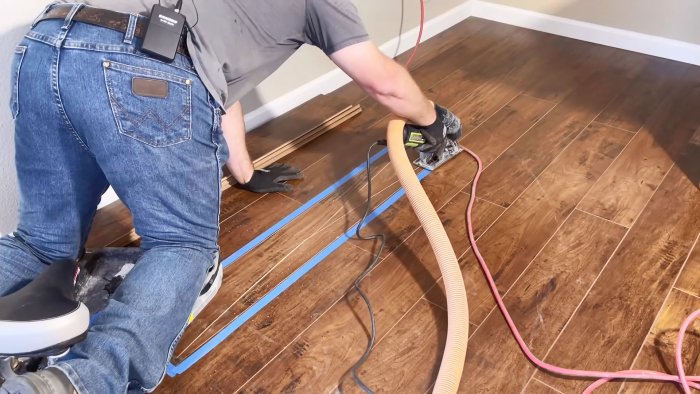
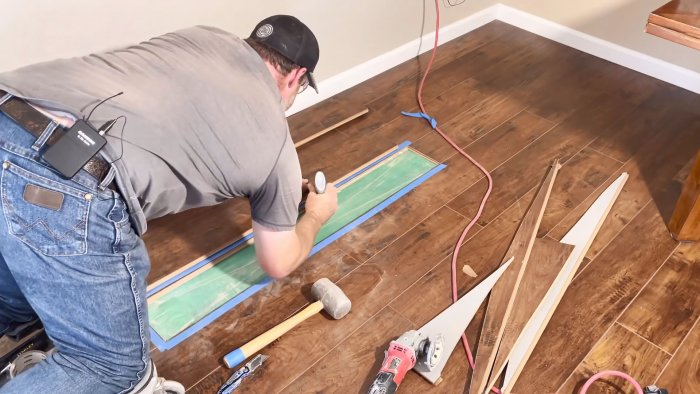
We mark the damaged laminate board around the perimeter with construction tape while protecting the edges of adjacent undamaged boards.
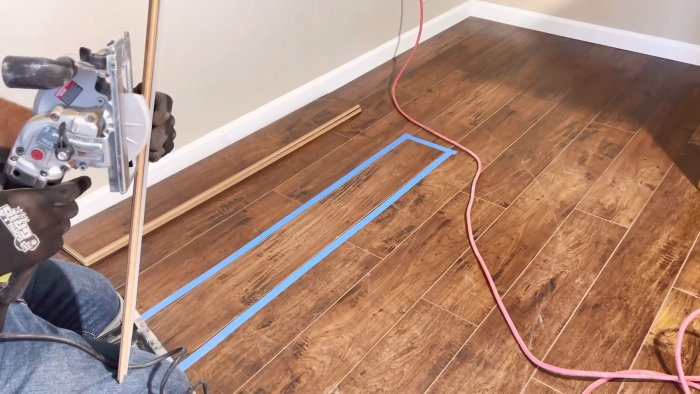
We set the offset of the saw blade to the thickness of the board and, connecting the vacuum cleaner, cut the damaged laminate board crosswise diagonally.
Then, carefully, trying not to damage the tenons and grooves of the joints, we pull out the board in parts.
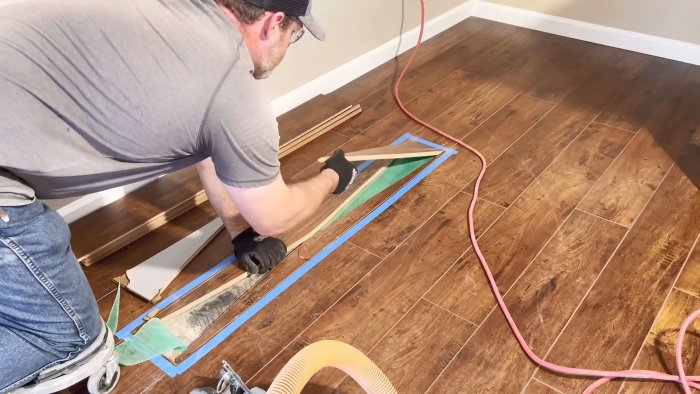
We try on a new laminate board for the vacant space, which does not fit properly due to the short lock tenon.

We will try to move the adjacent board on the short side of the defective board with light blows of a rubber mallet outward. This method may not work, especially if there are less than three boards to the wall.
Then we try another option: shorten the end tenon by half. If this does not help, then the last thing left is to completely remove the thorn, which is what we do.
Perhaps the reason that the new board, even with the end tenon cut off, does not fit into place may be the “hump” under the board. If the base is concrete, then it will have to be removed with a grinder.
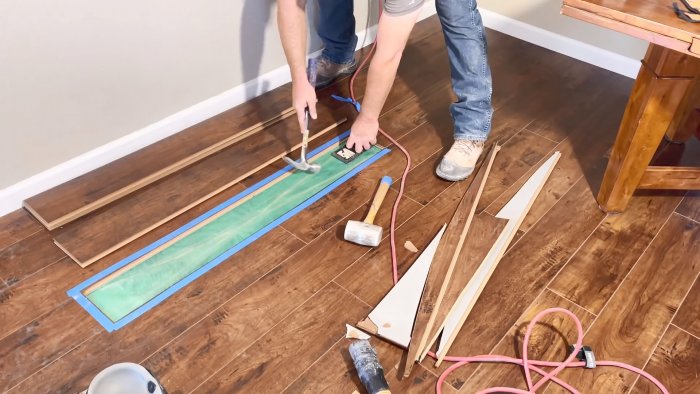
After all these preparatory manipulations, the board finally “sat” in its proper place, but since we had to cut off one end tenon, we will “plant” the new board on a special quick-drying wood glue.
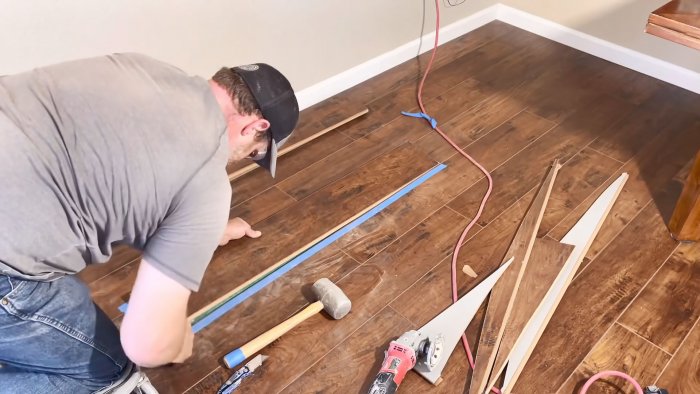
We insert the tenon of the new board into the groove without glue and, lightly hitting the opposite side of the board with a mallet, put it in place. Just in case, we applied several sliding blows with a mallet to the board that we tried to move, returning it to its place.
For the glue to harden, we place a load (pressure), in our case, buckets of water, on the new board, and leave everything for one night.
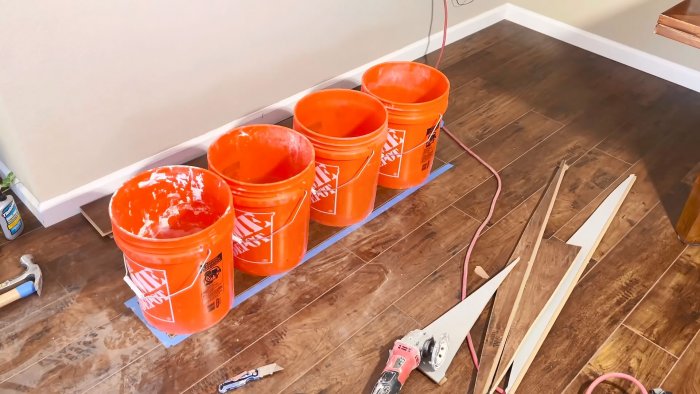
After which the new board is ready for use.
Read more: 5 common mistakes when laying laminate flooring (and ways to avoid them)