Before painting or wallpapering, putty walls are sanded – this is a mandatory stage of rough work, on which the quality of the finish depends. We tell you how to sand putty correctly and what tools to use.
Why sand the walls after puttying?
After applying the putty, defects remain on the walls: sagging, bumps, pits, or roughness. Even small irregularities will be visible under the wallpaper and even more so under the paint. To make the walls look neat, you need to sand them.
How to sand the putty
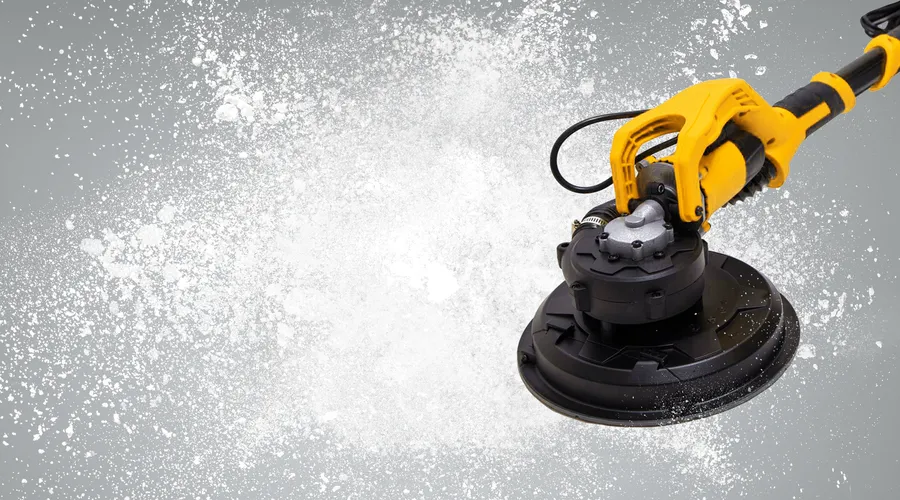
To sand walls, grinding machines and hand tools are used: sanding blocks, sandpaper, or sponges.
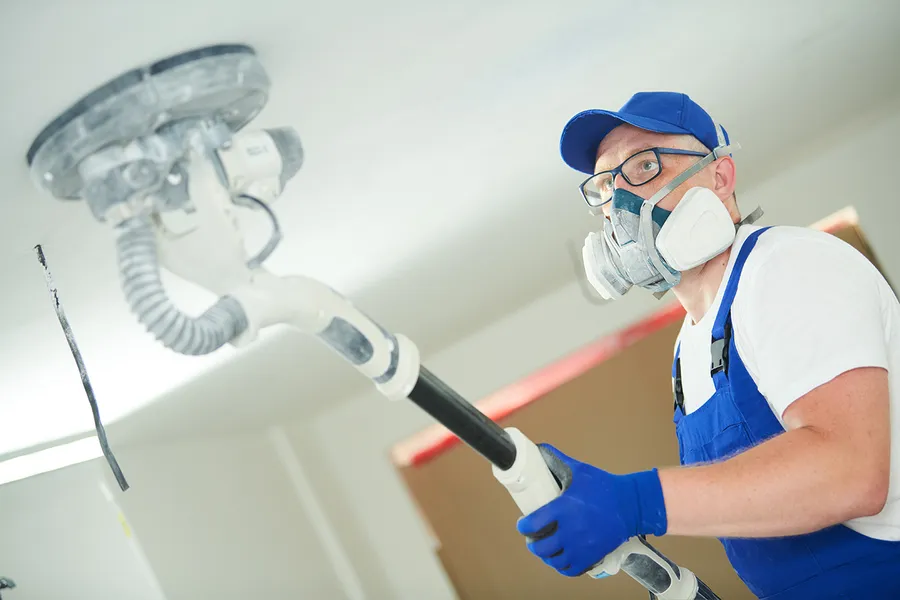
Sanders can quickly and efficiently process large areas of walls. Corners, columns, slopes, abutments, and hard-to-reach places are always processed manually.
Alexey Laman
You can do all the sanding with hand tools, but it is time consuming and difficult. To speed up the process, it is better to combine manual and machine sanding. A grinding machine can be rented. This is a good option for those who do one-time work.
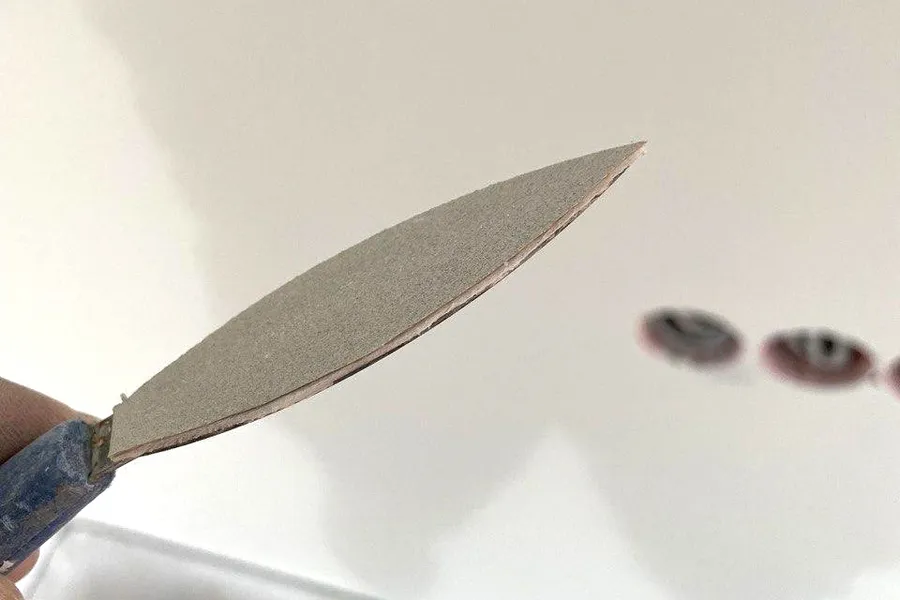
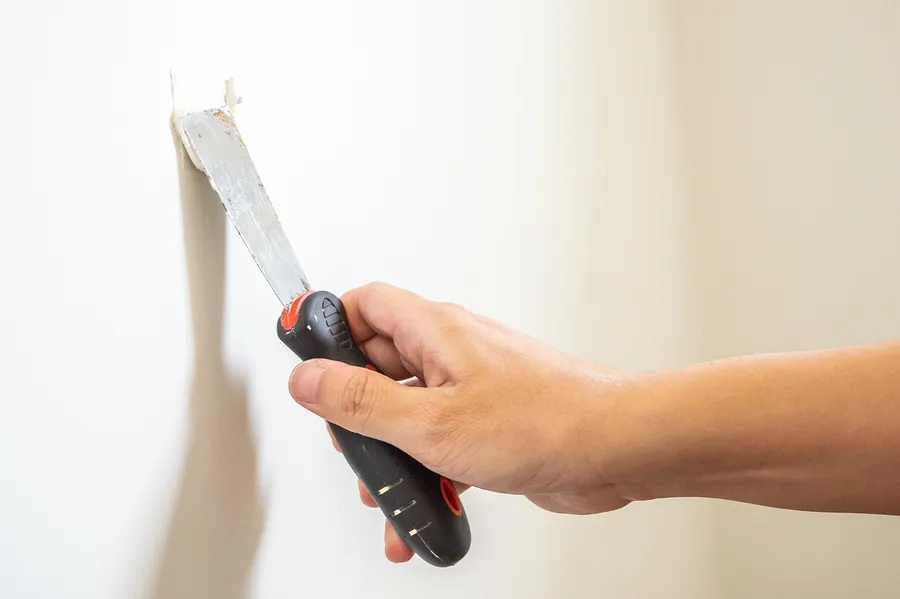
There are no special tools for sanding putty in hard-to-reach places – craftsmen invent them themselves and make them from scrap materials. This can be a spatula on which sandpaper is glued with masking tape, a block of the required size covered with sandpaper, or simply sandpaper folded in several layers.
What kind of sandpaper should I use to sand the putty?
Sandpaper for manual work and sanding discs for a sander are selected according to grain size :
- Sandpaper or discs with coarse abrasive P120 cope well with uneven surfaces but can scratch the surface. They are used to polish walls under wallpaper – scratches will not be noticeable.
- Using fine-grained sandpaper or discs P180, and P240, you can sand the surface to the smoothness needed for painting walls.
You can use two types of abrasive: first, use a coarse-grained one to rub out unevenness, and then use a fine-grained one to achieve smoothness.
How to prepare for work
When sanding the walls after puttying there will be a lot of dust, therefore:
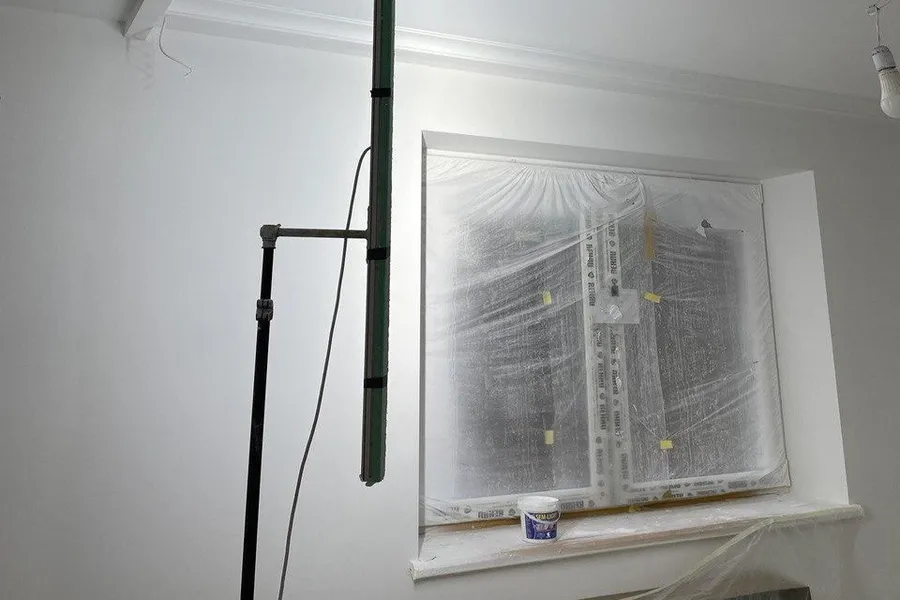
- remove everything possible from the room, including furniture
- if the furniture is built-in, cover it with film and secure the edges with masking tape
- lay a film on the floor to prevent dust from getting into the floor covering
- close the ventilation to prevent dust from filling the air duct
How to sand walls
Start sanding along the top of the wall and then work your way down. A painting table, platform, tour, stepladder, or stable home furniture: a kitchen table or stool will help you reach areas under the ceiling.
Treat the surface evenly
To get a smooth surface, remove the putty in a thin layer. To do this, move the grinder or sanding block in gentle circular motions and move evenly, without stopping for a long time in one place, so as not to “burrow” and make a hole. You will understand intuitively how hard to press the tool as you work, but you don’t need to press hard so as not to damage the surface.
Sand difficult areas by hand
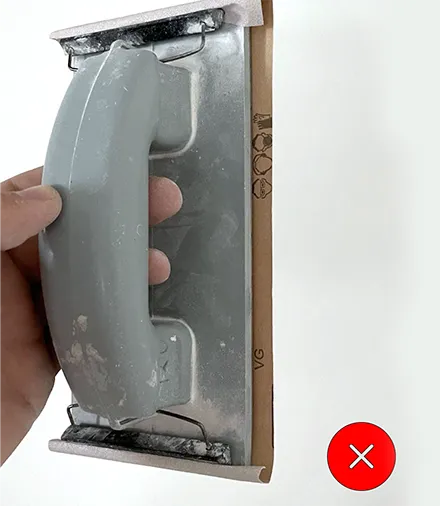
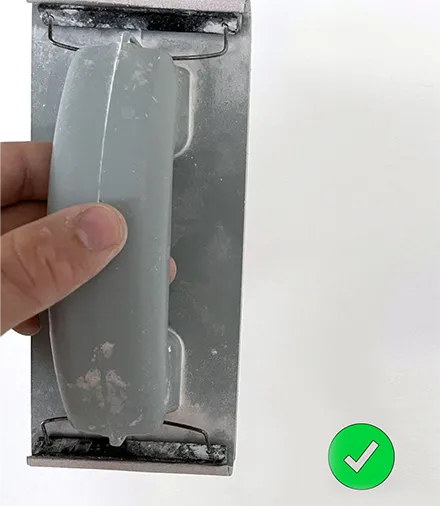
Treat corners, junctions, slopes, cornice niches, or niches for lighting manually and with special care. Smooth out sagging and other irregularities on the putty behind the radiators with a sanding sponge, and in corners and junctions with a sanding block. The sandpaper on the block should be cut exactly along the edge and carefully tucked under the clamps – this way it will not leave scratches and cuts on the adjacent wall.
Change the sandpaper on time
During sanding, the abrasive of the sandpaper or sanding disc gradually wears away, and the work becomes harder. If it takes longer to grout, you have to press harder on the tool, or if the unevenness remains in place after sanding, change the sandpaper.
You can also determine the “performance” of sandpaper or a sanding disc by the appearance of the abrasive side. If it turns black, it’s time to get a new abrasive.
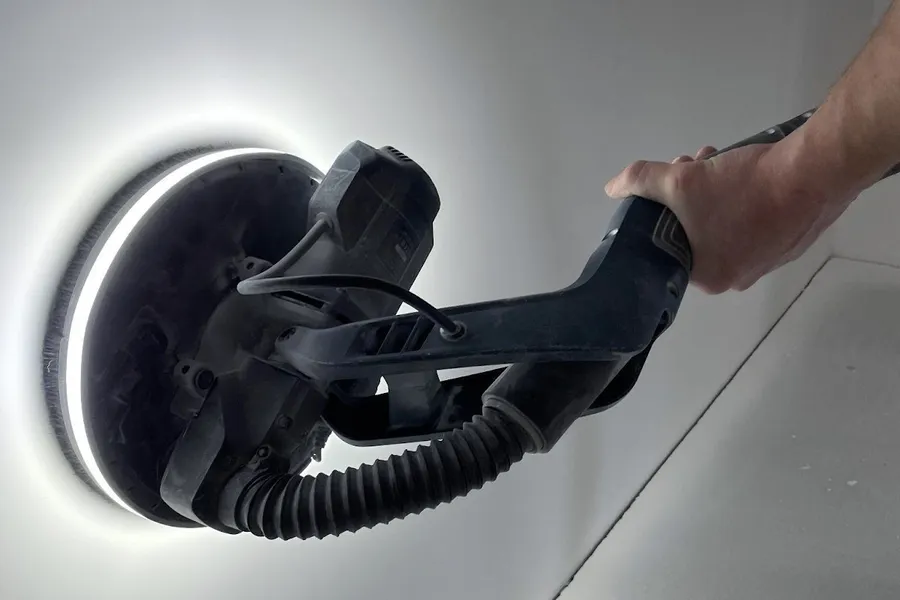
Use light
Be sure to highlight the sanding area so as not to miss defects. Directional light from a spotlight works best.
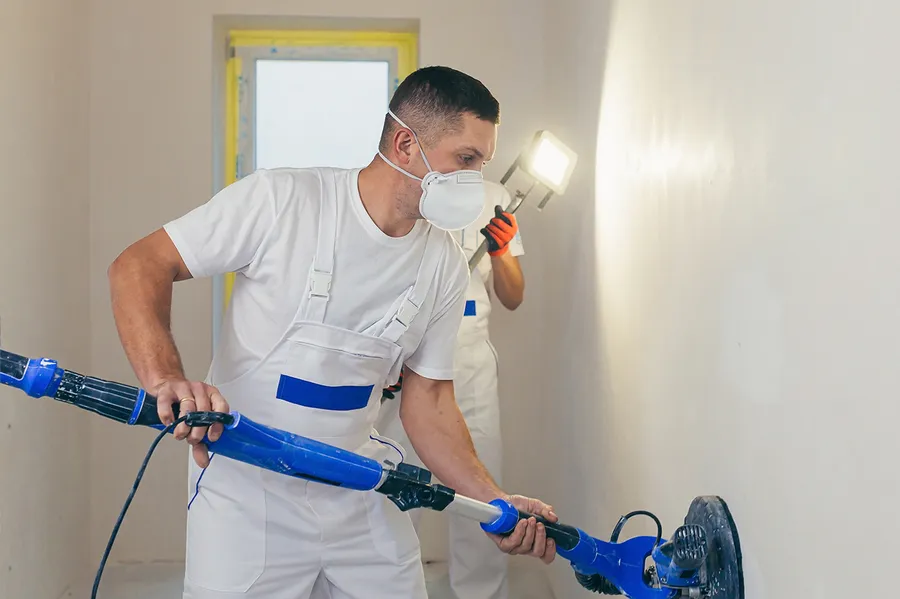
A headlamp or just a lamp will also work. During operation, the light source must be moved, and directed at the desired section of the wall at different angles. For convenience, use a tripod or stand.
Fix minor defects locally
Leave scratches, depressions, pits, and potholes that cannot be sanded off in one or two approaches until the work is completed. After completely sanding the walls, cover these defects with putty, let dry, sand, and prime.
Remove dust before priming
Remove dust after sanding and before applying primer. To do this, take a professional vacuum cleaner (you can rent one ) and vacuum all surfaces, and in hard-to-reach places, sweep away dust with a brush. You should not use a household vacuum cleaner: it is not designed to work with construction dust, its filter will quickly become clogged and the vacuum cleaner may break.
How to make grout without dust
Unfortunately, no dust at all. But its quantity can be greatly reduced if you use a grinding machine with the option of connecting a construction vacuum cleaner. But even then, remember to protect your eyes, nose, mouth, skin and hair. When moving the sander away from the wall, some dust will still fall off.

Summary
- To speed up and make work easier and improve the quality of sanding, use a grinder. Sand difficult and hard-to-reach areas by hand.
- When sanding, make even circular movements without staying in one place. This will remove a thin layer of putty and eliminate any unevenness.
- Change the sandpaper or sanding discs whenever the abrasive becomes dull and difficult to sand.
- Light the work area with a spotlight. Shine light from different directions to see defects.
- Use a professional vacuum cleaner while working and thoroughly remove dust when you are finished sanding.
- Protect yourself from dust: wear a respirator, goggles, gloves, a protective suit and cover your hair.