We tell you what material to choose to eliminate cracks and cracks in different sections of the wall and at joints. We provide useful instructions for repairing defects.
As soon as wallpaper or other finishing is removed from the wall, cracks and other defects immediately become visible. They appear unnoticed by the owner. There can be many reasons for this, but most often it is wear and tear of materials or errors during finishing work. In any case, the surface needs to be repaired. Let’s figure out what and how to seal the gap between the walls, as well as at the joints with the ceiling and floor, where they appear most often.
How to seal a gap between walls
Most often, voids appear between the wall surfaces of panel or block buildings. In brick, such problems arise much less frequently. The choice of material depends on the size of the problem area.
Minor defects
These include gaps whose width is no more than 20 mm. The composition for sealing is selected based on the material of the wall surface. Let’s list the possible options.
- Cement mortar is suitable for concrete and monolithic slabs.
- Gypsum mixtures are used only for repairing interior partitions.
- Silicone sealants are universal. They provide an elastic, durable connection on any basis. They are also used when sealing the joint between the bathtub and the wall.
- Acrylic putties. Another universal option for sealing the joint between walls. They fit well on any base but are less flexible than sealants. Therefore, the connection is less strong.
The embedding process is simple. First, the area is prepared for renovation. To do this, clean the gap from dust and dirt, and prime the clean surface with a suitable primer. After this, carefully apply the repair mixture, making sure to place it inside the crevice. Level the base, allow the composition to dry, and rub it in.
Major defects
Gaps wider than 20mm are considered large and more difficult to seal. Let’s look at the two most commonly used solutions for how to seal the seam between walls.
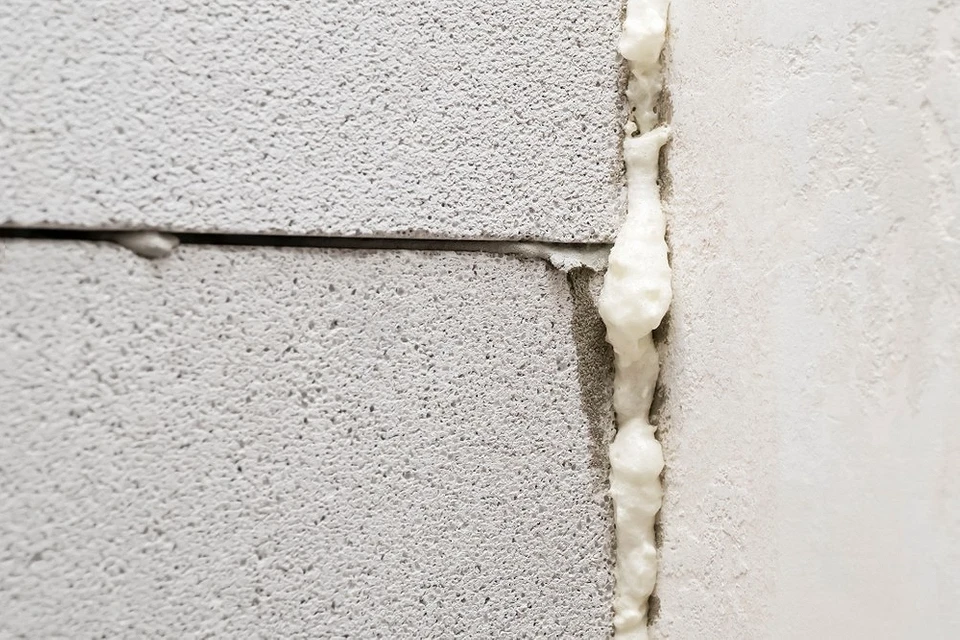
Polyurethane foam
Ideal for filling medium-sized voids. First, the area is prepared for repair work and thoroughly cleaned of dust. Then the gap is foamed to about a third of its volume. Leave to harden. After some time, when the composition has expanded and completely dried, the manipulation is repeated. If necessary, wait for complete hardening and finally fill the void. After the foam has dried, its excess is cut off and the repaired area is finished with putty.
Foam and sealant
If the defect is large, it is first filled with sealant. These are special elements made of polyethylene and polyurethane foam in the form of tubes or cords of different diameters. They are inserted into the cleaned crevice, after which it is gradually filled with foam. The largest cracks and seams are repaired using reinforcing screed. In this case, a special metal tape is mounted into the cavity, and the remaining voids are filled with a cement mixture. The reinforcing screed is carried out by construction specialists.
How to repair cracks in a wall
If the defect is not at the joint, but on any part of the surface, it is easy to repair it yourself. Let’s find out how to seal the cracks in the walls of the house.
Narrow cracks
These include damage with a width of no more than 3 mm. To seal them, take putty and select it to match the type of plaster with which the base is finished. So, for cement, a cement mixture is suitable, for gypsum – based on gypsum.
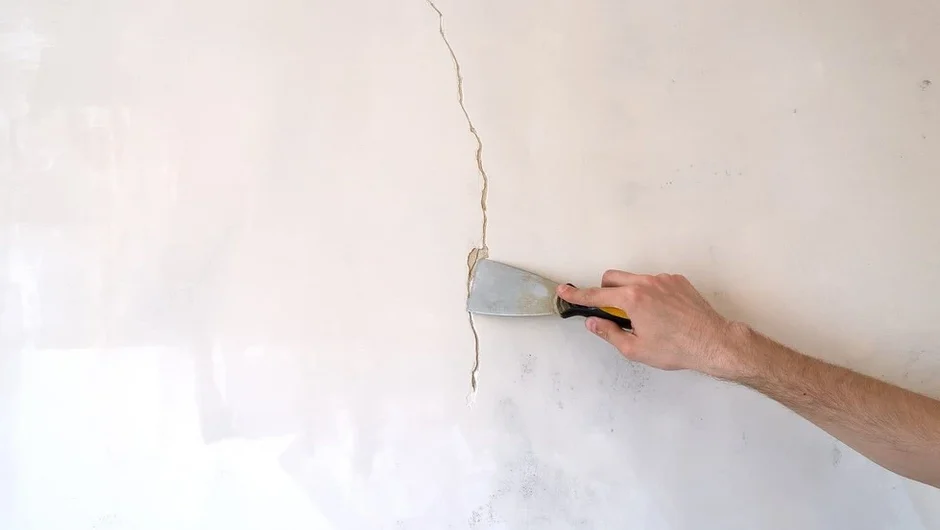
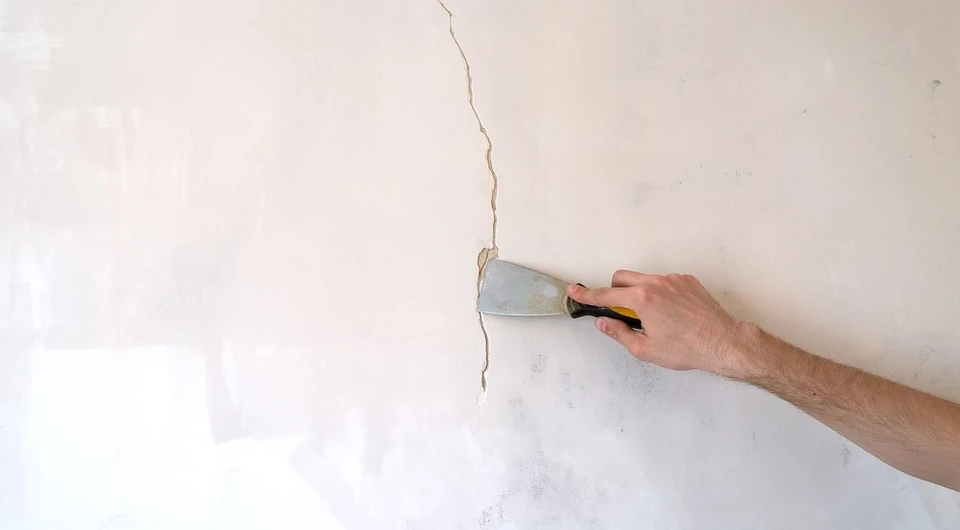
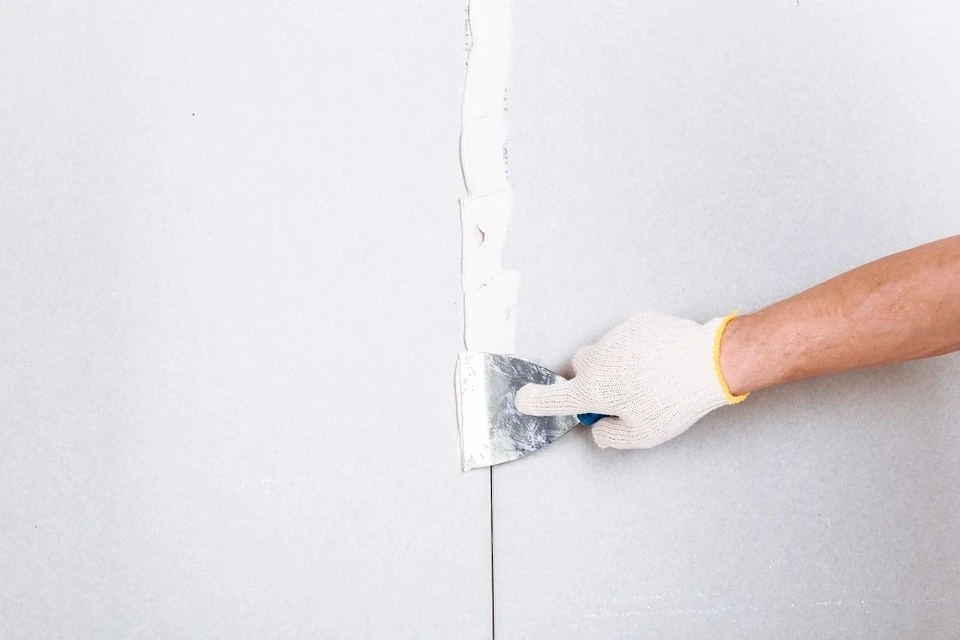
You can take universal acrylic mastic. Before repair, the gap is thoroughly cleaned of dust with a brush. After this, apply a primer to the base, then carefully fill the crack with a repair mixture using a spatula and level the surface. After drying, the area is rubbed with sandpaper.
Large gaps
Wide cracks are sealed with putties suitable for the type of base. In addition, reinforcing tape is also used: non-woven or fiberglass. The repair sequence is as follows.
- First, the gap is opened. This means that its edges expand at an angle of 45˚. This way the void can be completely filled.
- After this, carefully clean the dirt and dust from the crevice and prime it with a suitable primer.
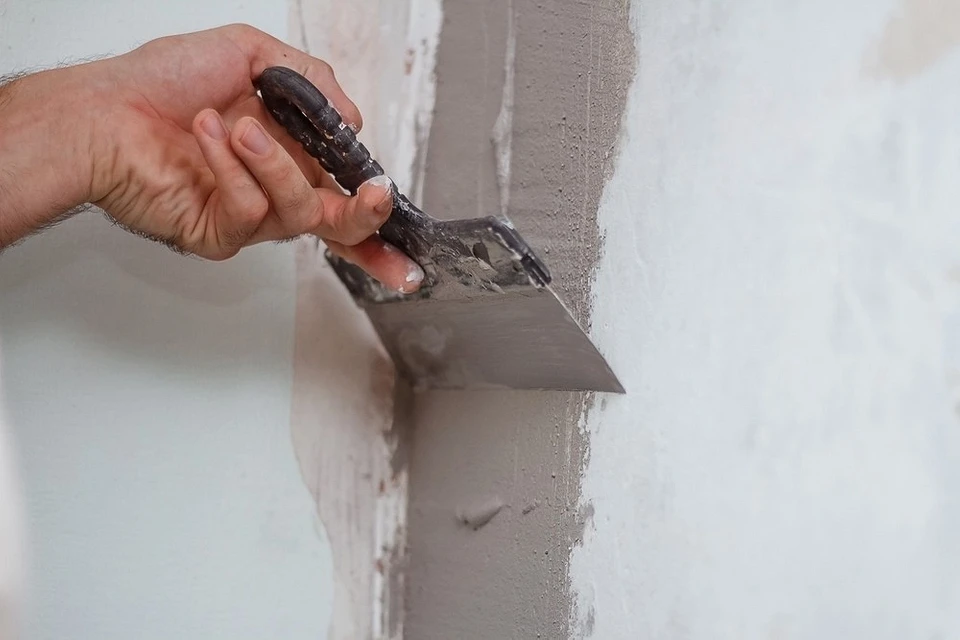
- The primed cavity is carefully filled with the mixture and the surface is leveled. If fiberglass reinforcement tape is used, it is installed before filling the crevice. On the contrary, a polypropylene strip is placed on top of the already-filled area.
- The hardened seam is rubbed with a special grater or sandpaper.
There is another option than to seal the wall in the apartment. Even a large cavity can be sealed without tape if you use a specially reinforced putty.
Through holes are repaired in the same way. Just fill the holes in stages – let one layer harden, then apply the next one.
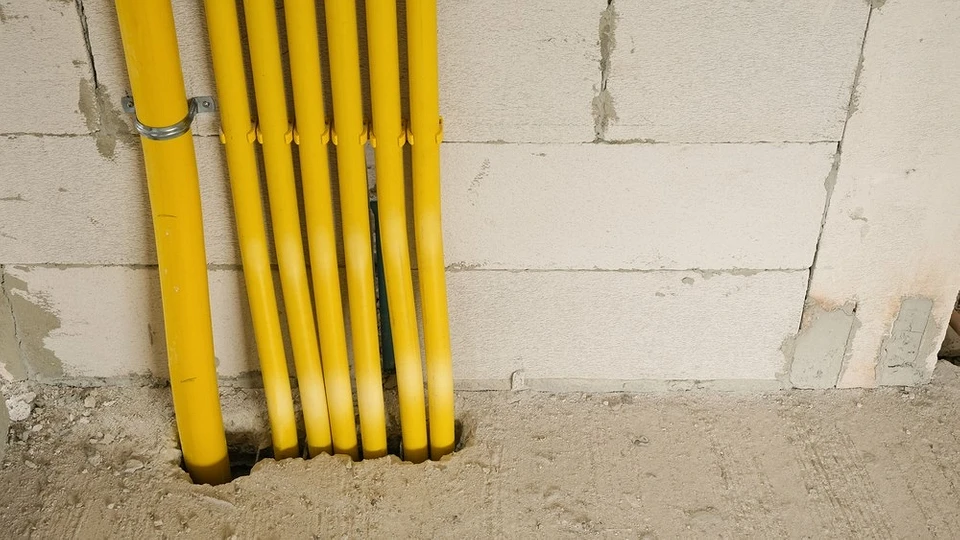
How and how to remove gaps between the wall and the floor
As in previous cases, the choice of material and sealing technology depends on the size of the voids. Let’s look at the possible options.
Small cavity
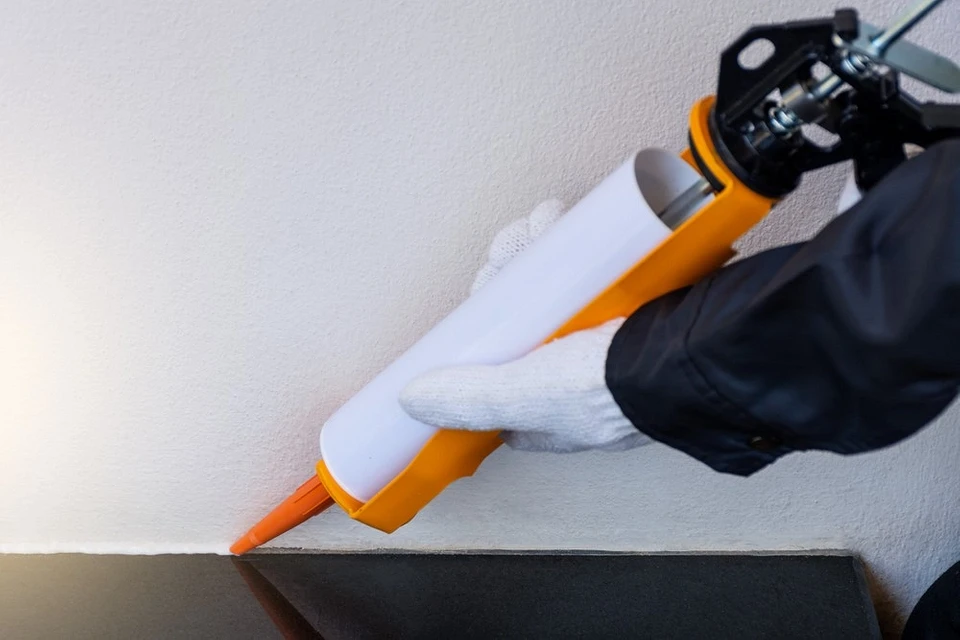
Gaps no wider than 10 mm are considered small. Repair and putty mixtures based on gypsum or cement are suitable for sealing them. Before repairs, the damaged area is completely cleared of finishing: the baseboard is removed, the wallpaper is lifted, and the floor covering is partially dismantled. Wash off the dirt and dry the base. After this, prime the base and let it dry. Then the cavity is carefully filled with a spatula and the planes are leveled. Leave until the mixture has completely hardened. Small cracks in joints can be filled with sealant.
Medium and large defects
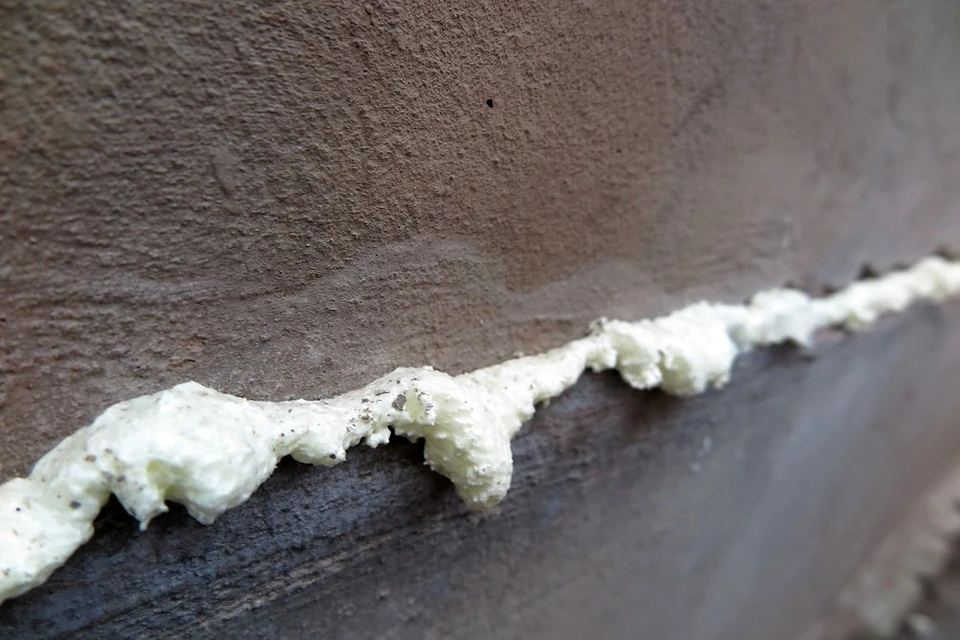
Cavities with a width of 10 to 50 mm are filled with polyurethane foam. The area to be repaired is cleaned, dusted, and primed. After this, the internal space is gradually filled with foam. First, let it dry by a third, then add another portion of the composition. After completing the filling, cut off the hardened foam and cover the repaired area with putty.
The filler is placed in large voids before foaming. This reduces the consumption of repair material and prevents the growth of the crack. Not very large cavities are filled with tow or construction felt. They are dense and quite flexible. Important point. Before installation, textiles are treated with an insecticide spray. This will prevent unwanted insects from appearing.
The material is cut into strips and rolled into rolls, the diameter of which is slightly larger than the width of the crevice. The filler is compacted tightly into the gap using a rubber hammer. After this, seal the joint with a suitable repair mortar and carefully level the planes.
Very large cavities are pre-filled with solid fractions. It is best to use brick chips. It is advisable to grind the brick to fragments 10-15 mm in diameter. They can be packed tightly inside the joint. The filled space is foamed, the polymer is allowed to harden, and the excess is cut off. After this, the repaired fragment is sealed with putty.
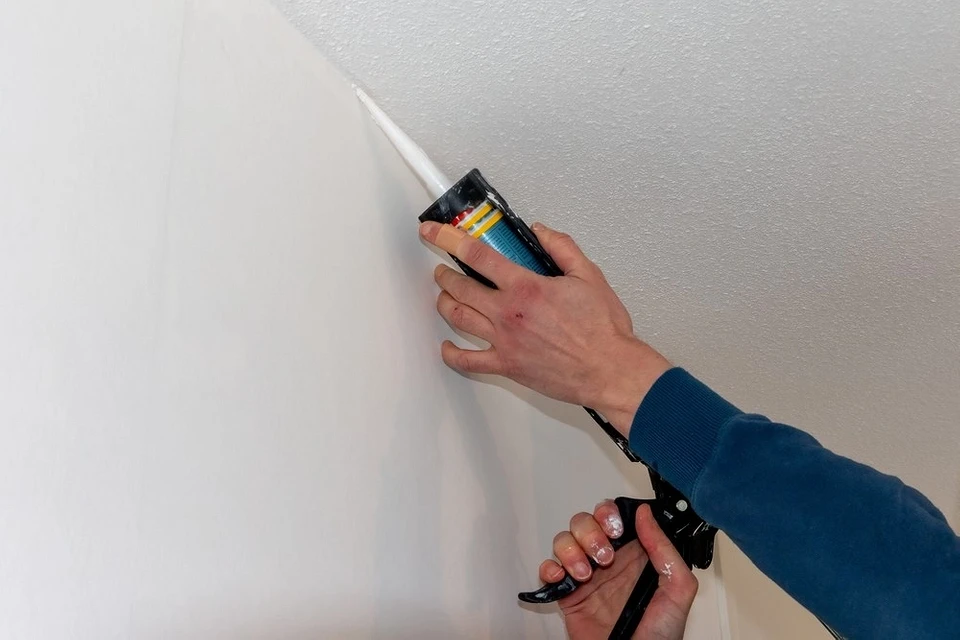
How to seal the joint between the ceiling and wall
Crevices in this area are sealed with different materials. The choice depends on the size of the cavity. Let’s look at the possible options.
Small defect
These include shallow gaps up to 10 mm wide. They are quite easy to seal with putty, gypsum, or cement. The latter is chosen for work in rooms with high humidity. You can take universal acrylic mastic. It is suitable for any operating conditions and substrates. The crack is thoroughly cleaned, using a brush or broom to free it from pieces of dirt and dust. Then the base is primed and waited to dry. Use a spatula to place the mixture into the crevice, carefully distribute and level the surfaces. After hardening, clean the seam. You can use acrylic sealant for sealing. Silicone will not work because it does not adhere well to the base.
Medium and large cracks
They are repaired with polyurethane foam. Before foaming, it is recommended to fill large cavities with dense non-flammable material, for example, mineral wool. They begin by cleaning the repaired area from contaminants. Thoroughly clean pieces of plaster, dust, etc. The cleaned base must be primed. This will improve the adhesion of the repair mortar to the base.

After this, if necessary, fill the internal space with mineral wool. Place it tightly so that it fills as much volume as possible. Then the crack is foamed. Fill no more than a third of the internal cavity. The polymer is allowed to expand and harden when exposed to air. If necessary, foam again. After the foam has dried, carefully cut off its excess and carefully seal the joint with acrylic or gypsum putty. Wait until it hardens and clean the surface.