We tell you what types of spray guns there are and how to work with them correctly. We give useful tips on preparing for painting and caring for the instrument.
The result of painting depends not only on the quality of the paint and the skill of the painter but also on the tool with which the paint is applied. The easiest way to do this is with a brush or roller, but this does not always result in a perfectly painted surface. Painting goes much better if the master uses a paint sprayer. This device saves paintwork and paints evenly and quickly, you just need to learn how to work with it correctly. Let’s look at all the subtleties of the process, how to paint with a spray gun.
The principle of operation of the spray gun
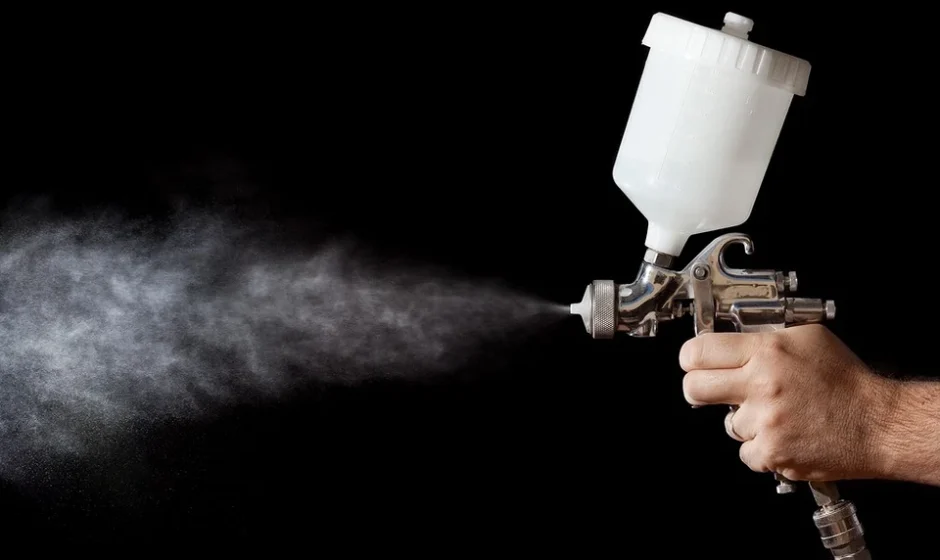
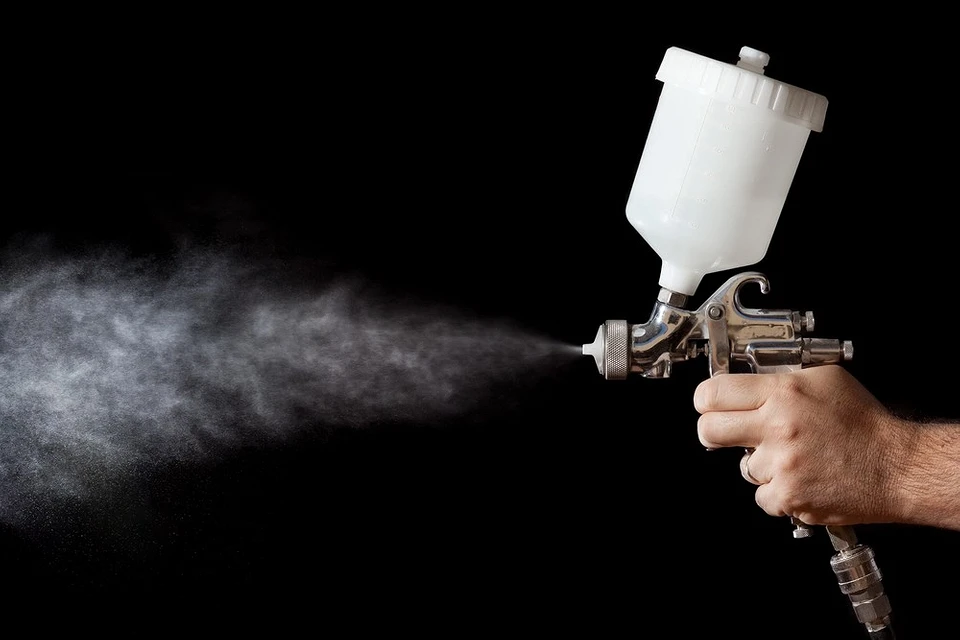
The tool is designed for applying paints and varnishes of different densities to painted surfaces. This could be a wall, floor, etc. Regardless of the type of spray gun, they all work on the same principle. High-pressure paint is ejected through the nozzle in the form of small sprays. They are collected in a stream, it is called a torch, and are sent to the base prepared for painting. Each device has a tank into which the coloring mixture is poured, a nozzle hole, and a lever that activates the device.
What types of spray guns are there?
There are three types of instruments. They differ in the method of injecting the coloring solution. Let us briefly describe all types.
Mechanical
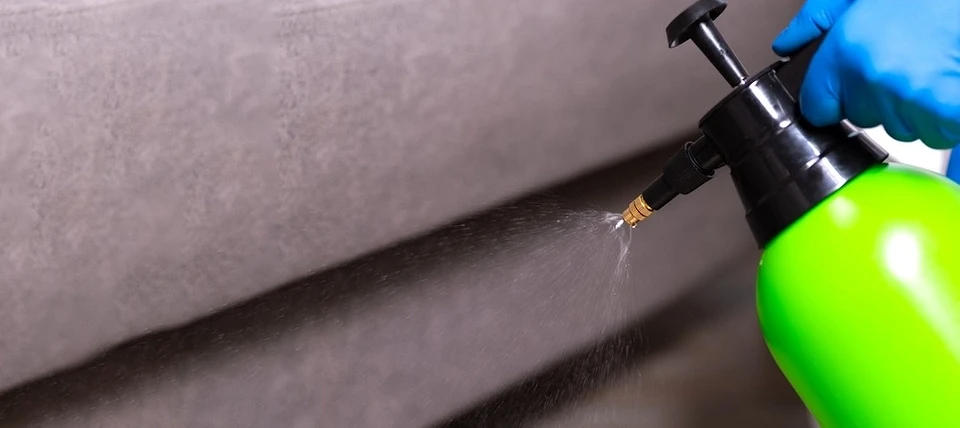
The paint is pumped in by hand. The simplest mechanical device works similarly to a water pistol for children. The instructions on how to use a hand spray gun are very simple. The user points the nozzle in the desired direction and begins pumping the pump, which supplies the paint. There is a slightly more complicated version where you can pump air into the tank, close the valve, and then paint. However such air injection does not last very long. You have to pump it up often. The main advantage of mechanical devices is ease of use. But painting with them is inconvenient because you have to pump and direct the jet at the same time. They are more often used for simple work: whitewashing or processing trees, painting small surfaces, etc.
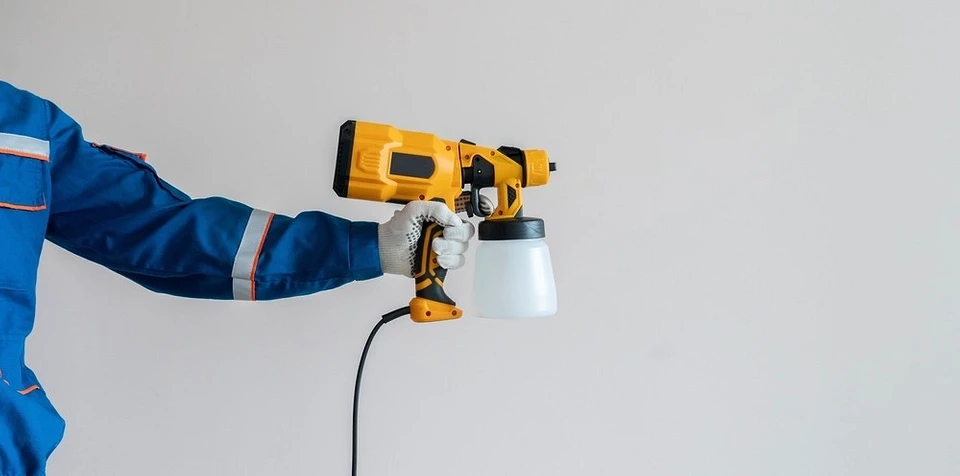
Electrical
The ink mixture is pumped by an electric pump. The user only has to guide the nozzle. The electrical appliance is easy to use and the painting is done with high quality. There are two types of such devices, differing in the way they supply electricity. Network models operate from the network. They are light, powerful, and productive, but are limited in mobility by the length of the cord. Usually, it is one and a half to two meters. It’s not always possible to “reach” where you need to go. Rechargeable devices are powered by rechargeable batteries attached to the housing. They are mobile, but limited in power and operating time. After the battery is discharged, it needs to be charged. In addition, the weight of the battery increases the weight of the device, making it more difficult for them to operate.
Pneumatic
Professional equipment consists of several parts. The most cumbersome is the compressor, which creates high pressure to supply the coloring liquid. When the compressor is turned on, it supplies compressed air to the spray gun. When the shutter trigger is pressed, paint comes out of the nozzle. A big plus of pneumatics is the ability to customize. The power of the air and paint supply, the size of the torch, and the pressure can be adjusted. Thus, it is possible to achieve the most uniform spraying of any composition. A significant disadvantage can be considered the high price of the equipment.
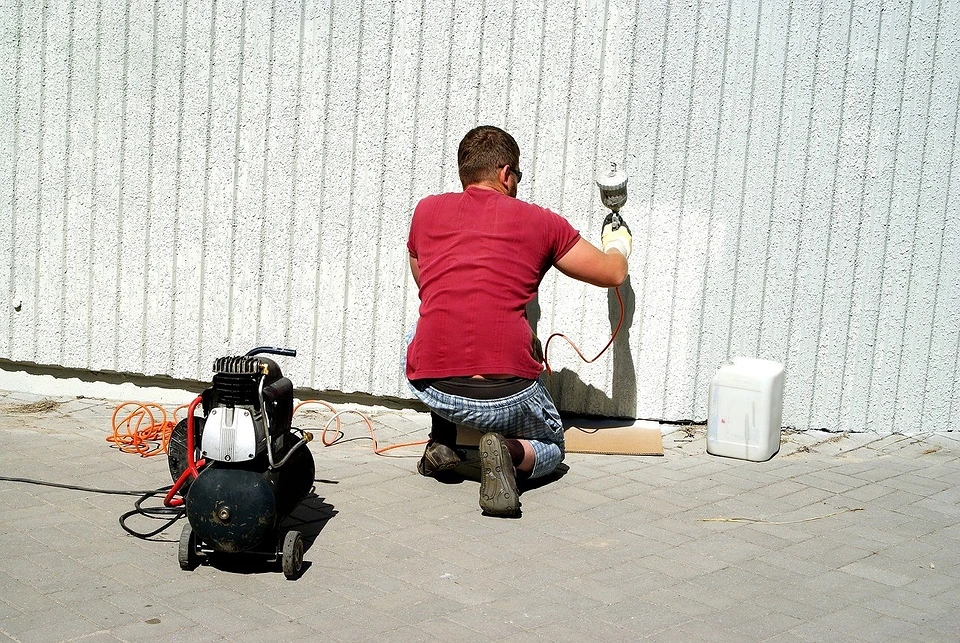
Pneumatics are considered the best choice for painting. It is capable of quickly and high-quality painting of any surface: ceilings, walls, facades, etc. If there is no such equipment, any type of electrical appliance will cope with the task, but painting will take more time.
How to prepare for work
To get a good result, you need to properly prepare for coloring. It includes three stages.
Surface Preparation
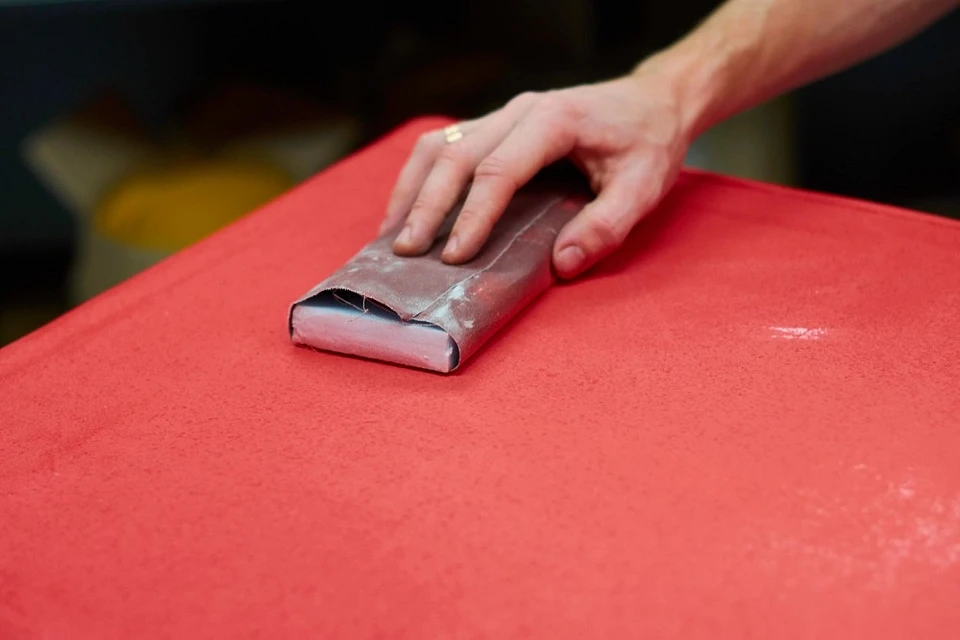
The spray gun is demanding the quality of the substrate being painted. If, when applying paint with a roller or brush, you can paint over poorly cleaned or dusty areas in several passes, this will not work here. The paint sprayed with a nozzle will not penetrate the roughness; it will roll off the contaminated base. Therefore, before painting, the surface must be thoroughly sanded, cleaned of dirt, degreased, and dried. If there are any defects in the coating, they are puttied beforehand, and the dried layer of putty is cleaned with sandpaper.
The coloring liquid rolls off smooth or glossy coatings, so before painting they are treated with fine sandpaper, cleaned of dust, and degreased. All surfaces that are not planned to be painted must be protected from splashes. To do this, they are covered with polyethylene, paper, and masking tape. In addition, ventilation must be provided in the room where the work will be carried out. Paints and varnishes often have a strong odor and can be toxic. It is necessary to remove all sources of fire or heat – sprayed paints and varnishes form a suspension that can ignite.
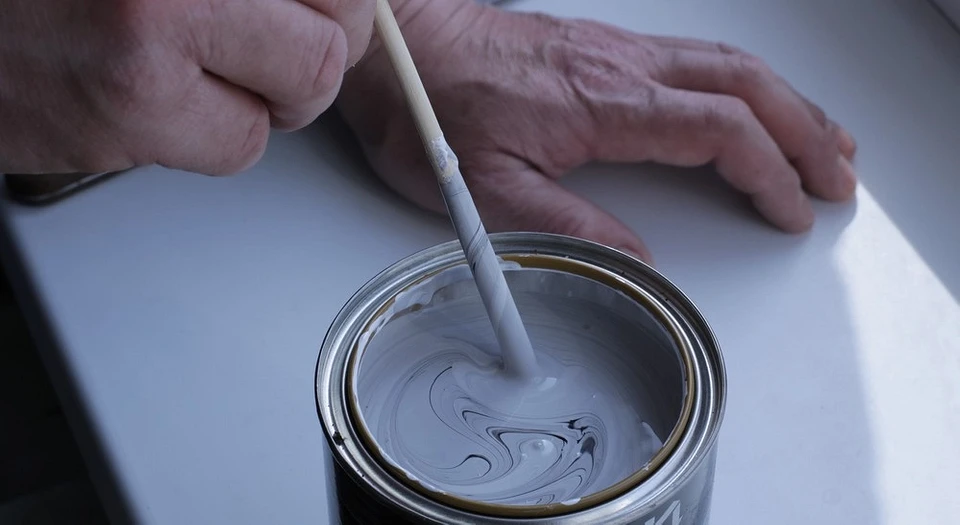
Preparing the Paint
The coloring composition must have a certain viscosity. Each spray gun has a specified range of acceptable values. If the mixture is too viscous, the tool will not be able to push it through the nozzle and it will clog. A solution that is too thin will form streaks. Therefore, before work, you need to clarify the permissible viscosity range and prepare the paint. You need to measure its viscosity. The easiest way to do this is with a viscometer. This is a measuring device, often included with the tool.
The measurement is simple. The viscometer container is filled with coloring liquid and the time during which it flows out is recorded. If the viscosity is higher than normal, the paint needs to be diluted. To do this, a suitable diluent is added to it, but not more than 5% of the volume of the coloring liquid. Alkyd and oil varnishes are diluted with white spirit, primers, and nitrocellulose enamels are diluted with 646 solvents or bituminous varnishes with solvent. Water-dispersion mixtures can be diluted with clean water, and their volume can reach up to 10%.
Preparing the Spray Gun
Sprayers are equipped with removable nozzles with holes of different sizes. Before work, you need to choose the appropriate option. This is done based on the viscosity of the coloring solution. In the table below we have collected approximate values.
| Material | Nozzle diameter, mm |
|---|---|
| Liquid putties | 2-3 |
| Leveling primers-fillers | 1.6-1.8 |
| Alkyd and acrylic enamels, primers | 1.4-1.5 |
| Liquid water-based emulsions, solvent-based enamels | 1.3-1.4 |
Important. If you have to work with a nozzle with a diameter greater than 1.5 mm, you need to know for sure that the power of the spray gun is sufficient for spraying viscous mixtures.
Before work, you need to check the quality of the print. They do it like this.
- Pour the prepared paint material into the tank. Set the airflow and paint adjustments to maximum.
- Place the nozzle guide in the “horizontal” position, then you will get a vertical torch.
- Bring the sprayer to the test surface at a distance called working distance. It must be clarified in the technical documentation for the device. Usually, it is from 100 to 300 mm.
- Hold the spray gun so that it is strictly perpendicular to the substrate being painted. Pull the trigger and hold it for about a second.
- Look closely at the print. Its shape will tell you whether adjustments are needed and which ones. In the table, we have collected possible options.
| Imprint shape | Adjustments |
|---|---|
| An evenly colored oval of regular shape, the edges are slightly blurred. | Not required. |
| An oval of irregular shape with a clear skew to one side. | Clean the nozzle. |
| There are drips along the edges of the oval. | The oval is of regular shape, and the center of the spot is uneven, as if “dusty.” |
| The oval is of regular shape, the center of the spot is uneven, as if “dusty.” | Reduce paint viscosity. |
| The print resembles a figure eight. | Reduce air flow pressure. |
| A regular oval with streaks in the center of the print. | Reduce the consumption of coloring liquid. |
Step-by-step instructions on how to use an electric or pneumatic spray gun
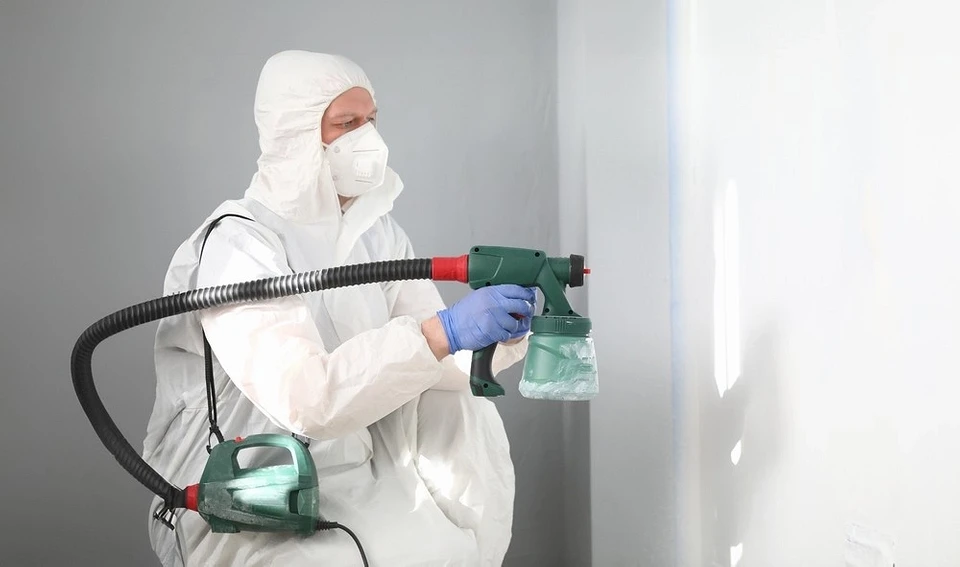
Before you start painting, you need to protect yourself from splashes. Be sure to wear a respirator mask and special glasses. It is advisable to wear gloves and protective overalls made of non-woven fabric. Simple step-by-step instructions.
- Start painting from the top corner of the surface. Point the nozzle at it so that it is located exactly perpendicular to the plane, and pull the trigger.
- Guide the tool to the end of the surface to obtain a horizontal strip. Maintain the working distance and perpendicular to the plane to be painted.
- Lower the tool so that the next strip overlaps the previous one by about half. Paint the second stripe.
- Paint the entire surface in the same way. While working, do not forget to monitor the perpendicular between the spray gun and the plane and maintain the working distance. If necessary, change your grip on the tool to spray the paint correctly.
Important point. If the surface to be painted is large and it is very inconvenient to paint the strip in one pass, it is divided into several sectors. First, one sector is completely painted. After that, they move on to the next one. When painting, grab the side part of the painted sector, going 100-150 mm into it. This gives an evenly painted plane.
The painting sequence is suitable for any surface. Horizontal ones are painted in the same way as vertical ones. The algorithm for how to paint a ceiling with a spray gun has one feature. They begin work by painting the corners and joints with the walls. After this, paint the ceiling covering as described above.
How to care for your instrument
Immediately after use, the sprayer must be cleaned so that the coloring composition does not dry out. Otherwise, the tool will be damaged. The tank is removed and the remaining solution is poured out of it. Rinse the container with a suitable solvent. Then pour a little solvent into the tank, set it in place, and turn on the spray for a few seconds. This procedure helps to clean the internal surfaces. After this, the spray gun is disassembled, all its elements are washed and dried. Clean the nozzle with a thin stick or toothpick. This should not be done with a metal device to avoid damage to the instrument. The washed and dried nebulizer is collected.