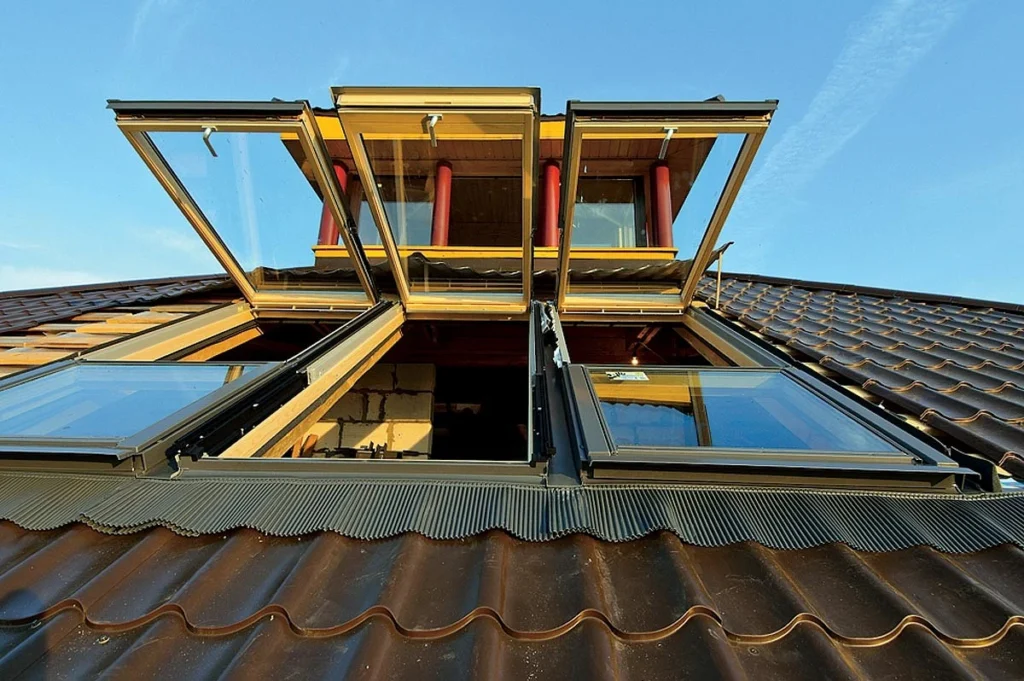
Special roof windows sometimes leak during heavy rains, and in winter they become covered with frost on the inside and snow on the outside. The reason for this, as a rule, is illiterate installation.
Ideally, the installation of roof windows should be provided for when designing a building, but there is experience in installing roof windows in already-built houses. Manufacturers usually recommend using the services of certified teams, however, with a small amount of work (one or two windows) and a significant distance from the city, calling experienced professionals will be expensive, so many customers resort to the services of a roofing team. In this case, the work of the craftsmen must be carefully monitored, but first, you must purchase the “right” accessories.
Stage 1: purchasing window components
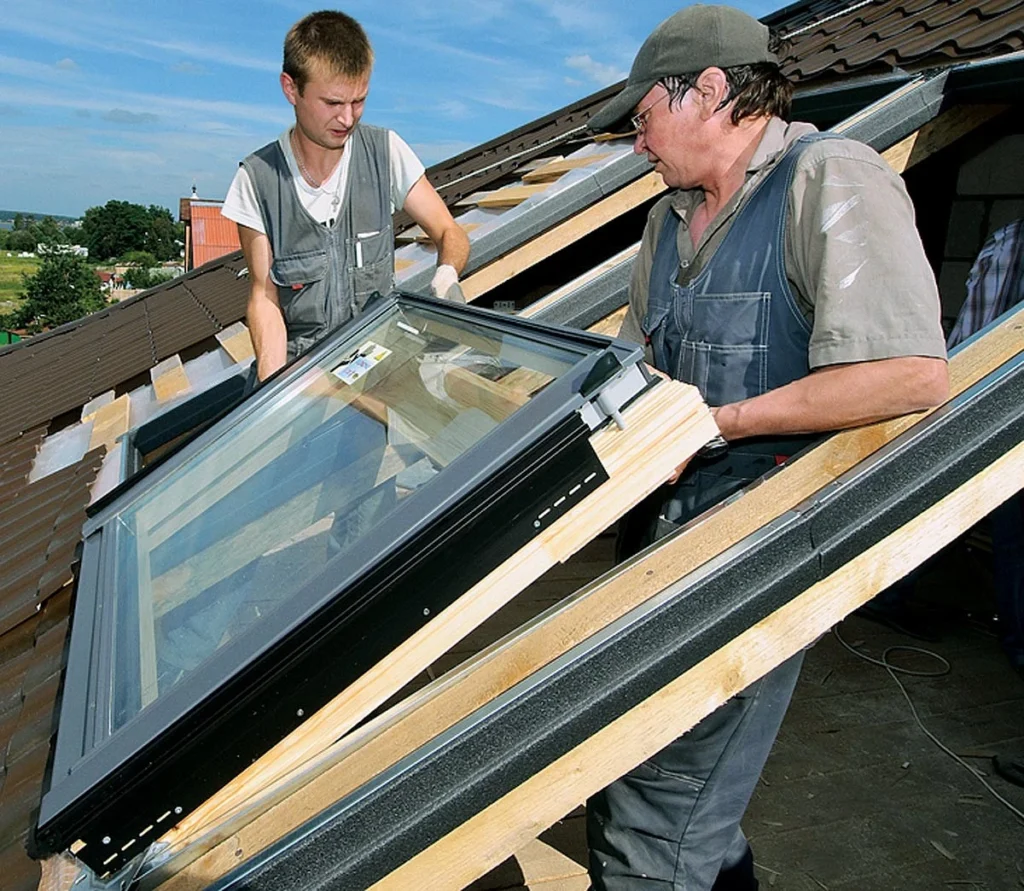
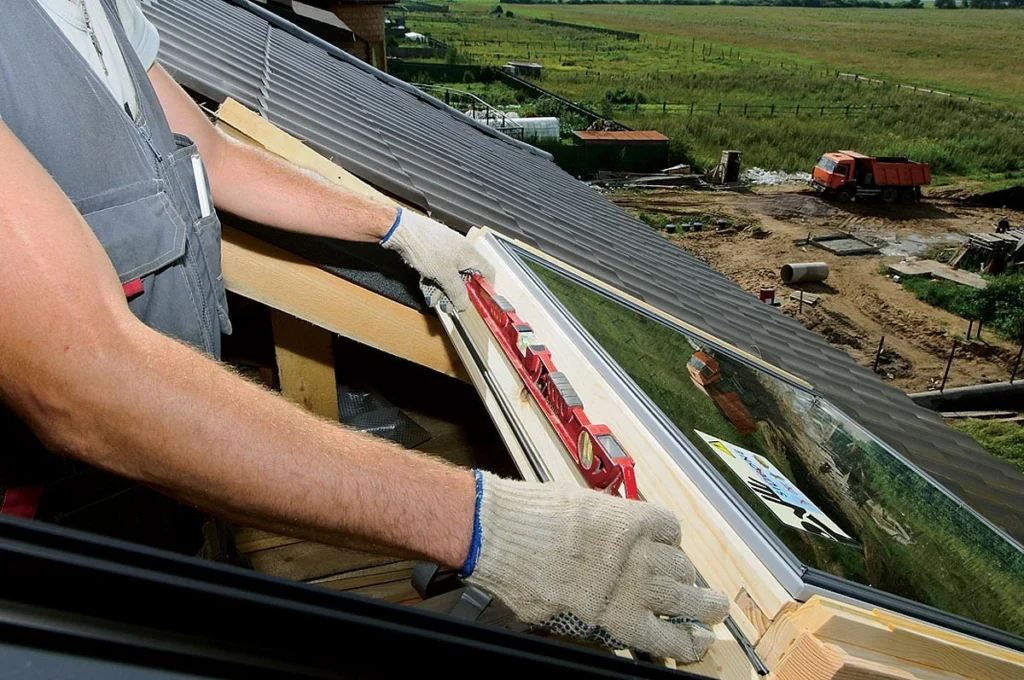
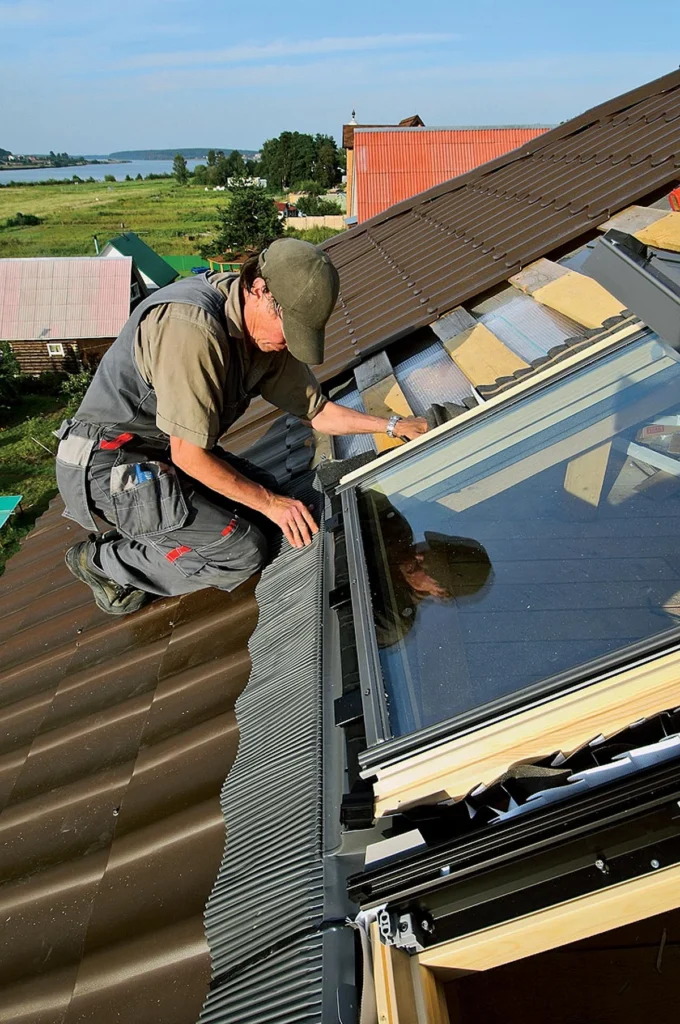
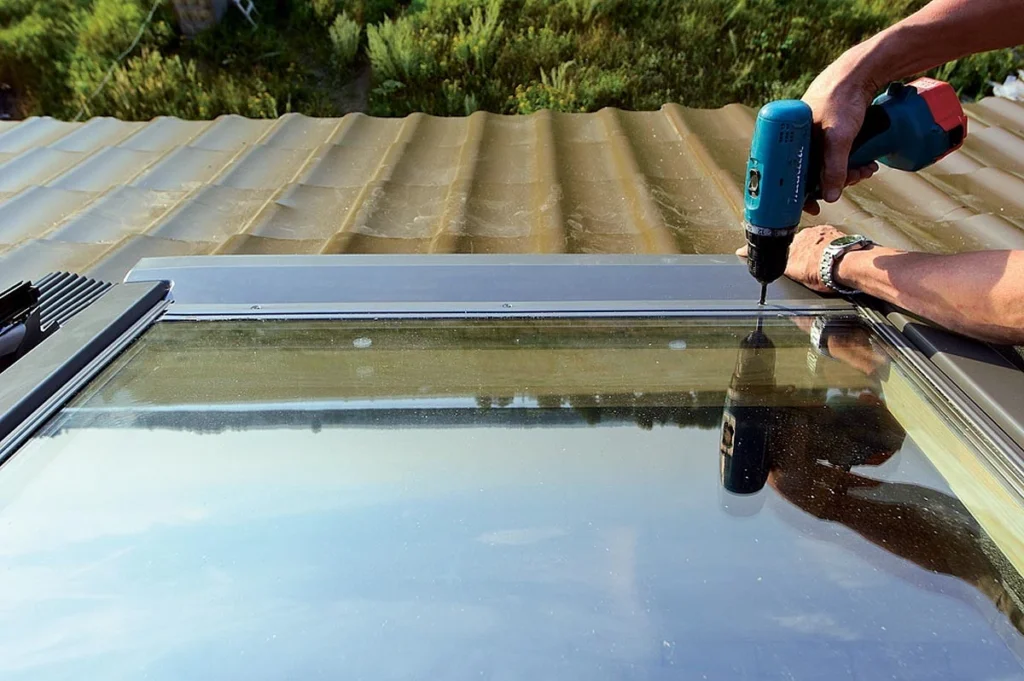
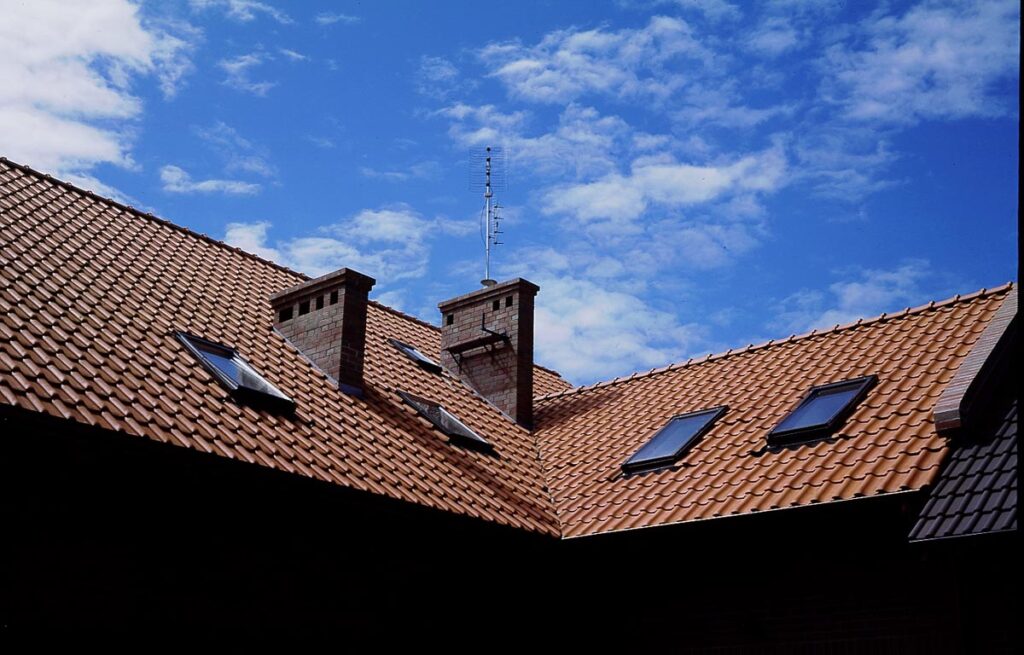
The roof window is installed between the rafters, using a special accessory – flashing – to seal the joint with the roof. For the internal vapor barrier of the installation seam, special films are used, and then a panel frame is attached. It is best to purchase the entire kit from the window manufacturer. As a last resort, you can save on vapor barriers and interior finishing panels (these materials are also sold in the markets – it is only important to buy products from well-known brands, for example, Illbruk or TechnoNIKOL). But you won’t be able to do without flashing, and it must match the roofing – a product designed for flexible tiles will not be suitable for corrugated sheeting.
Stage 2: fastening and waterproofing
If it suddenly turns out that the window frame barely fits between the rafters, it is better to try to return the window and buy another one or make changes to the rafter structure (move the rafter leg a little), otherwise, it will not be possible to install the window correctly. The installation gap should be 10-30 mm.
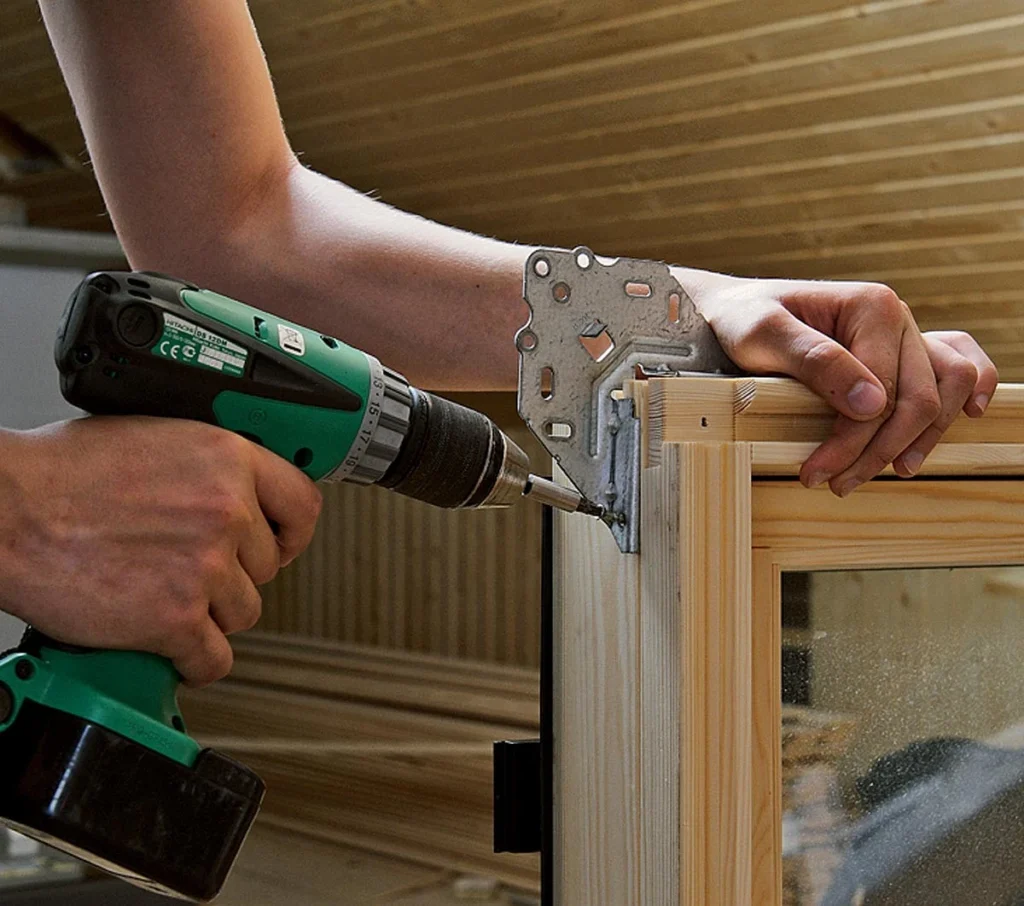
You cannot fasten the roof window frame with ordinary frame dowels; you must stock up on mounting angles or plates. Another important nuance concerns the foam for insulating the seam – it must have a low expansion coefficient so as not to deform the structure.
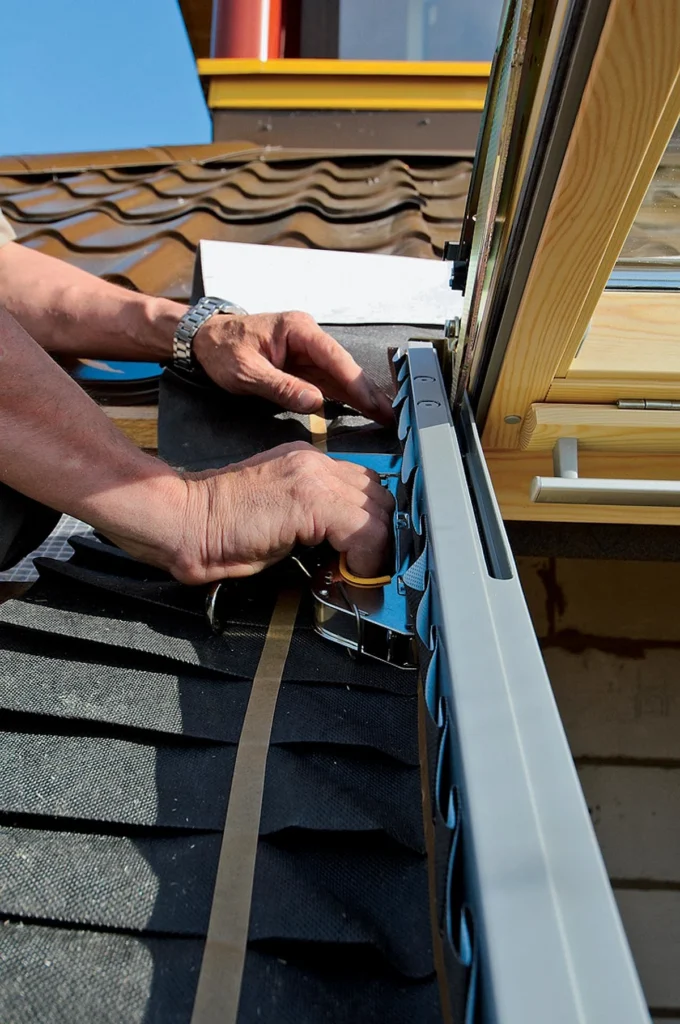
The flashing is installed on top of a vapor-permeable waterproofing membrane, which must be tightly connected (glued with mastic or tape) to the under-roof waterproofing. Drainage gutters are supplied along with the flashing – make sure that the installers do not “forget” about them, otherwise, there is a high probability of rain and melt water penetrating the thickness of the roofing pie.
Stage 3: interior decoration of the opening
From the inside, the gap between the window block and the rafters must be additionally insulated. Special roofing slabs made of stone or glass wool with water-repellent properties are ideal for this purpose. If you carelessly insulate the slopes, condensation will fall out abundantly around the perimeter of the window – sometimes this problem is even mistaken for a leak. Next, the insulation is protected from humid room air using a special apron or a self-made pattern from a vapor barrier film. All joints must be taped with tape. When installing sloped panels, it is important not to break through the vapor barrier. In addition, the bottom panel should be installed in a vertical plane so that it does not interfere with the blowing of warm air from the battery onto the glass.
Installation of roof windows
