This is just a godsend for tourists, fishermen, hunters, or all those people who like to cook outdoors. A quick rocket stove that can be made in 5-10 minutes from any log. Such a miracle stove will burn for more than 6 hours! All this time you can continuously cook food or simply warm yourself with a flame.
This is a good and fast design that will be very useful not only on a hike, but also at the garden, picnic, or if the power and gas are turned off at home.
Will need
The requirements and necessary details are simply minimal:
- Log.
- Feather drill.
- 3 nails.
You will also need a screwdriver, hammer, and pliers.
Making a rocket stove from a log
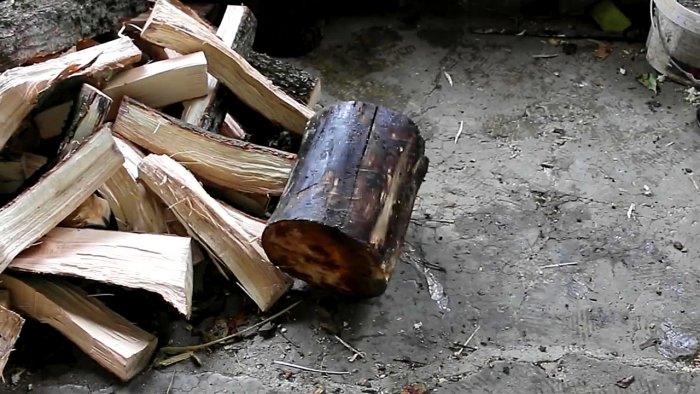
We found a log of medium thickness, or saw a lying tree trunk, fortunately, there are plenty of them in the forest.
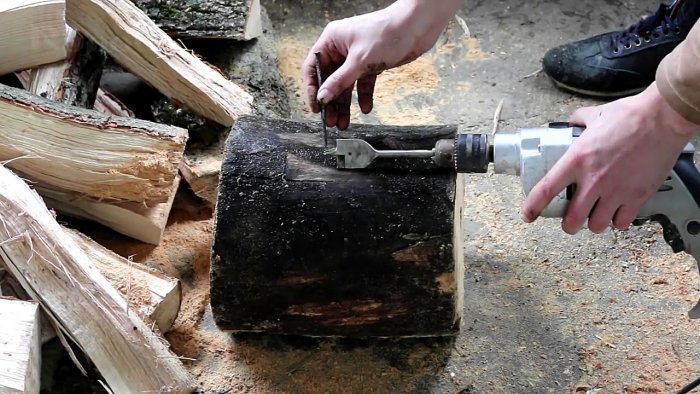
We take a cordless screwdriver with a feather drill with a diameter of 30-50 mm.
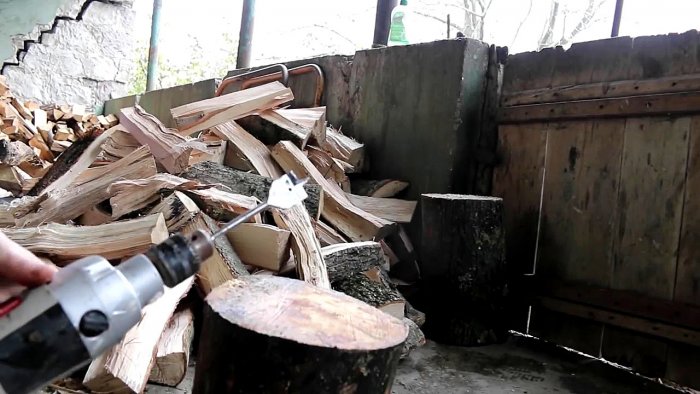
Drill a blind hole in the center of the log.
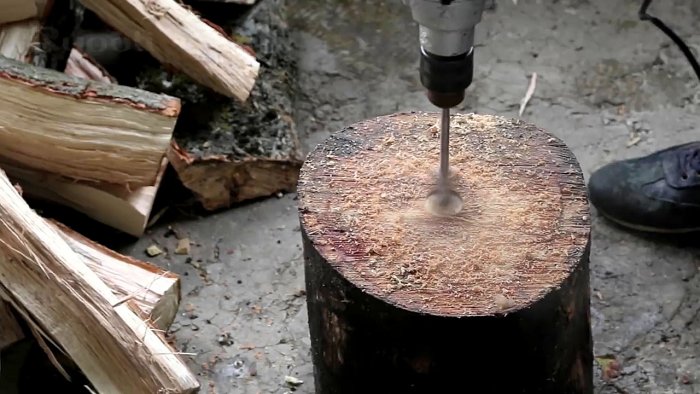
We drill all the way to go through the middle of the log. Shake out the shavings; they will no longer be useful.
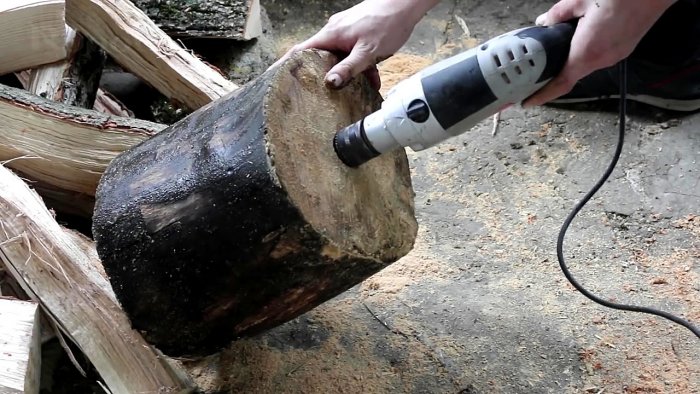
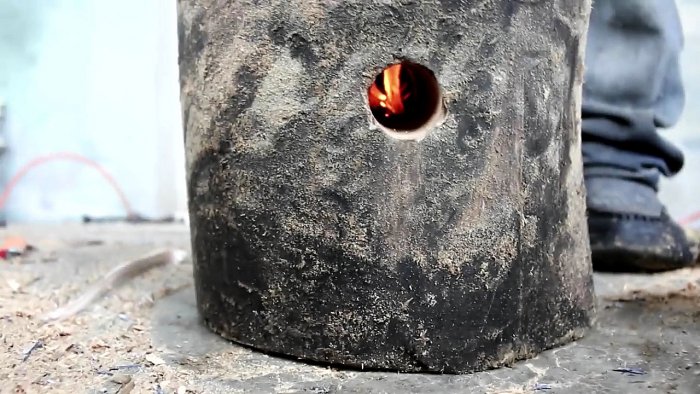
Next, you need to drill a hole in the side, so that the resulting channel meets the existing channel. This can be done simply by placing the drill on the side and noticing the drilled distance.
We drill, and shake out the sawdust.
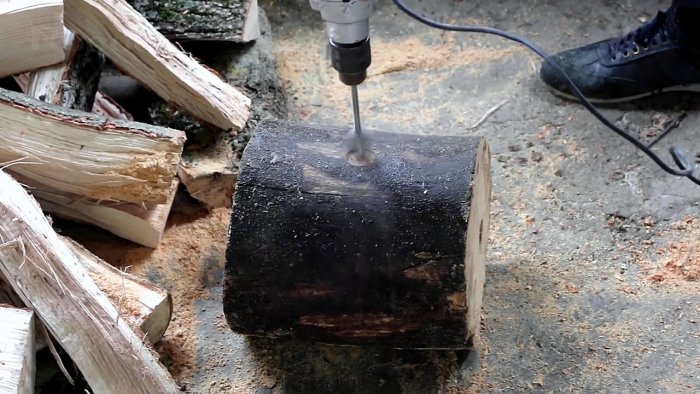

Thus, the log should have an L-shaped channel like a jet stove.
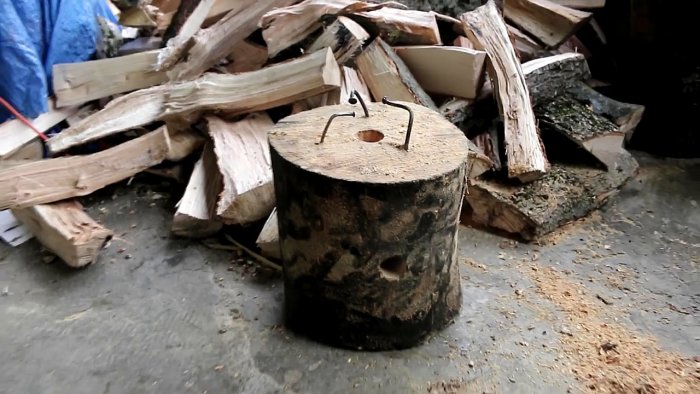
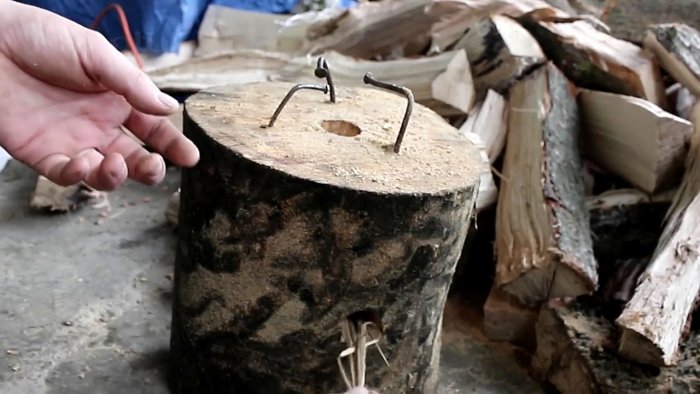
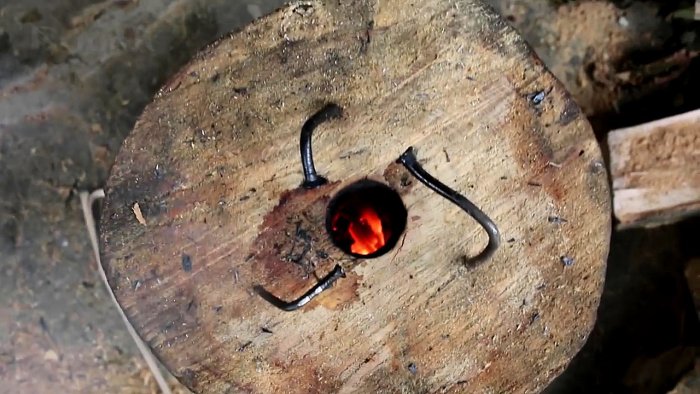
We drive three nails on top.
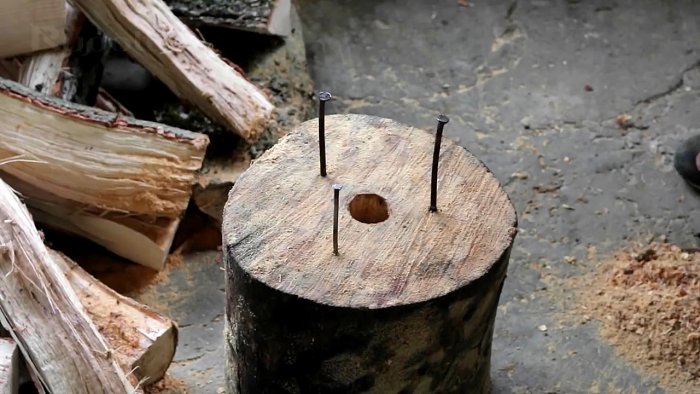
Using pliers, bend the nails. This will be a stand for pots and pans.
Lighting up the stove
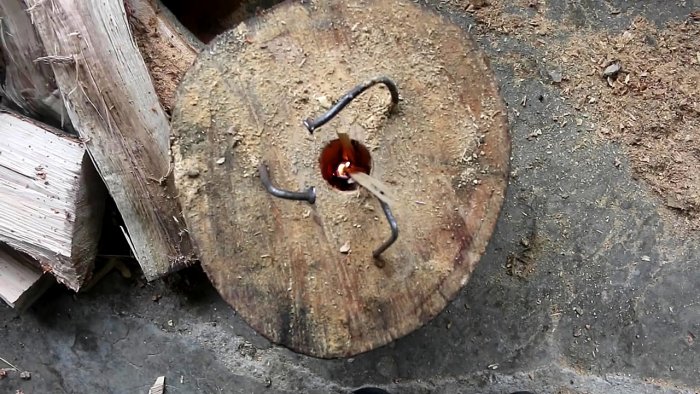
Insert dry wood chips into the hole from the side until it stops.
Now light the splinter and carefully insert it into the central hole.
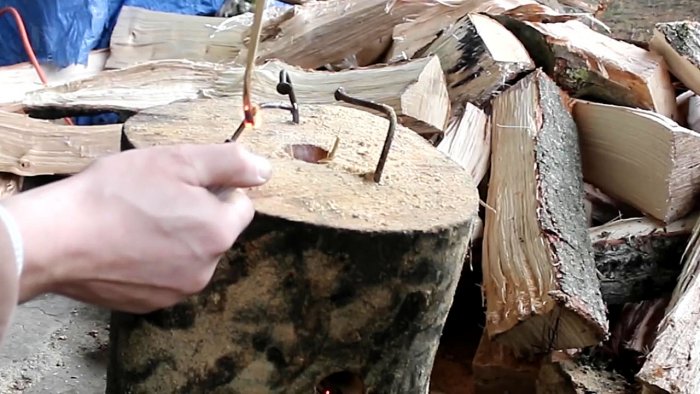
Add a little more wood chips on top for kindling.
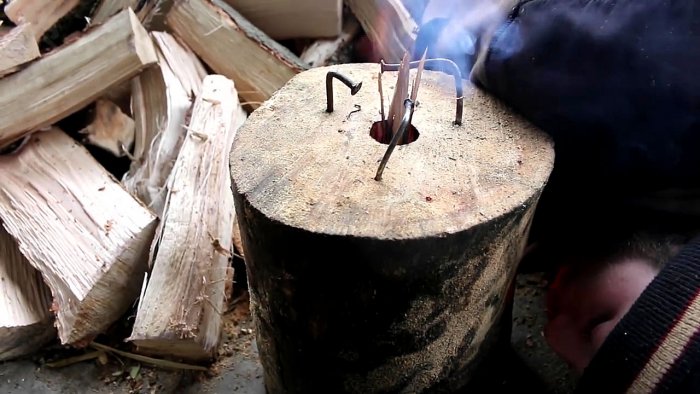
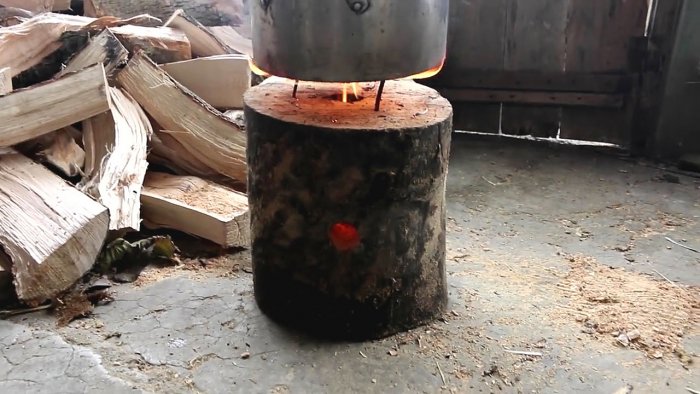
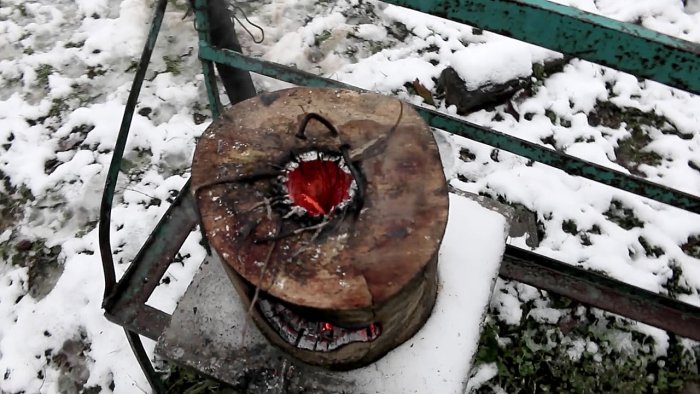
10-15 minutes and there is an even and stable burning.
For the experiment, put a pan of water. Everything works perfectly.
The result of using the oven
Six hours later, the stove was still functioning and producing enough heat, but placing dishes on it was now dangerous – the flames reached the nails.
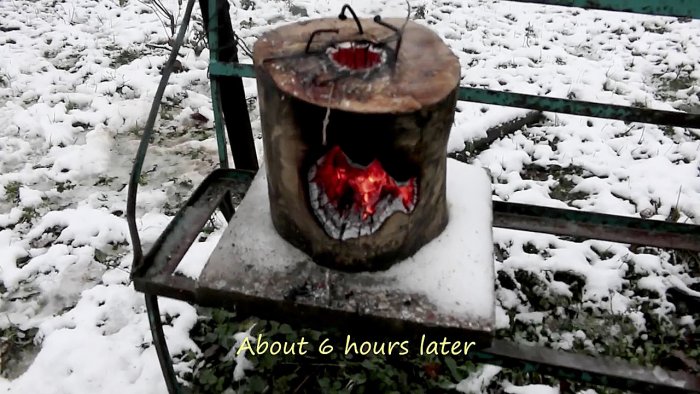
In general, if you take a thicker log, you can easily increase the burning time to 8 hours!
You can make such a stove at home before a hike or make it right on the hike, taking the necessary tools with you on your trip.
Instead of nails, in nature, you can use 3 small stones or two thin trunks, laid parallel to each other.