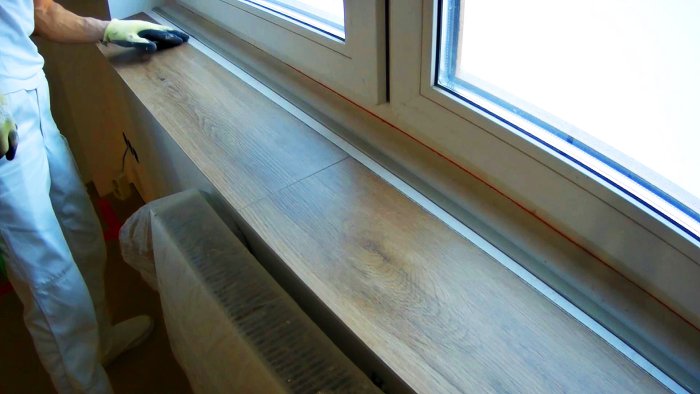
The use of floor laminate is not limited to just flooring. It can be used for finishing slopes or window sills of plastic windows. Thanks to its resistance to moisture, condensation that appears on the windows will not damage this material. Where to start finishing the window sill and what is the procedure for completing the work?
Making a laminate window sill
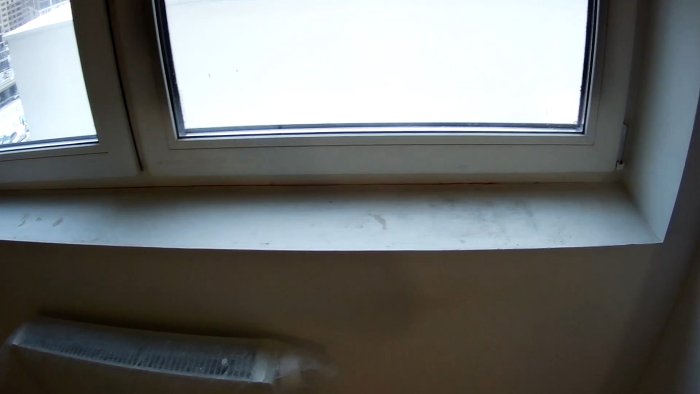
Before you start laying the laminate, you need to prepare it – adjust it to the width of the window sill and cut off the edge along the entire length of the strip. This will allow you to glue it to the window sill without gaps or cracks. If the length of the window sill is more than one strip of laminate, then the joint of the strips is best done in the center of the window. When the strips are adjusted in length, they need to be glued together into one long strip. It is important that the joint is as smooth and invisible as possible.
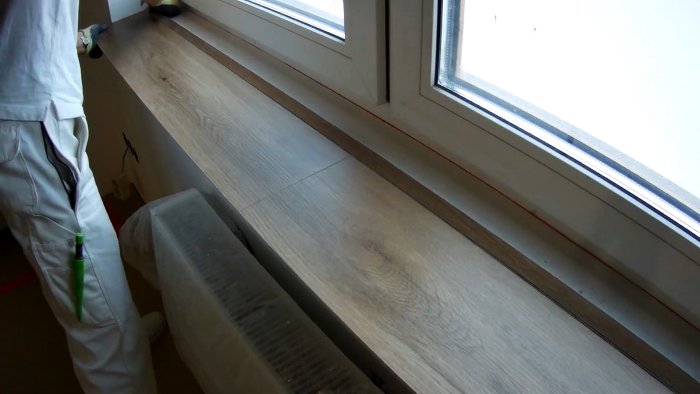
When the glue has hardened, you can treat the lower part of the laminate: it needs to be degreased, and the window sill should be primed.
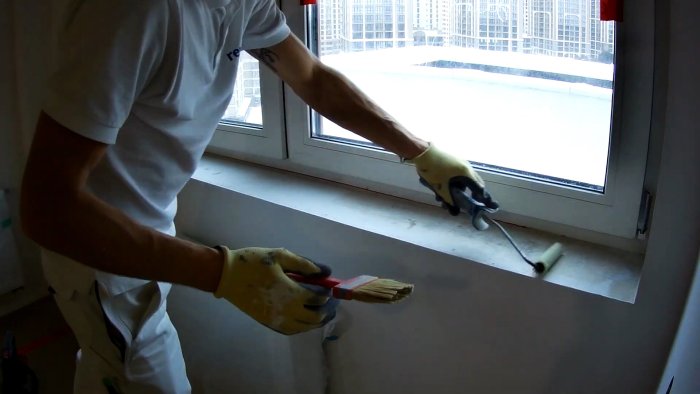
Once the primer is dry, you can apply laminate adhesive. It is important to apply it evenly over the surface of the window sill to avoid unevenness.
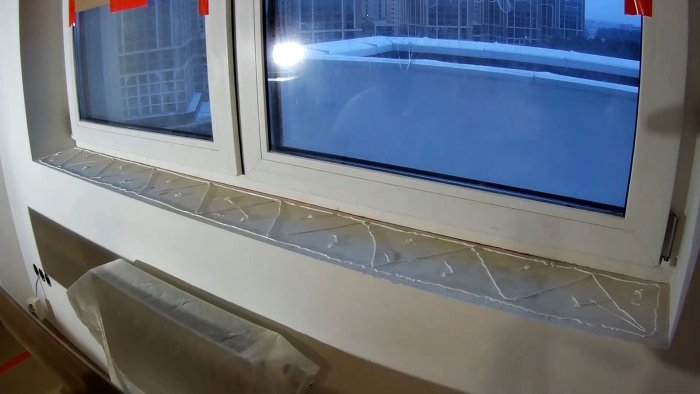
The laminate strip must be applied carefully and at right angles to the window sill. By pressing the strip, the glue will be better distributed between the window sill and the laminate.
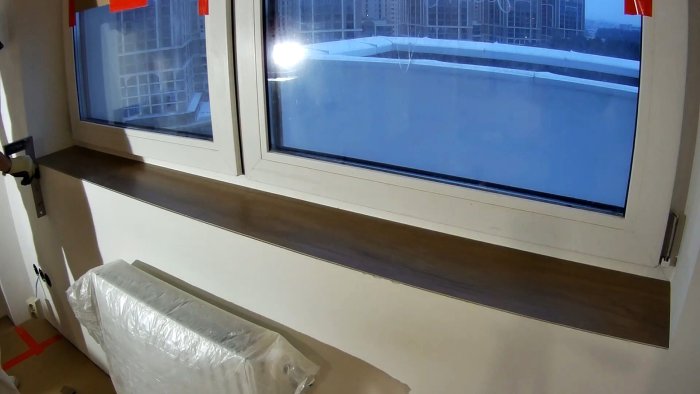
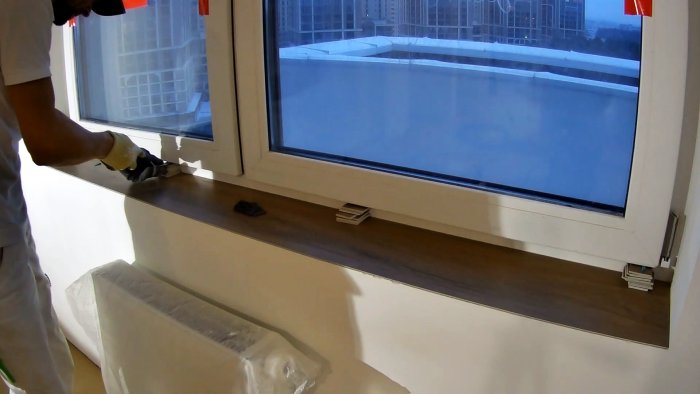
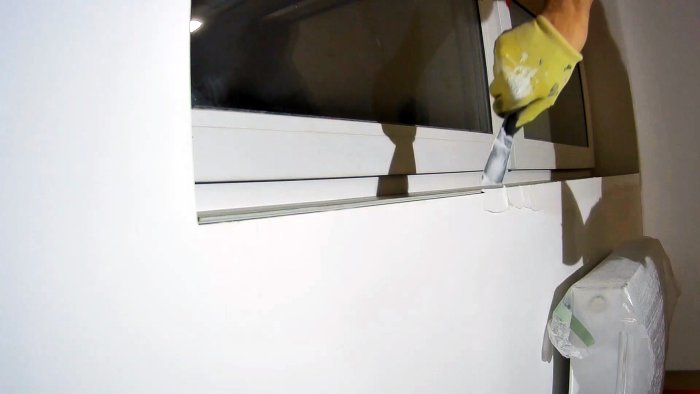
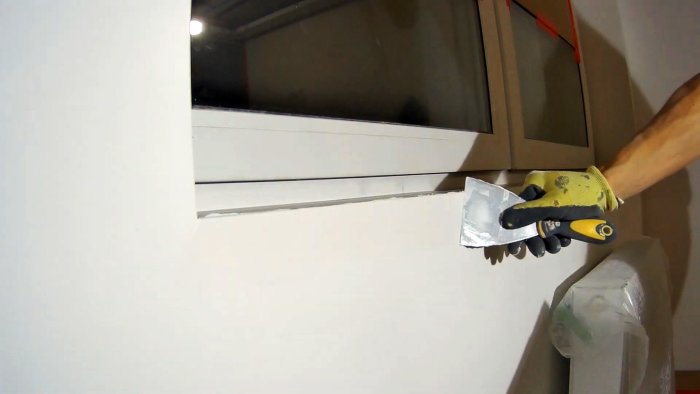
You should also check the accuracy of the laminate position. Using a square and a long level, you can check whether the strip is laid evenly. After adjusting the position, you need to leave a small weight while the glue hardens. After this, you need to fill the gap between the laminate and the window sill with putty.
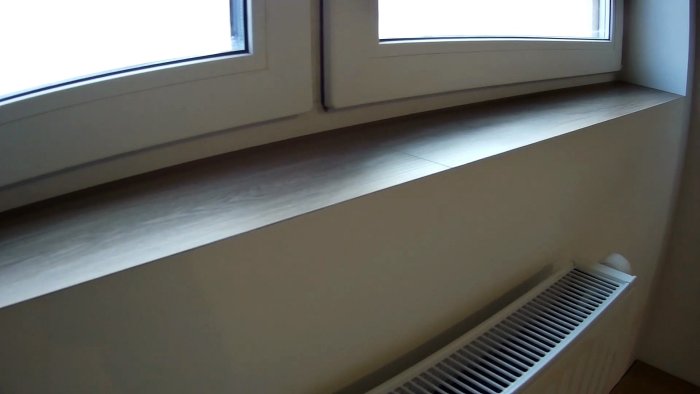
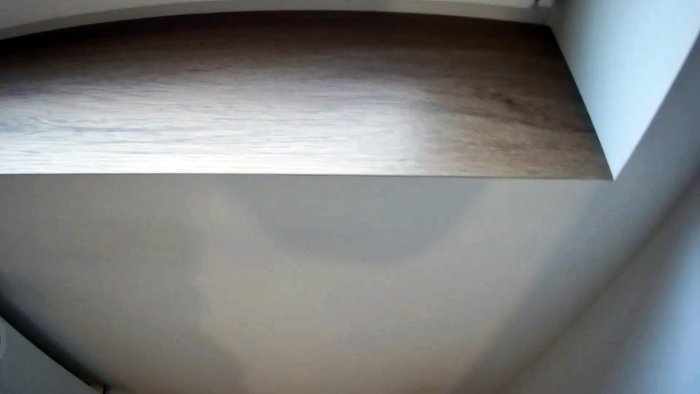
Laminate has a long service life and high wear resistance. It is great for finishing window sills and thresholds for balcony doors.
Read more: How to switch plastic windows to winter mode

