Plaster, drywall, lining, or tile – we talk about the features of each option.
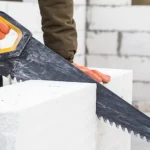
Aerated concrete and foam concrete blocks have become one of the most popular wall materials today. They insulate heat well, are easy to process, and can be laid very quickly. How to decorate block walls from the inside? Let’s look at the main options.
Block manufacturers recommend starting finishing work no earlier than six months after the completion of the house frame, so that the walls have time to undergo major shrinkage.
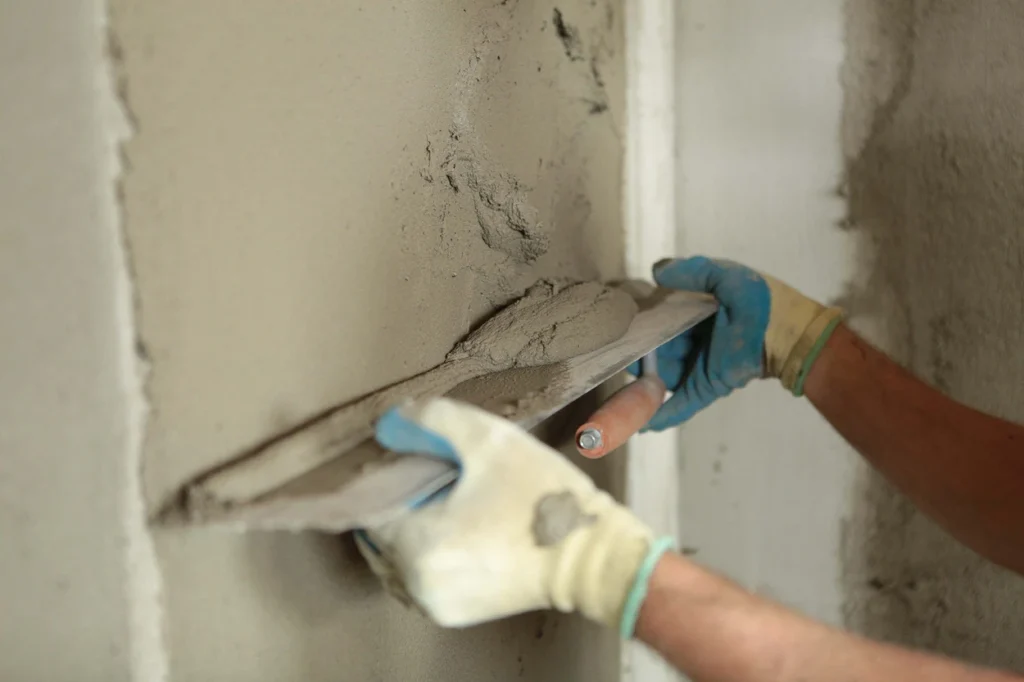
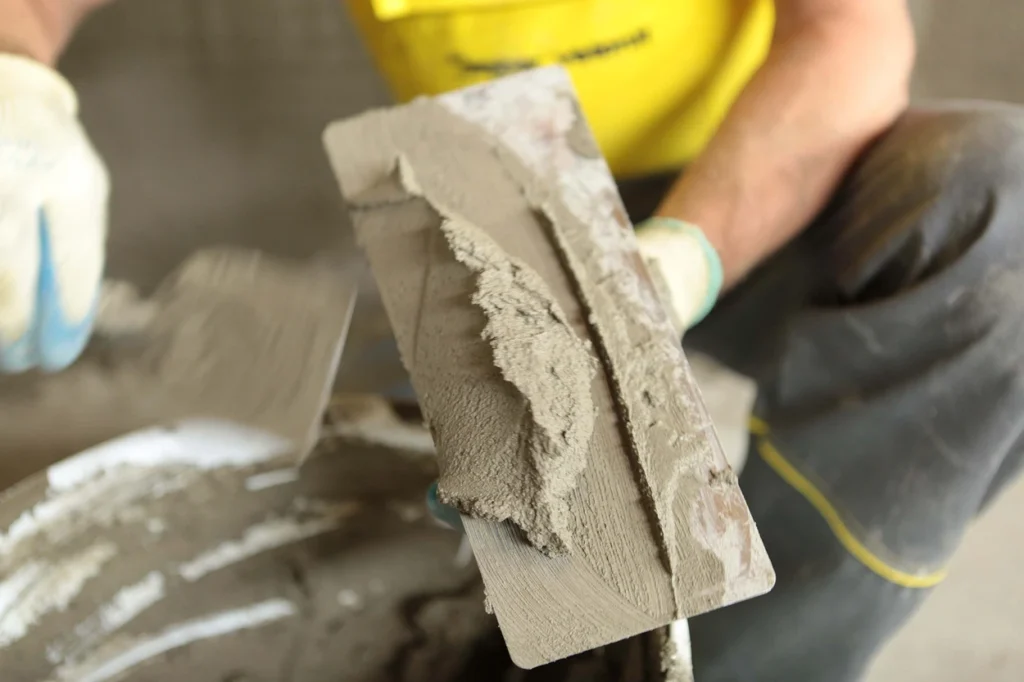
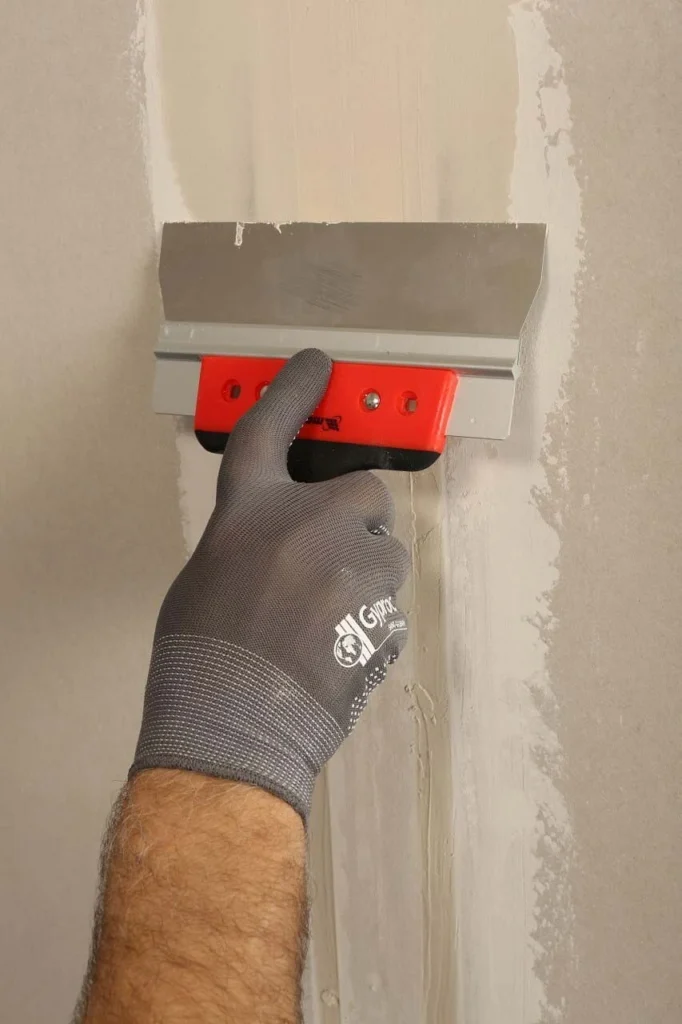
1. Plaster
The main advantage of plaster is that it is applied in a thin layer and you do not have to sacrifice the usable area of the rooms. Walls made of autoclaved gas silicate blocks, which have very precise geometric dimensions, are best suited for finishing. If the laying was carried out correctly, that is, removing the glue squeezed out of the seams, then such a wall can be leveled with two or three layers of gypsum putty (finish and super finish) – beacons and a mesh is not required here, you only need the initial skills of a painter-plasterer and a ready-made mixture that follows dilute with water and apply strictly according to the instructions. It is impossible to pre-wet the surfaces with water, but it is advisable to strengthen them with primer for porous bases.
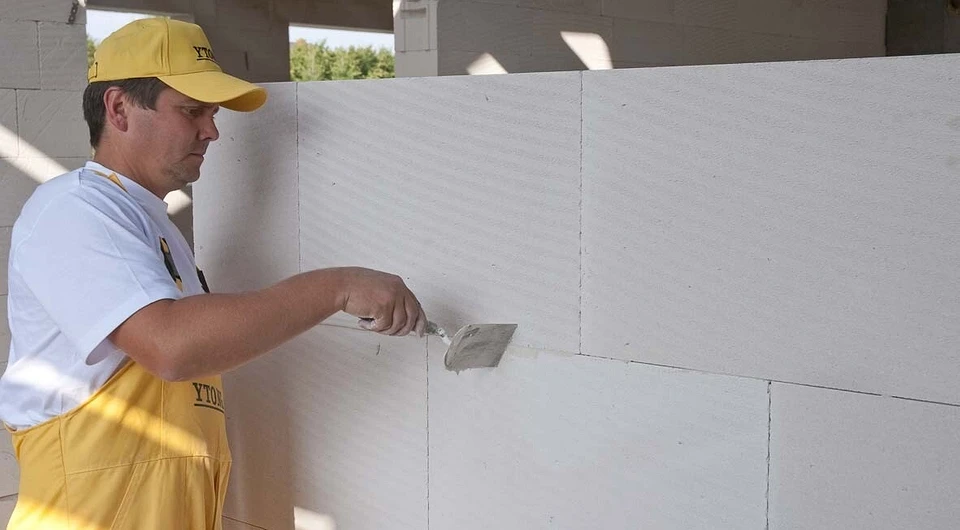
A wall made of ordinary inexpensive aerated concrete blocks will have to be plastered with cement or gypsum plaster 10-50 mm thick (depending on the size of the masonry flaws) and only then putty. When the layer thickness is more than 20 mm, it is necessary to reinforce the plaster with a polymer mesh, which is secured with galvanized screws or nails with large washers; in this case, the vertical and horizontal spacing of fastenings should not exceed 50 cm. Preliminary priming will greatly increase the adhesion strength of cellular concrete to the plaster layer and reduce the risk of cracks.
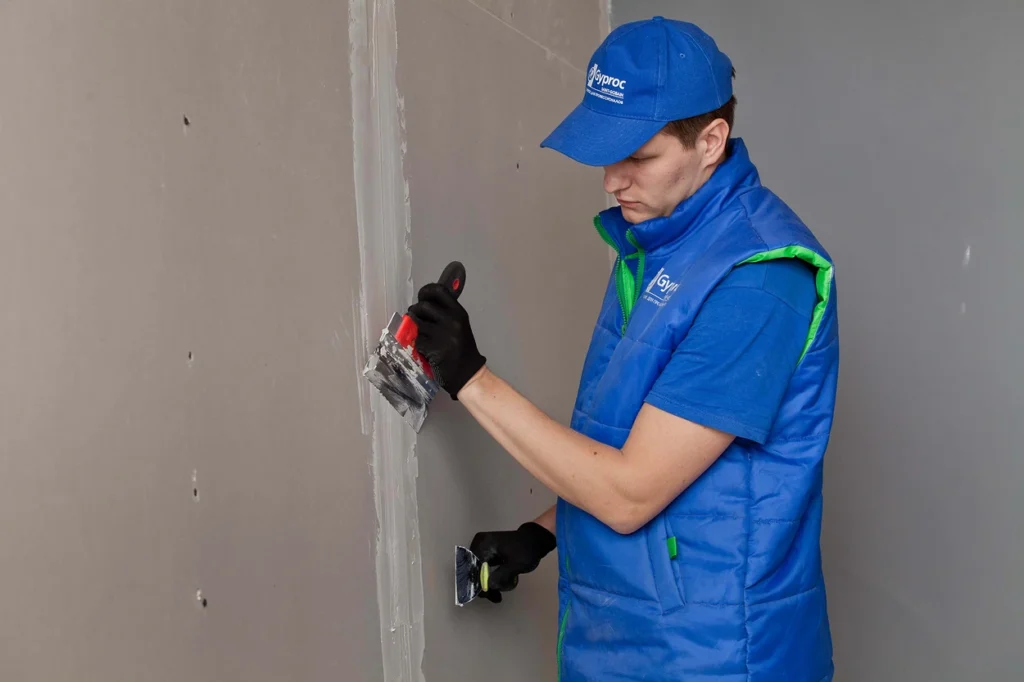
2. Drywall
Sheathing with plasterboard saves time and allows you to perfectly level the surface of the walls. In addition, it is easy to lay cables and other communications in the space under the casing – there is no need to make fines. But it is important to avoid mistakes.
Popular mistakes in covering walls with plasterboard
- Covering the surface of the blocks with a vapor barrier material is unlikely to significantly extend the life of the building, but the microclimate in the house will worsen and fire safety will decrease.
- Use sheets of 9.5 mm (thin gypsum boards are not strong enough – they are intended for ceilings and radius structures), it is important to choose a thickness of 12 mm.
- Making the sheathing from wooden slats is less reliable, especially if low-grade material is used (under-dried, with knots and sawing defects). The frame must be made of galvanized metal profiles.
- Do not observe the pitch of the posts (600 mm) and fastening screws (250 mm).
- Sheath walls without a frame. This cannot be done efficiently even with very even masonry, since the slightest protrusion or adhering crumbs of mortar (which can be easily noticed when puttying and cleaned off with a spatula) will lead to the formation of a bump on the plasterboard sheathing.
In a country house, humidity changes are always greater than in an apartment, and drywall, even moisture-resistant, reacts to them: the sheets increase and decrease in size. To reduce the likelihood of cracks appearing at the joints, the latter needs to be reinforced with elastic paper tape (not sickle tape) and puttied.
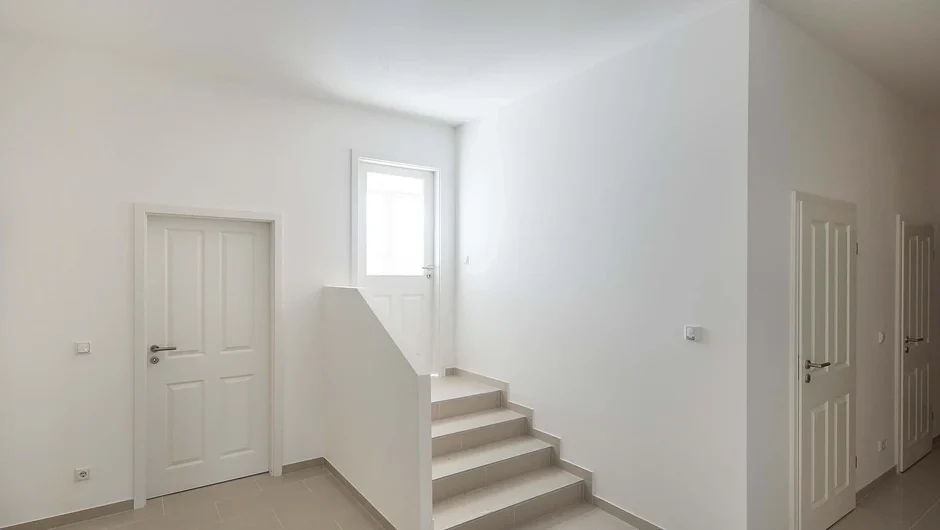
Walls that are plastered or covered with plasterboard can be painted , decorative plaster applied to them, or covered with wallpaper. In a house where interruptions in heating operation are possible, it is better to choose the first or second option.
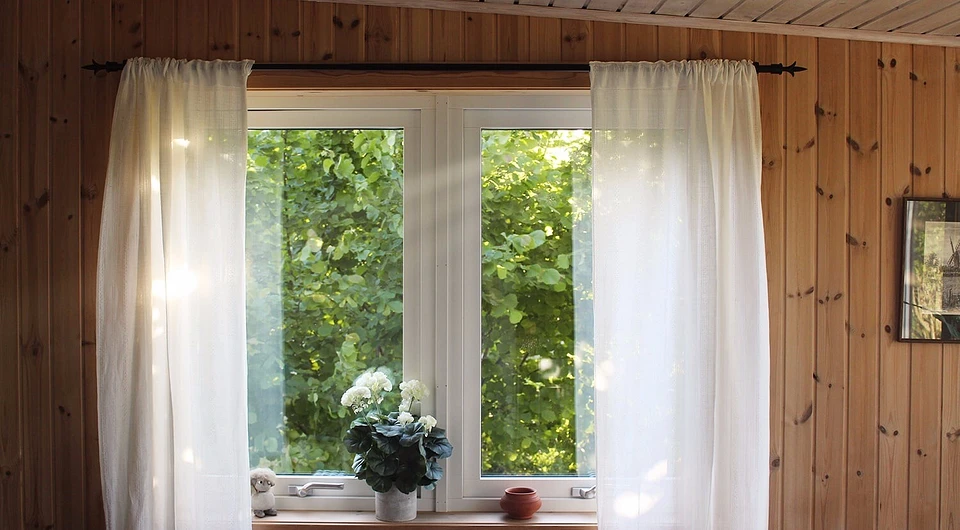
3. Lining and panels
The main thing here is to assemble an even wooden frame and choose the right fasteners. The pitch of the bars (slats) of the frame for cladding with wooden panels should be no more than 70 cm, with MDF panels – 50 cm. The use of hidden fasteners during installation will ensure a modern appearance of the interior. A glaze composition – linseed oil (but it takes a long time to dry), polymer glaze, etc. – will help to reveal the texture of the wooden lining.
4. Tile and stone
Cladding with ceramic and porcelain tiles in wet areas is carried out on previously plastered or lined with gypsum fiber sheets and primed surfaces. A wall made of autoclaved aerated concrete blocks can be faced immediately by treating the walls twice with a primer for porous bases or a water-repellent (essentially the same thing).
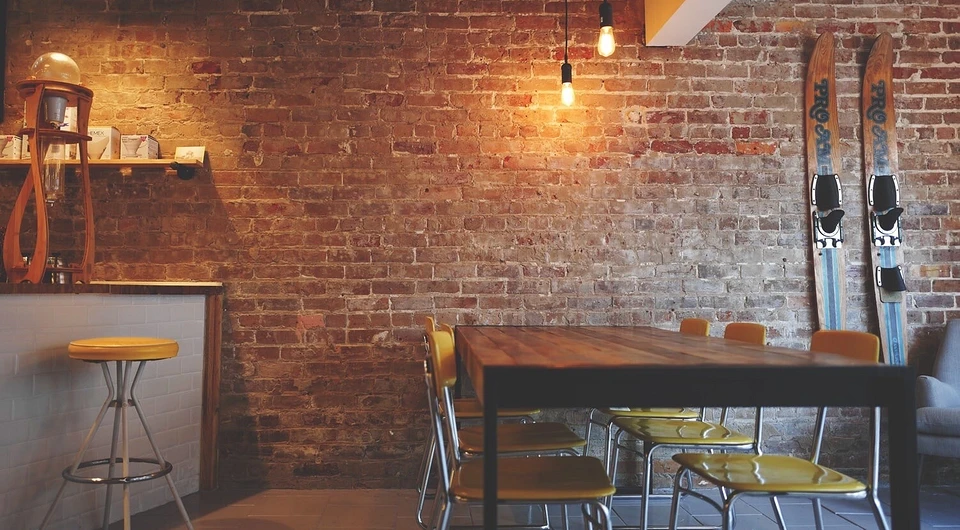
When facing natural or artificial stone, it is important to choose a high-strength adhesive. When filling seams, it is convenient to use a plunger gun.