We talk about the advantages and disadvantages of electric heating floors, characterize their varieties, and give detailed instructions on how to independently install the system under tiles.
Electric heating systems are installed under the floor covering as a main heating system, but more often as additional heating. They are good in bathrooms, children’s rooms, and hallways. That is, where it is undesirable to walk on an icy surface. They can be installed under a variety of finishes, but in practice, they are usually installed under ceramic cladding. You can do this yourself, without the help of professionals. Let’s figure out how to install a warm electric floor under the tiles.
Why choose electrical systems
This is not the only solution for underfloor heating: there are also water systems. However, the choice is often made in favor of electricity. This is due to the benefits that its use provides. Let’s list the main ones.
Pros
- Relatively low cost of components and their installation.
- Easy installation. If desired, you can do it yourself.
- Possibility of installation in any building and room. Water floors are allowed only in private homes.
- There is no need to obtain special permission for installation.
- Possibility of precise and simple control of heating temperature. If desired, electric heating can be easily integrated into the “smart home” complex.
- There is no need to install a high screed, which is necessary for water structures. Consequently, the height of the room does not decrease much.
- Fast heating and well-implemented automatic control make it possible to save on heating.
Minuses
- Increased electricity costs.
- Increased load on the power grid. The needs to be a separate line with an RCD.
- The level of the magnetic field may increase, which could theoretically be unsafe for residents.
Types of electrical systems
The operating principle of any of these schemes is very simple. The conductor heater heats up and gives off heat to the screed in which it is laid. It heats the tile, after which the heat enters the air and warms the room. Infrared films, which are also powered by electricity, work a little differently. Here the cladding is heated by infrared waves emitted by an IR emitter. Otherwise, everything is the same. Let us list the main types of heating electric floors.
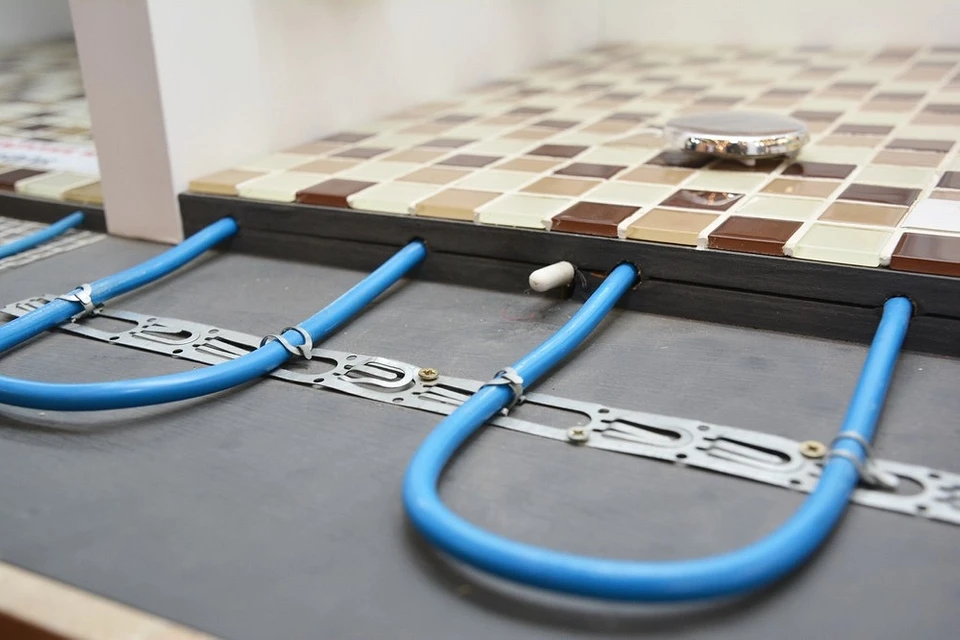
Cable
Several types of heating cables are produced: single- and double-core resistive and self-regulating. They are placed in a screed and equipped with a thermostat. The cables heat the surface quickly and evenly, can be connected to automatic control, and are easily adjusted. Their significant disadvantages are the installation of a rather high screed, which puts pressure on the floors, and the need to carry out calculations before installation.
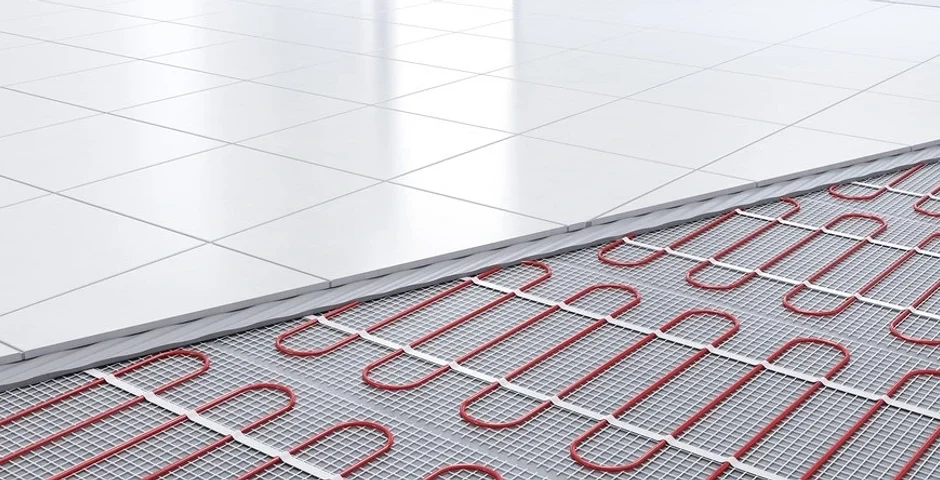
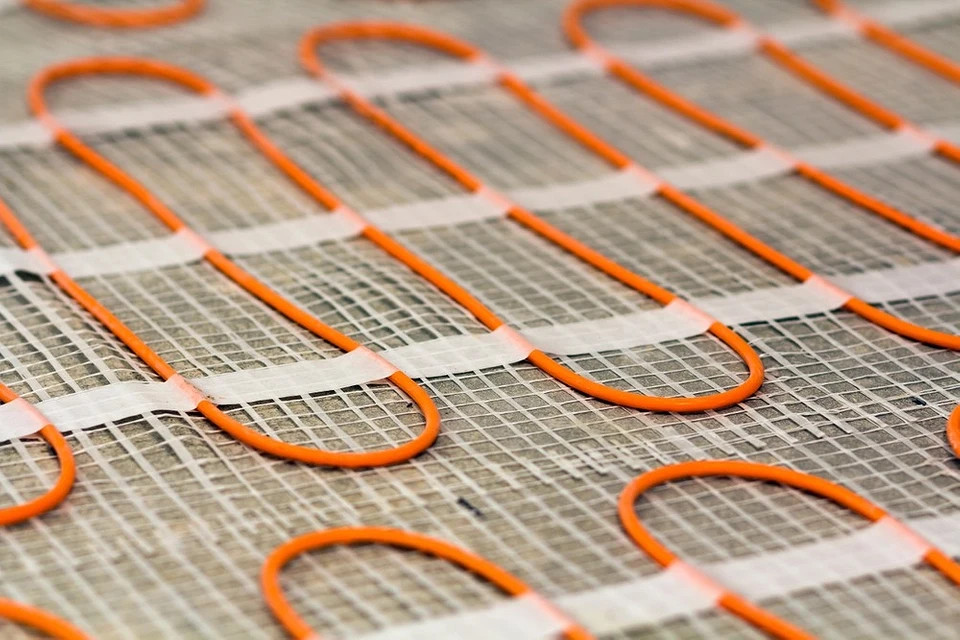
Mats
They are conductor heaters laid on a mesh base. This greatly facilitates their installation, which is carried out without preliminary calculations of the pitch and installation method. Place the mats in special glue or under a bulk mixture. They heat the floor evenly and quickly, are easy to adjust, and do not put extra stress on the floors. Significant disadvantages include a higher price than cables.
IR film
A thin film on which strips of carbon material are located. When power is applied, they emit infrared waves. It can be installed “dry”, but when installed under cladding, it is often placed under plasterboard or self-leveling flooring. It heats evenly, is easy to adjust, quick and easy to install. It works for a long time and without problems. The disadvantage is the need to carefully prepare the base for installation.

To lay electric heated floors under tiles, you can choose any of the described options. They are all efficient and reliable.
Drawing up a layout diagram
Work begins with drawing up a laying plan. This is a very important stage, which helps determine the correct location of system elements and their quantity. The diagram must indicate the location of the thermostat, heating elements, and areas of their connection. In the process of drawing up the diagram, it is worth following these recommendations.
- Heating fragments must be laid so that they are not located under massive objects: household appliances or some kind of furniture. They reflect heat, the wires overheat, and burn out.
- The minimum distance from the heating circuits to the walls is 100 mm.
- Heating strips can be laid out in different directions. To change the direction, you need to cut the film or mesh at an angle.
Important point. It is necessary to calculate the required power of the heaters. On average, for basic heating, it should be 150-180 W per square meter. m, for additional – 80 W per sq. m and more. In addition, you need to make sure that the wiring can withstand the additional load. It is best to install a separate line specifically for powering the circuit. For safety reasons, suitable RCDs and circuit breakers are installed on it.
Preparing the base
We list the activities that need to be carried out before installing a heated floor under tiles with your own hands in a bathroom or other room.
- Dismantling the old covering. It is completely removed. If there is an old screed, it is also dismantled. Otherwise, the floor level will rise noticeably, which is especially undesirable for rooms with low ceilings.
- Leveling the base. All defects and irregularities are repaired. There should be no depressions or bulges. If there are a lot of them, a rough concrete layer is poured. Be sure to remove all garbage, even the smallest.
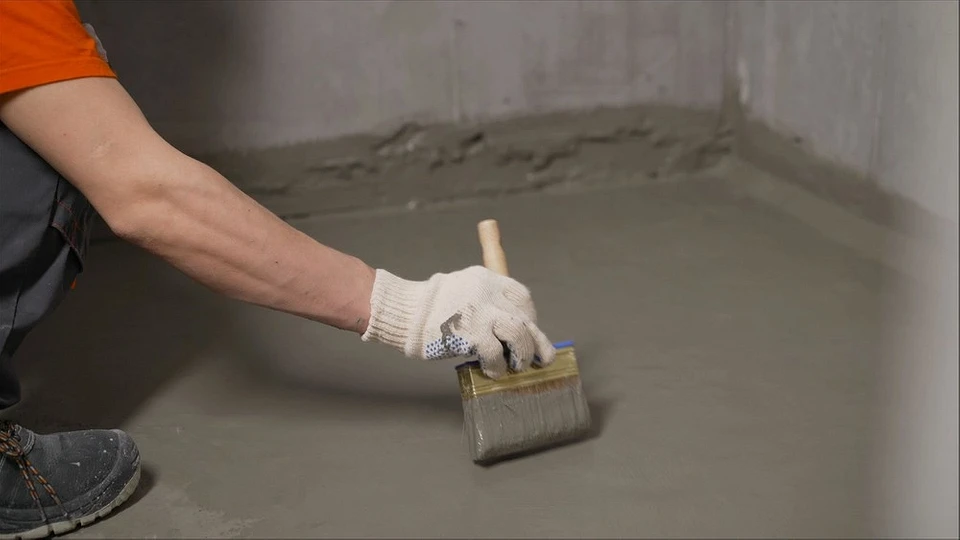
- Waterproofing the base. It is treated with special preparations, for example, bitumen-based compounds or liquid glass. This is especially important for bathrooms and bathrooms. These are rooms with high humidity; moisture cannot seep into the concrete.
Step-by-step instructions on how to lay electric heated floors under tiles
Let’s look at the installation sequence of the heating system.
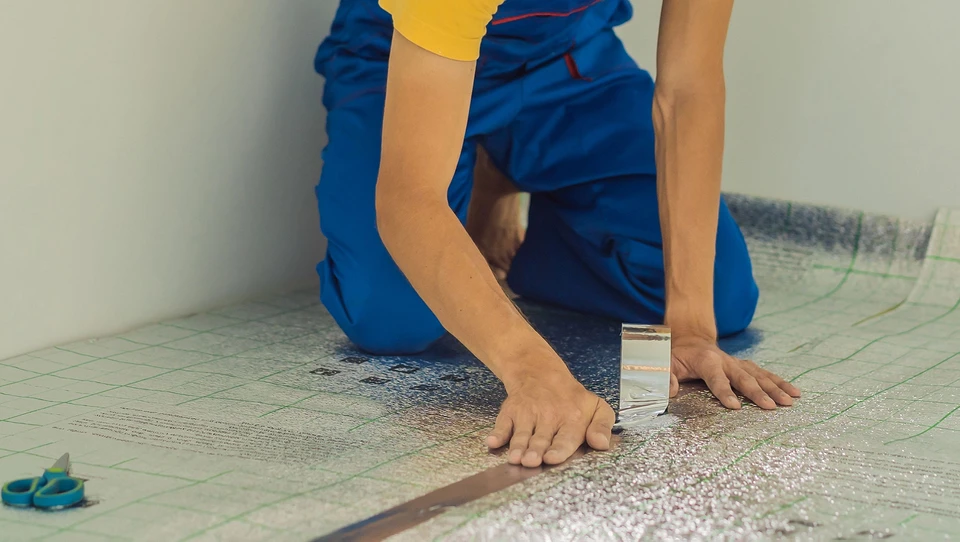
1. Laying insulation
This is a mandatory step; the quality of its implementation affects the efficiency of heating. Penofol or other foil material is chosen as insulation. It is best to take insulation with a self-adhesive layer; it is easier to install. The strips are laid out on the prepared base, joined together without overlap, and the joints are secured with tape. It is recommended to lay a metal mesh over the thermal insulation. It reinforces the screed and will prevent the heating elements from coming into contact with the insulation, which is extremely undesirable. To complete the insulation, damper tape is glued around the perimeter of the walls. The material compensates for thermal expansion when heated.
2. Installation of control devices
To control the system, a temperature detector and thermostat are installed. The latter can be mechanical or electronic. In any case, place it on the wall close to the outlet. The temperature detector is placed on the floor, positioned between the turns of the heating elements. At the base, there is a hole for the sensor and the wires suitable for it. For safety reasons, they are placed in a corrugated pipe. The edge of the tube, which is recessed into the screed, is filled with sealant.
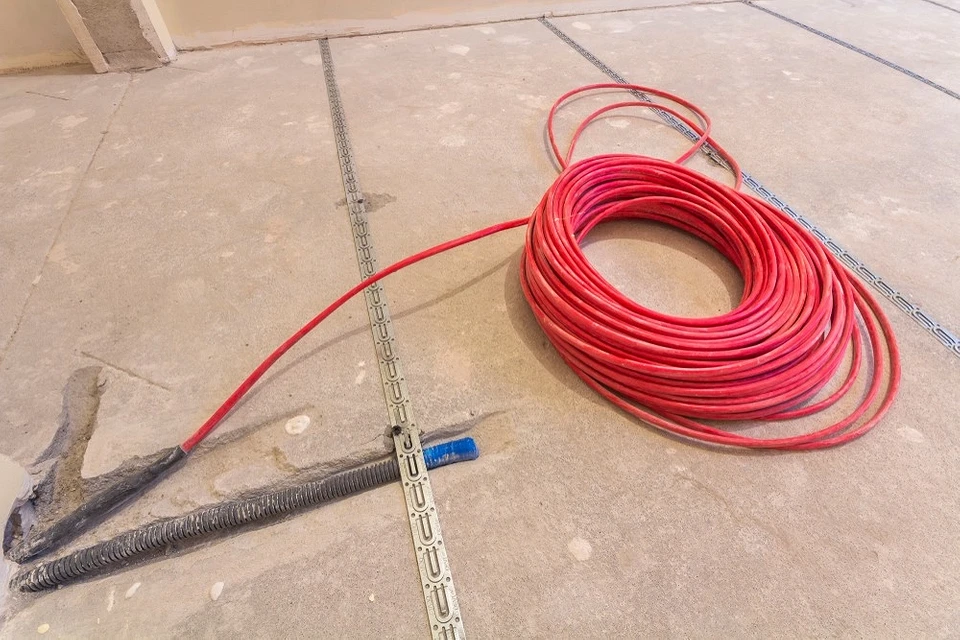
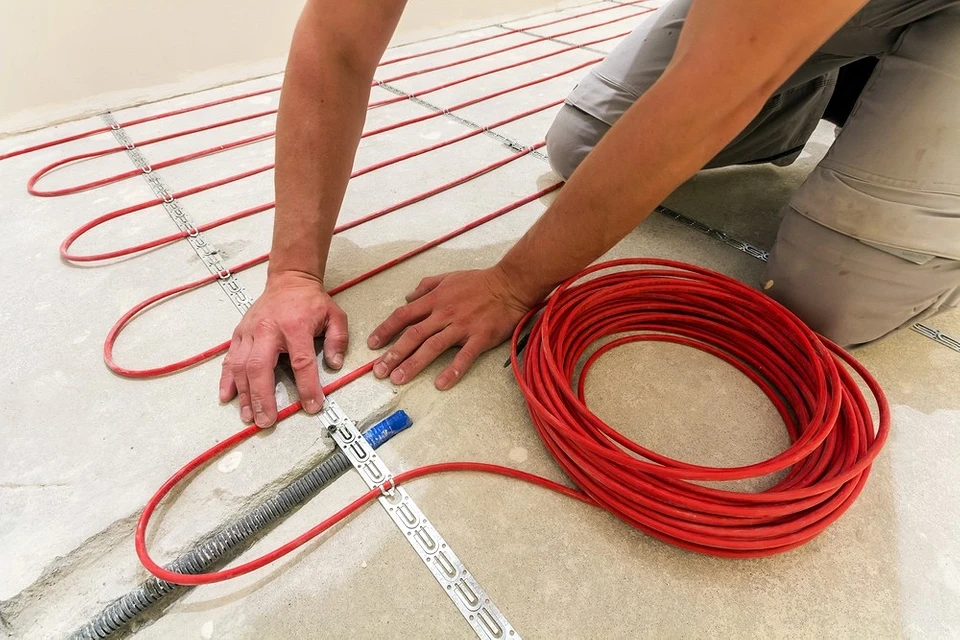
3. System layout
In the recommendations on how to make a warm electric floor under tiles, they remind you that before installation you should check the resistance of the cables. It should not differ from what is indicated in the technical documentation. The maximum permissible deviation is 10%. If everything is in order, proceed to the layout. The cable, strips of mats, or films are laid out on the base. When laying, they are guided by the previously drawn-up diagram.
The most difficult thing is to lay the cable. It is laid out in coils at equal distances from one another. Displacement is unacceptable, otherwise, heating will be uneven. The elements are secured to the base with special plastic clamps or mounting tape. Laying mats and film is much easier. They are laid out in strips; if necessary, the fragments are connected to the overall circuit. There is no particular need to fix the strips to the base, but this can be done if desired.
After the heating elements are laid, the system is connected to the thermostat. It’s important to do it right. Then you need to check the performance of the heated floor. They test it and measure the resistance again. It must fully comply with the data received before installation.
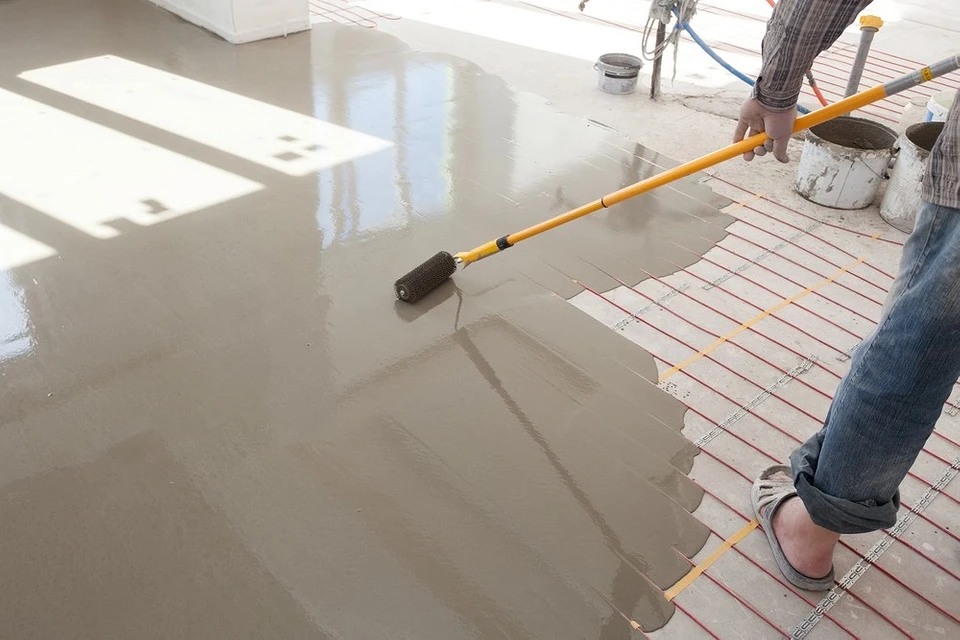
4. Arrangement of the screed
It will be required if one of the cable types is installed. Then prepare a cement-sand mortar with a plasticizer and fill the heating elements with it. To ensure that the surface is level, beacons are pre-installed. The height of the concrete screed is 3-5 cm. The mixture is given time to harden and gain strength. Important point. It is strictly prohibited to turn on the heating at this time. The first time this is done only after the concrete has completely hardened and dried. After this, they begin cladding.
They do things differently with film and thermomats. Theoretically, hot melt adhesive and cladding can be placed on them. But it’s better not to do it this way. Polyethylene film and reinforcing mesh can be laid on top of the strips. A small layer of self-leveling floor is poured onto them. Allow time to harden; this will take no more than one to three days. This creates a strong base for the tiles. It protects heating elements well from accidental damage. There is another option – laying drywall. Tiles are installed on it.
5. Tiling
Tiles can only be laid using a special hot melt adhesive. Conventional mixtures will not withstand constantly elevated temperatures: the lining will become loose and fall off. The mixture is prepared in small portions, exactly according to the instructions on its packaging. The finished mastic is applied to the back side of the tile with a notched trowel. After this, it is placed on the base and pressed to the desired location.
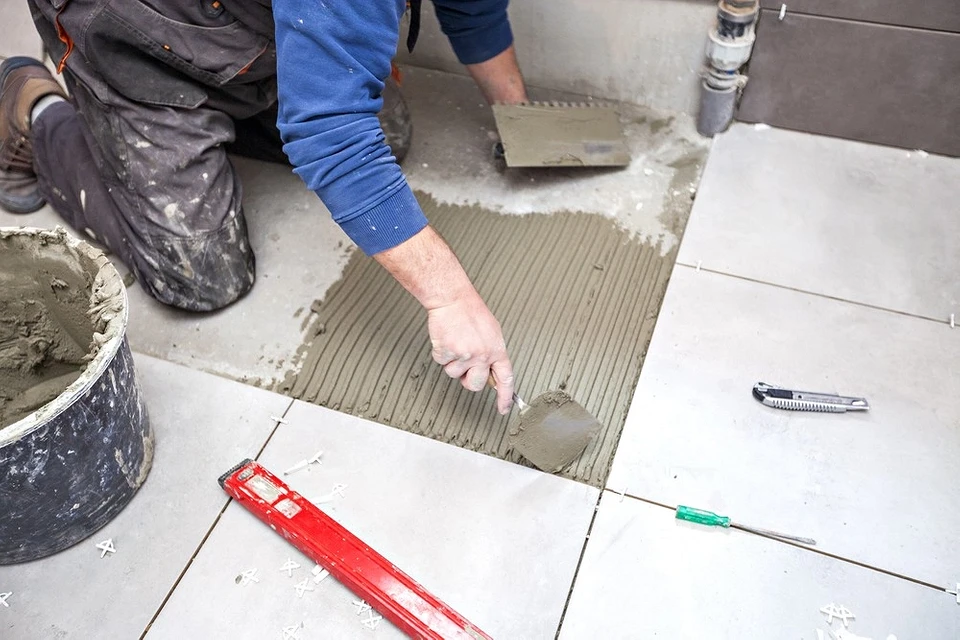
To ensure smooth seams between the tiles, special crosses are placed between the cladding fragments. Each laid tile is carefully tapped with a rubber hammer, so it adheres better to the base. During work, be sure to check the horizontal surface level. When all the cladding has been laid, it is left until the adhesive mixture is completely cured. After this, the crosses are removed and the tile seams are rubbed.