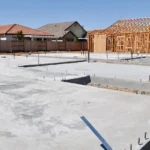
We talk in detail about the features of a strip foundation and give step-by-step instructions for pouring it yourself.
When building houses and outbuildings, strip foundations are most often chosen. This is a universal design, it is suitable for almost all types of soil and all types of buildings. It is reliable, very durable, and quite simple to construct. The use of special equipment or devices during the installation process is not required, so if desired, all work can be done independently. Let’s figure out how to install a strip foundation with your own hands.
Design Features
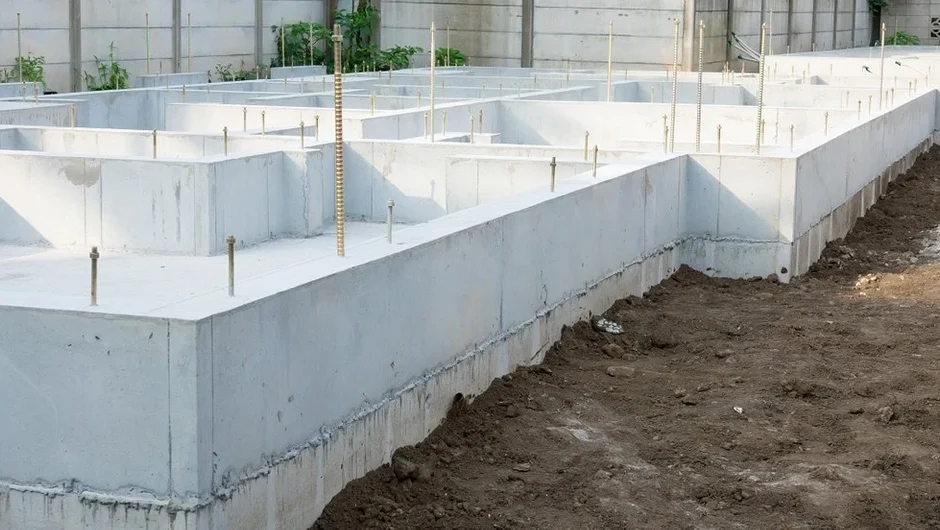
The strip foundation system is made in the form of a monolithic reinforced concrete strip. It is located under each load-bearing wall of the building. Used in the construction of heavy buildings made of concrete, stone, or brick, for buildings with a basement, ground floor, or underground garage. Installed on any type of soil, except subsidence and peat bogs.
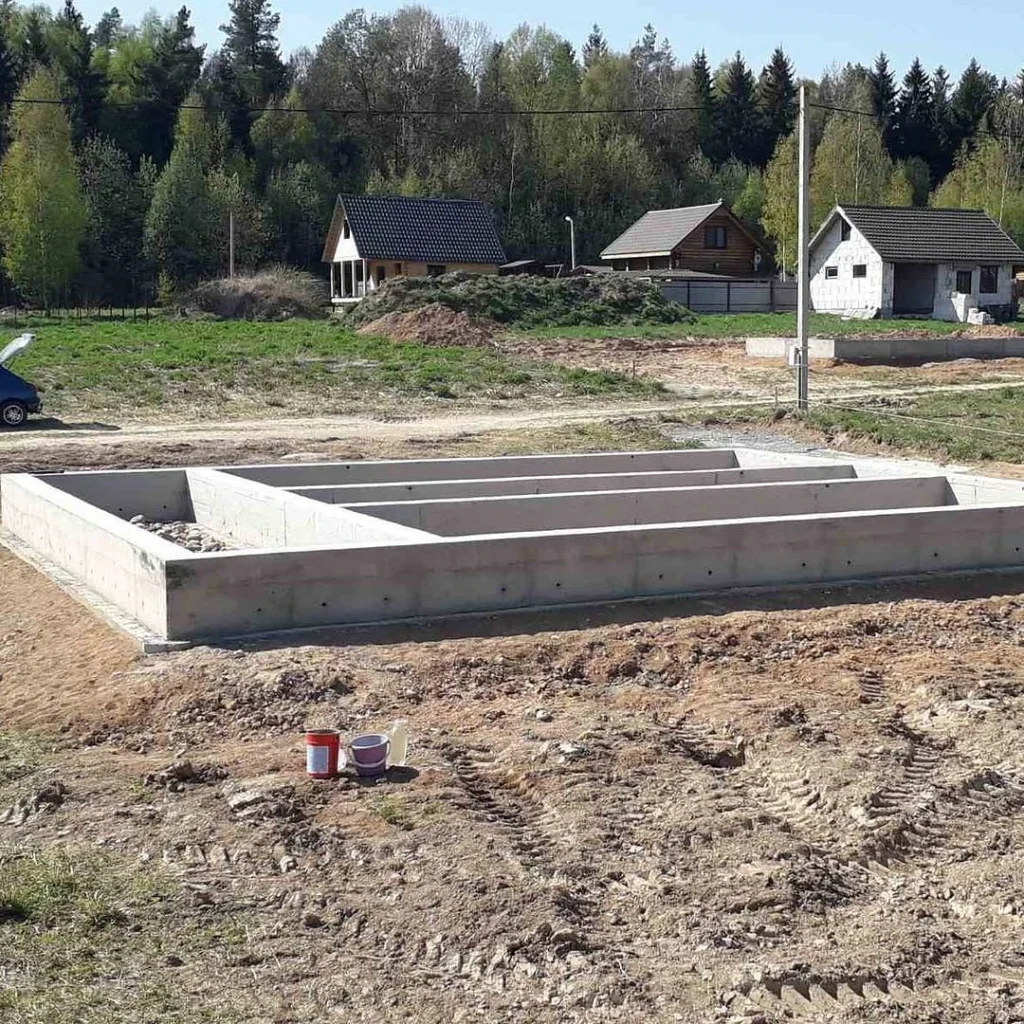
Depending on the degree of deepening into the soil, a distinction is made between shallow and fully buried structures. The first option is used for light-frame buildings. The concrete strip is lowered into the ground by 540-600 mm. A fully buried foundation is placed under heavy buildings. It deepens 240-300 mm below the soil freezing level. Sometimes there is a non-recessed version. It is placed on stationary soils or on rocks. It is not suitable for houses; it is used for outbuildings.
The foundation tape can be monolithic or prefabricated. A monolith is a solid casting of concrete. It is manufactured in one pour and has maximum strength and load-bearing characteristics. The prefabricated system is assembled from factory-made concrete blocks. Its performance characteristics are slightly worse than those of a monolithic base. When laying blocks, you cannot do without special equipment.
According to requirements, a monolithic structure must be poured in one time. It is impossible to mix such a volume of solution on your own, so you have to turn to companies specializing in concrete production. In this case, the finished mixture will be brought to the construction site in a mixer and poured into the prepared formwork. For several reasons, non-professional builders sometimes neglect this rule and carry out stage-by-stage filling. This negatively affects the strength of the resulting structure.
Before installing the foundation, it is necessary to calculate its basic parameters. To do this, it is important to take into account many factors: the depth of groundwater, the level of soil freezing, the weight of the building, and the type of soil. It is very difficult to do this correctly on your own. It is best to contact specialists. They will carry out geodetic tests and fully calculate the system.
How to pour a strip foundation: step-by-step instructions
Work can begin only after calculations have been carried out and a construction project has been drawn up. Based on this, they buy materials. You will need a thick plastic film or roofing felt for waterproofing. For the reinforcement frame, you will need reinforcing bars: thin with a diameter of 8 to 12 mm and thick with a diameter of 14 to 20 mm, and steel wire to tie them together. For removable formwork, you will need 20×30 mm bars, a 15-25 mm board, screws or nails to secure them.
For permanent formwork, cement particle board, wood concrete, or polystyrene foam blocks are prepared. If insulation is intended, special thermal insulation for foundations is purchased. In addition, you will need sand and gravel to create a “pillow”. To make concrete yourself, you will need gravel or crushed stone of medium fractions, cement grade 42,5 or higher.
They begin work after preparing the materials. Let’s look step-by-step at how to properly pour a strip foundation with removable wooden formwork under a house.
Read more: Foundation base and types of soils
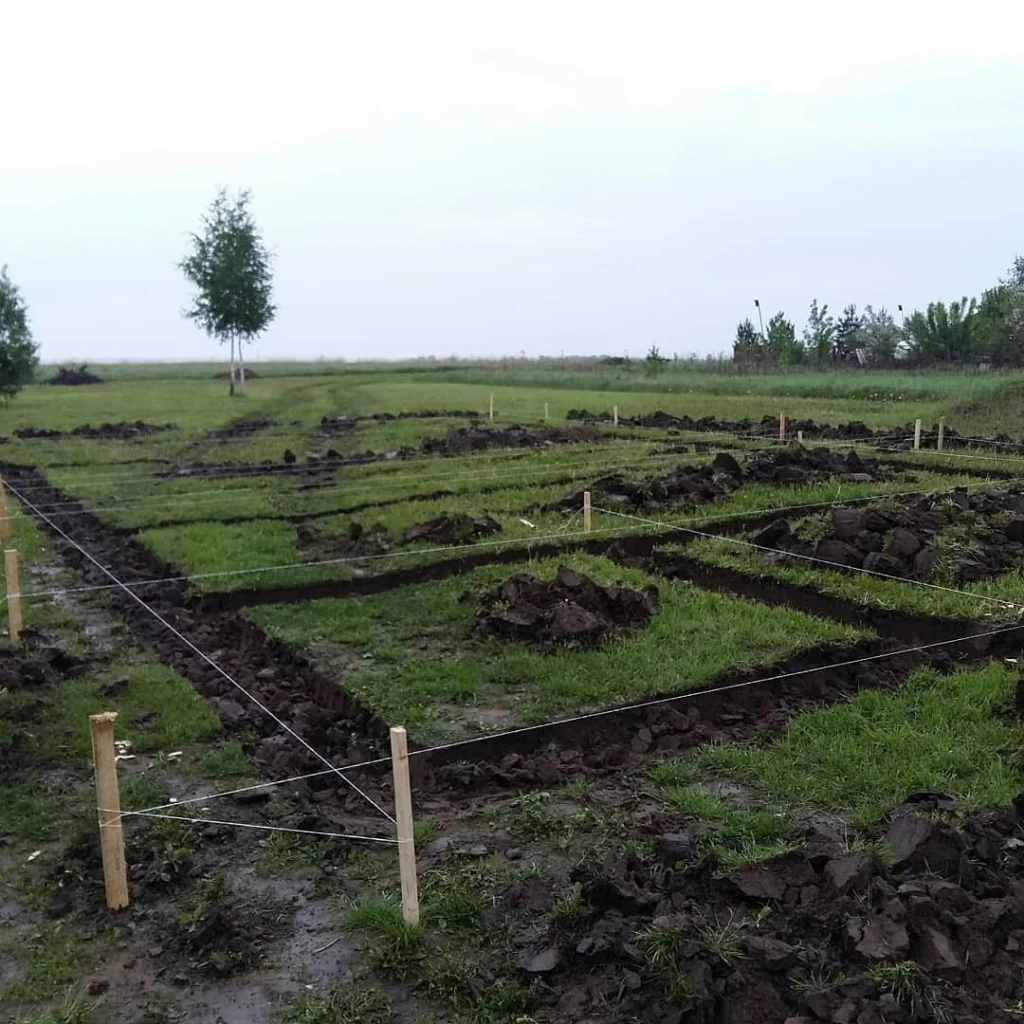
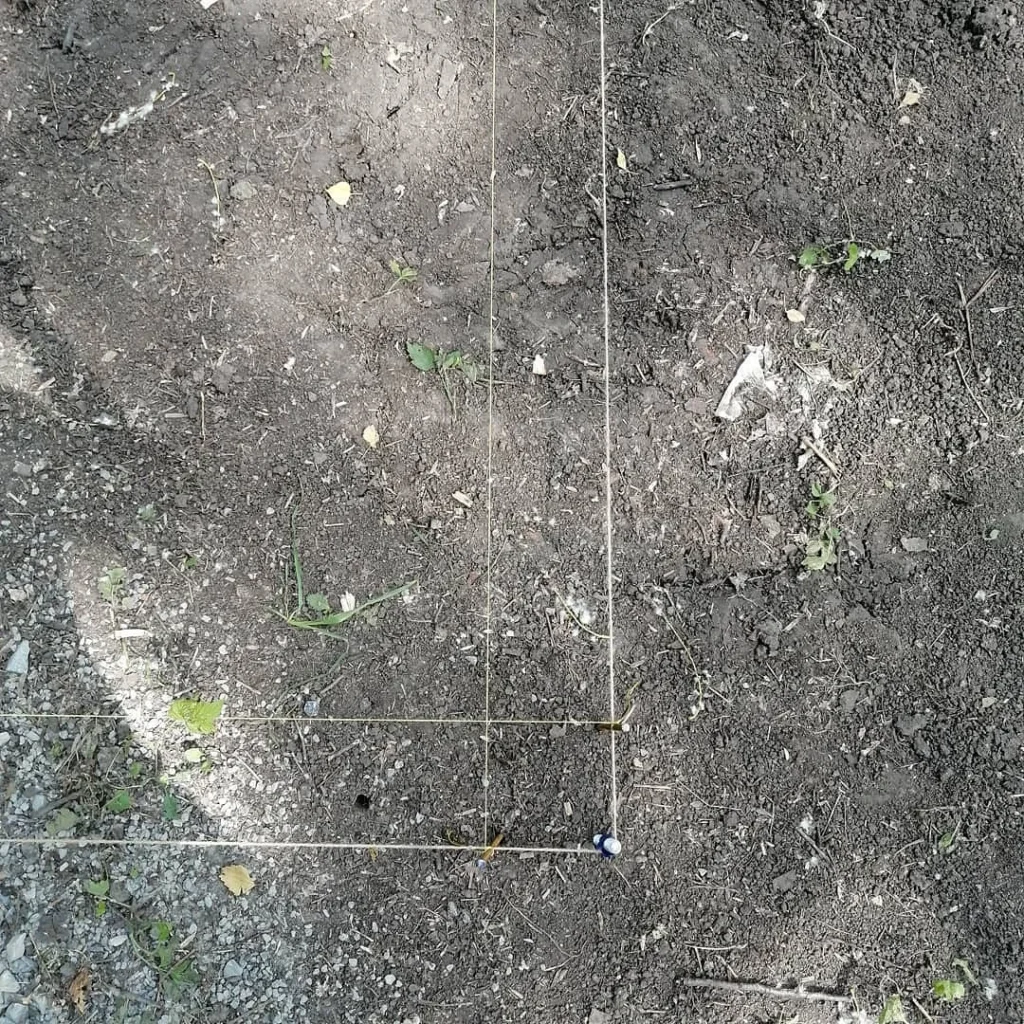
1. Marking
The contours of the trenches under the foundation strip must be transferred to the surface of the earth. For this purpose, marking is carried out. We offer instructions on how to carry it out.
- The construction site is cleared and freed from vegetation. The top fertile layer 15-20 cm high is cut off and removed.
- Pegs driven into the ground mark the corners of the future building. Instead of pegs, it is better to use rectangles of wooden planks. They are more convenient to work with.
- Mark the location of the trenches under the walls. To do this, two parallel laces are pulled from each corner. They do this so that between them there is a distance equal to the width of the future trench.
- Mark the location of the internal load-bearing walls. They are also marked with stretched cords.
- The contour of the internal walls and the entire building is additionally marked by sprinkling dry lime along all the cords. This way the outline of the building is transferred to the ground.
The foundation for a veranda, porch or terrace is marked in the same way. If the house has a fireplace or brick stove, they also need a foundation. It is marked after the main marking. Important note: the tape under the fireplace or stove should not be connected to the common foundation.
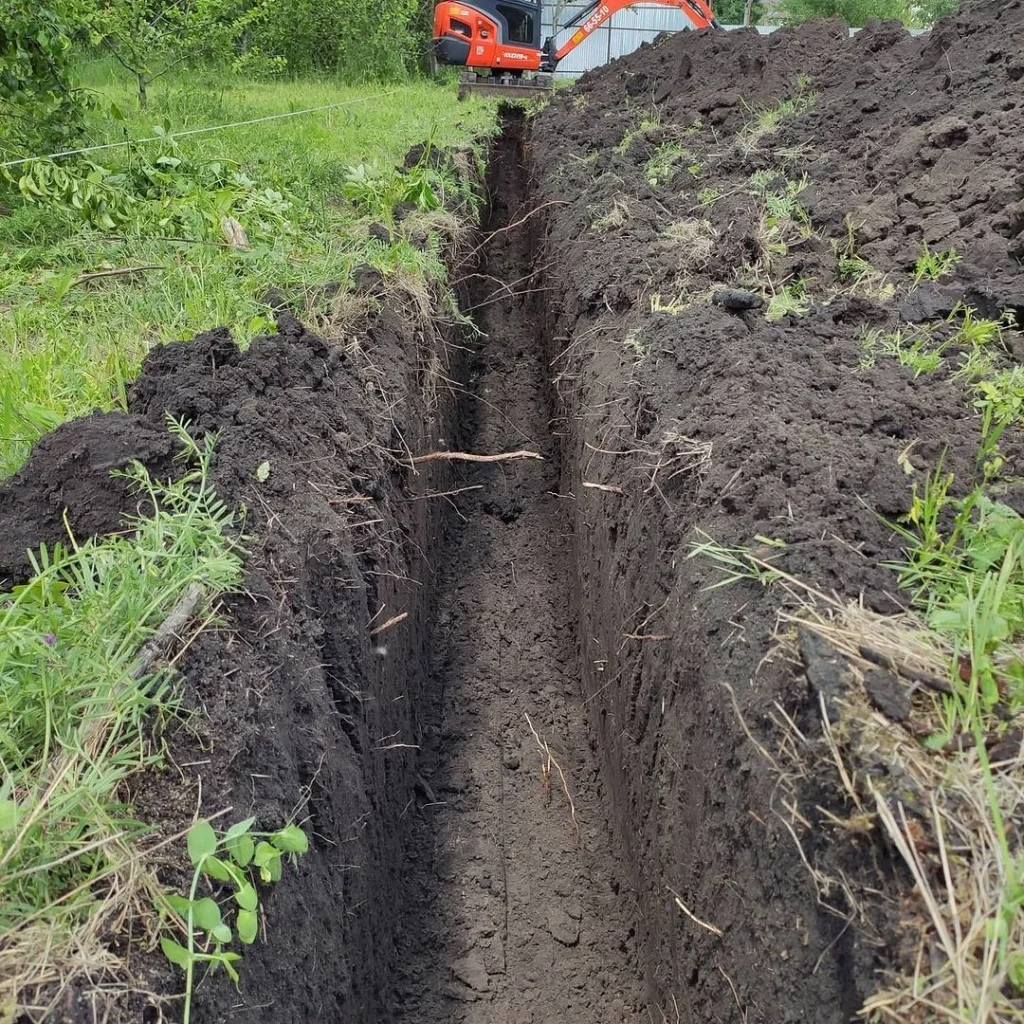
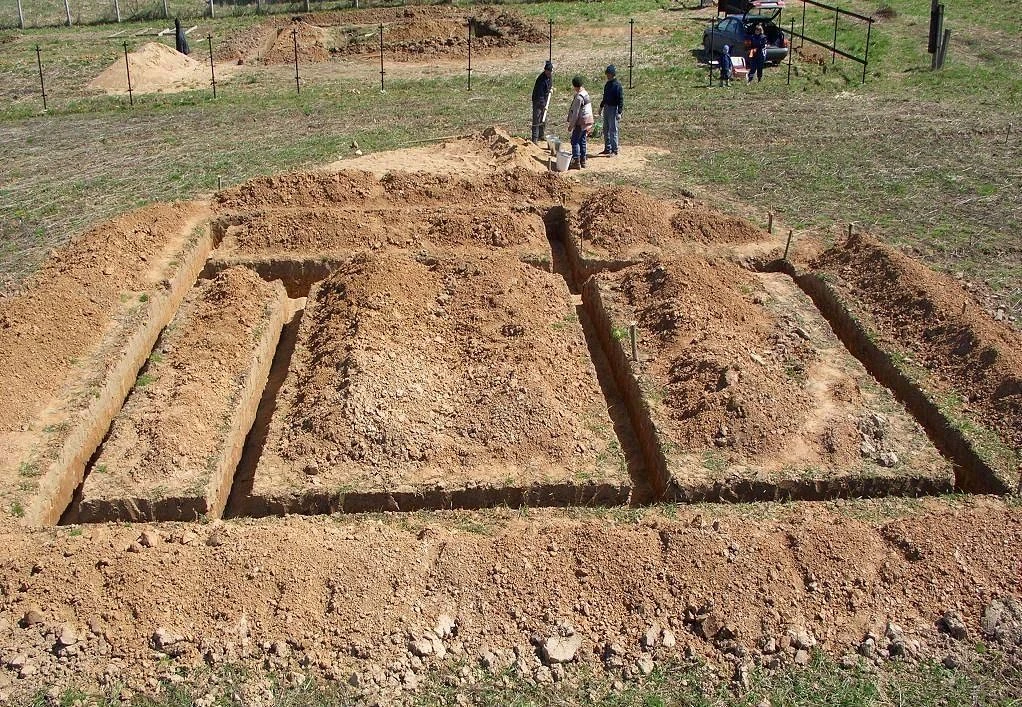
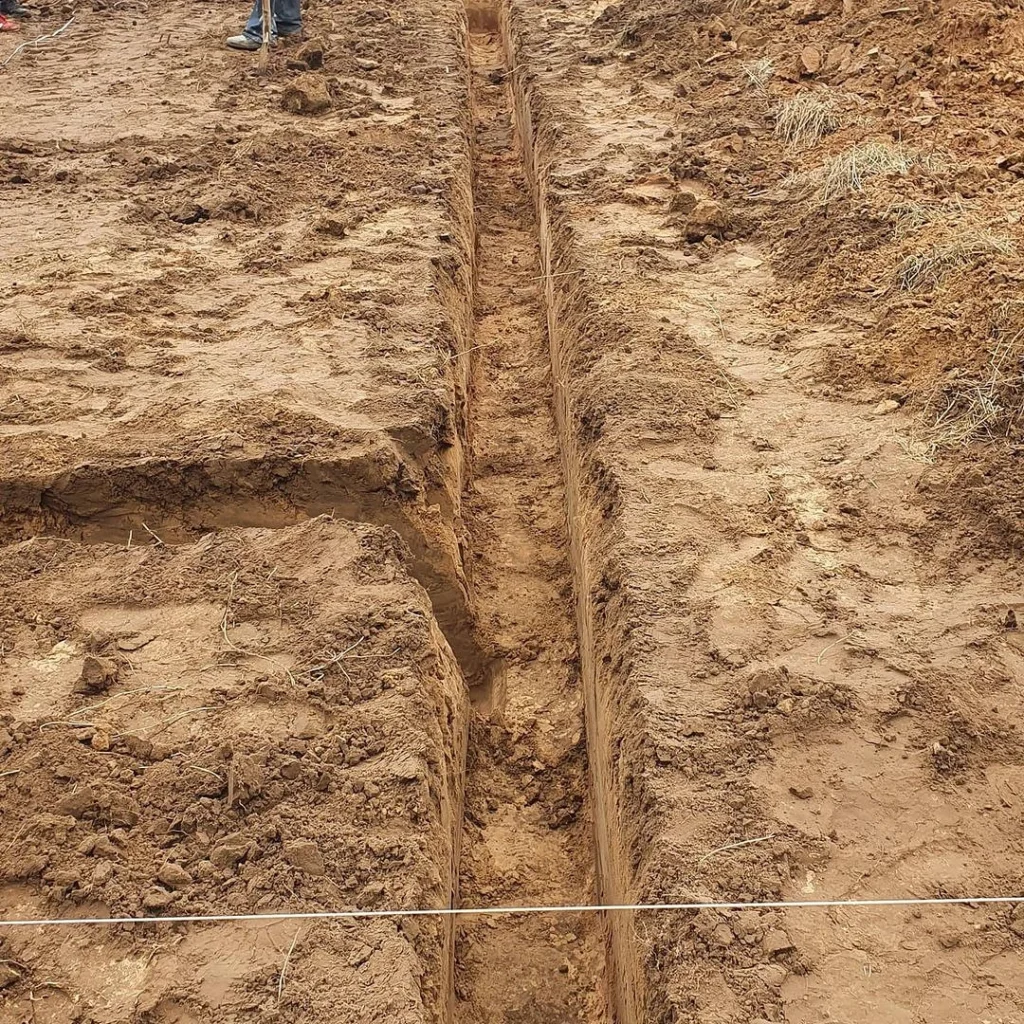
2. Excavation work
Digging a trench can be done using special equipment, but more often it is done with your own hands. The ditches are dug exactly along the designated lines. Their depth must exactly correspond to the calculated one; deviations are unacceptable. It is better to start from the lowest corner of the foundation system. This will make it easier to maintain the specified depth throughout the entire trench.
The walls of the pit must be positioned strictly vertically. If the soil is too loose, it will not be able to stay on the side and will begin to crumble. Then it is recommended to temporarily install supports. During the work, the slope and depth of the pit are regularly measured. If any deviations from the plan are discovered, they are corrected immediately.
3. Preparing the trench
It consists of arranging a well-compacted sand cushion at the bottom of the pit, which will help evenly redistribute the load from the building to the foundation system. For its filling, only medium- and coarse-grained sand is used. Small ones will shrink, and this is unacceptable. In addition to sand, it is advisable to fill in a layer of crushed stone or gravel with a fraction of 20 to 40 mm. Pebbles compacted into the sand will significantly reduce the flow of capillary moisture into the foundation structure. Here are step-by-step instructions for laying a sand cushion.
- The first filling is in progress. Sand is poured in a layer 50 mm high. It is wetted and then thoroughly compacted.
- The second filling is performed in the same way, followed by the third. The total height of the sand layer should be within 15-20 cm.
- Filling with crushed stone or gravel is carried out if necessary. The material also compacts well.
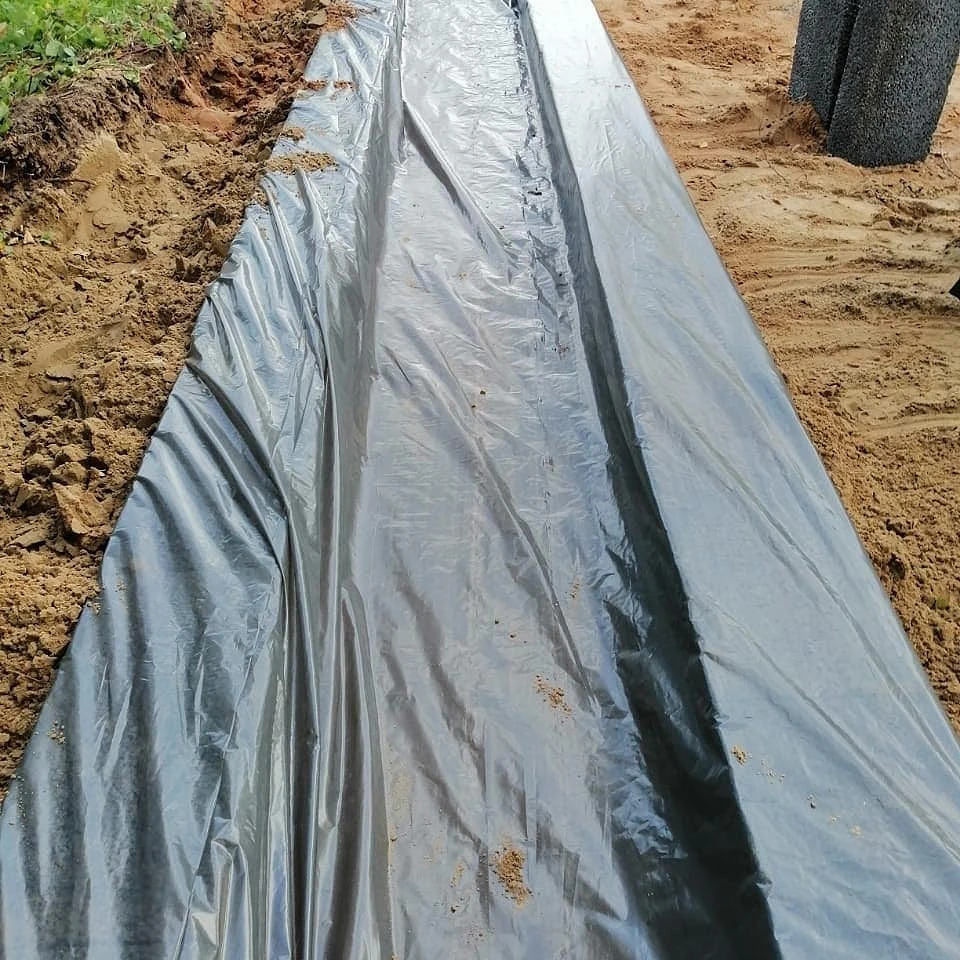
Polyethylene or roofing felt is laid on top of the compacted sand cushion. The insulation will protect the sand from erosion and prevent the leakage of the liquid solution when pouring the structure. In addition, the material will provide waterproofing of the structure. Therefore, it is recommended to lay it over the walls of the trench. Its size should be at least 17-20 cm.
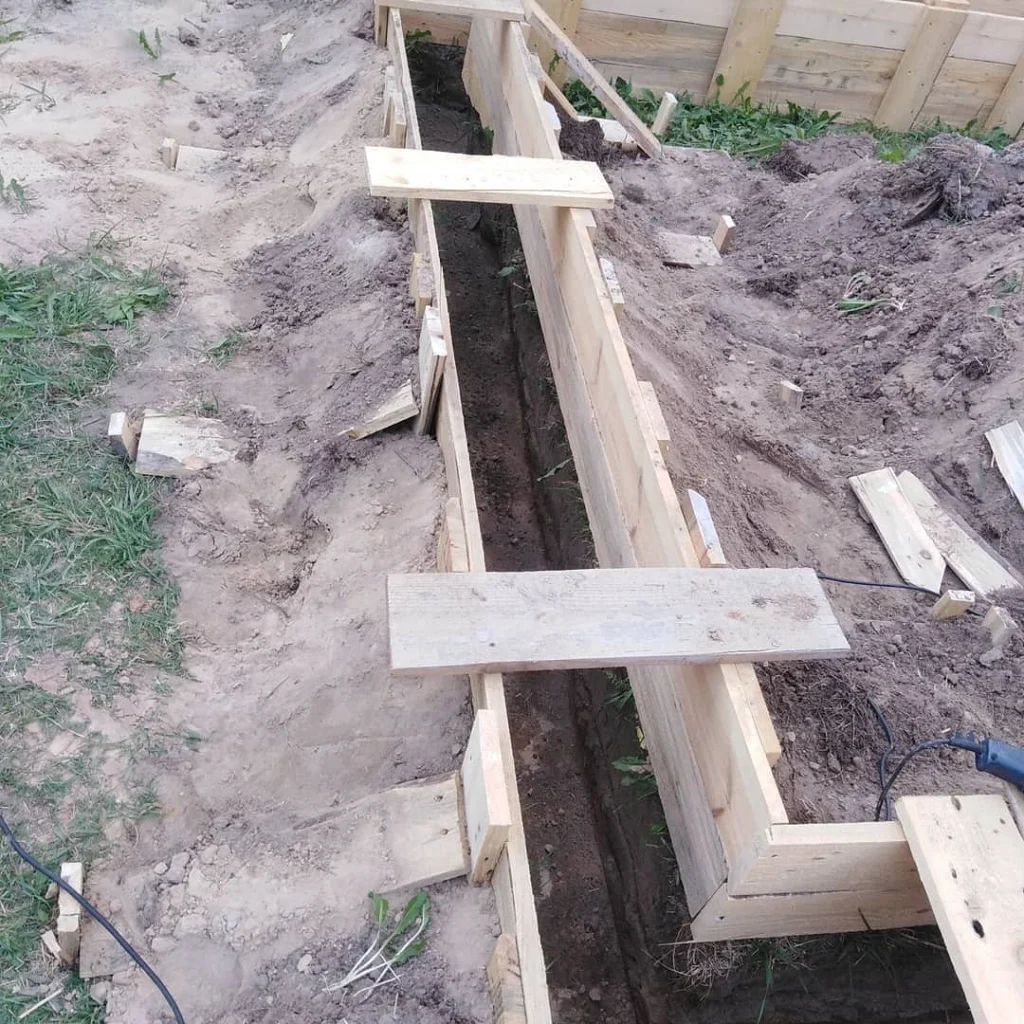
4. Installation of formwork
Before pouring the concrete, the formwork is installed. It may not be removable; then, after the solution has hardened, it cannot be dismantled. Another advantage of such a frame is the additional insulation of the structure. Let’s look at how to make a removable mold from boards. They do it like this.
- Shields are made from prepared boards. Their height should be such that the shield rises above the ground level to the height of the basement of the future house.
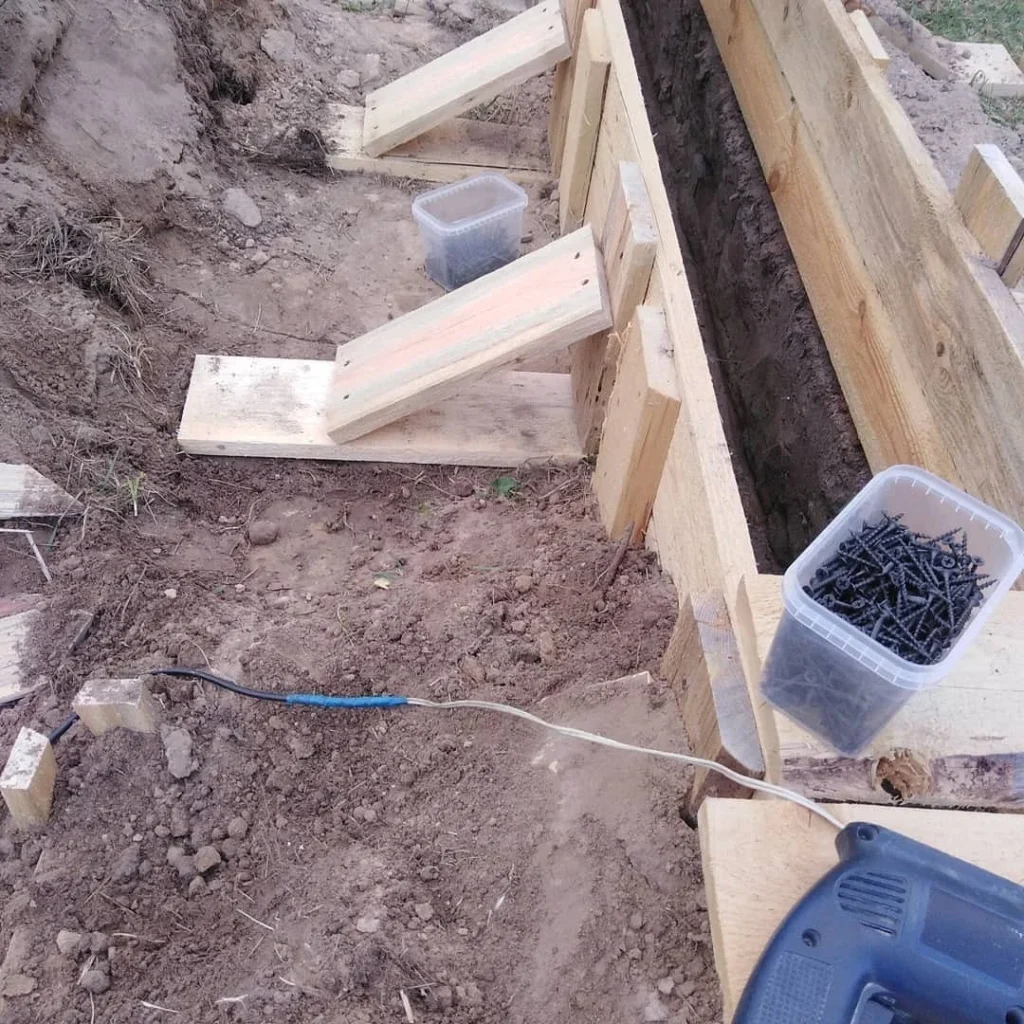
- Boards made of boards are placed vertically in prepared pits. They are fastened together by crossbars. For stability, the shields are supported from the outside with scraps of timber.
- During the work, vertical control is required. To do this, measurements are taken at the building level. If deficiencies are discovered, they are corrected immediately.
- If you need to install communications inside a future building, sections of pipes are inserted inside the formwork like spacers between wooden panels.
The finished formwork is lined from the inside with polyethylene or roofing felt. Such insulation will prevent liquid leakage during pouring and protect the concrete from premature drying. If there is a need for insulation, foundation heat insulator slabs are installed instead of waterproofing. Typically, penoizol or polystyrene foam is used.
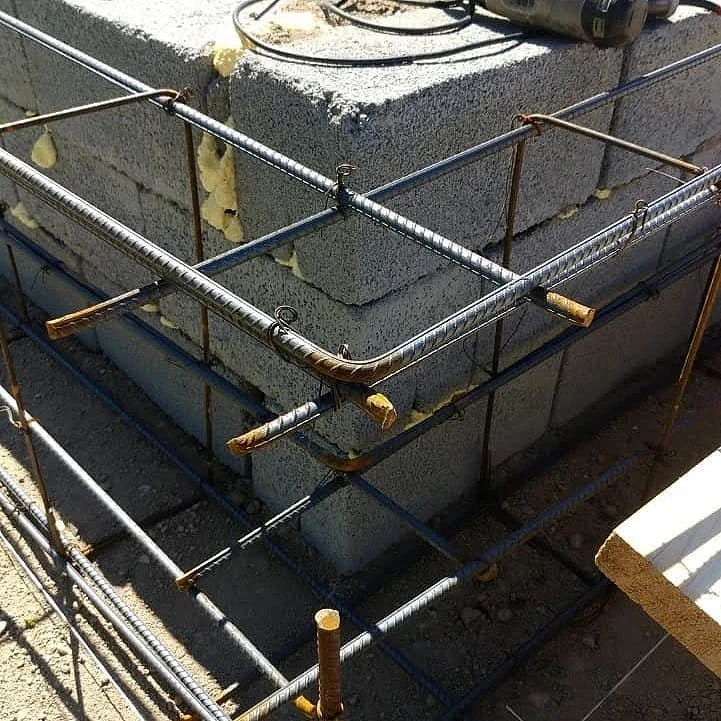
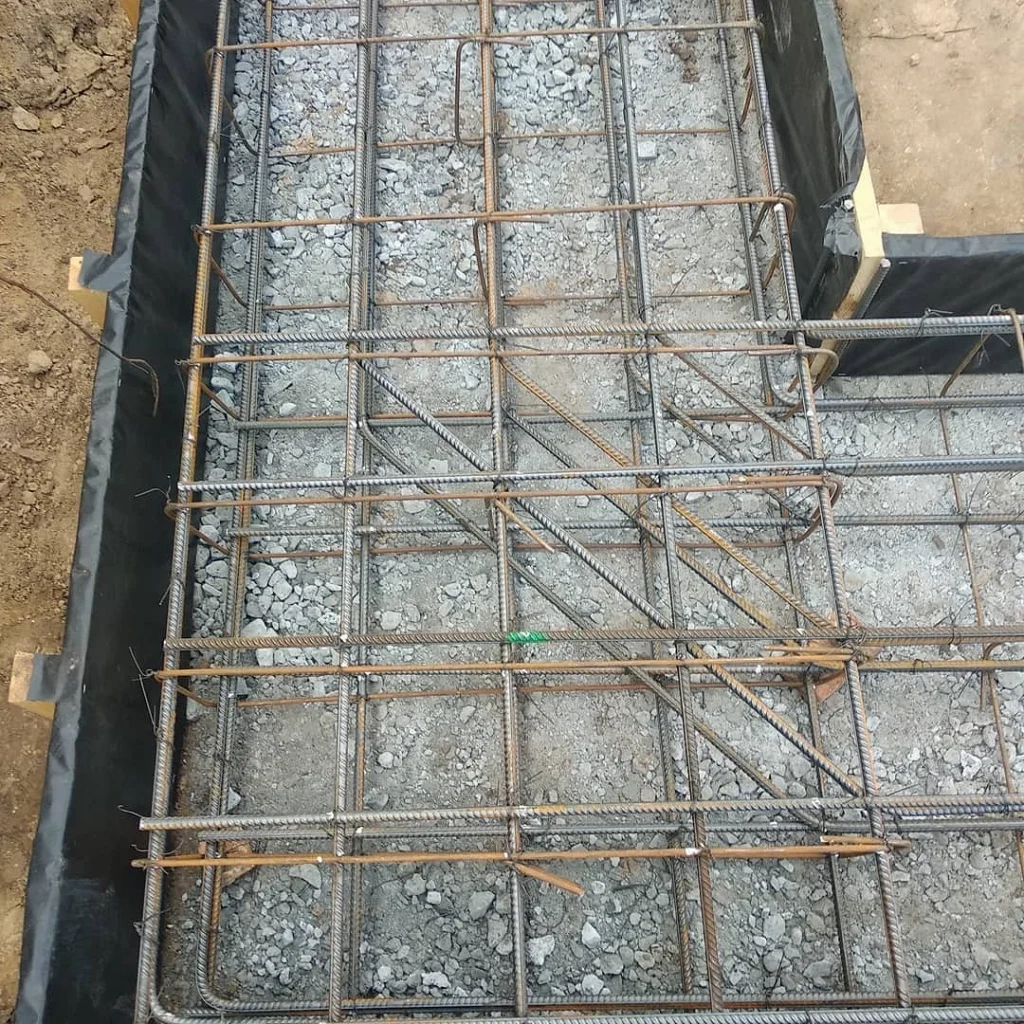
5. Installation of the reinforcing frame
A reinforcing frame is mounted inside the established formwork. It is made of longitudinal and transverse corrugated rods. The cross-section is from 8 to 12 mm, the longitudinal section is from 14 to 20 mm. The number of reinforcing rows is determined during structural calculations. The wider the tape, the more there should be. The reinforced frame is placed so that there are gaps on all sides between it and the formwork parts. They will be filled with a concrete mixture, which will protect the rods from corrosion.
If insulation boards were previously installed, the transverse rods must fit into the insulation. This will result in additional fastening of the frame to the formwork. The reinforcement is secured to each other with steel wire. They tie up the rods with it. The recommendations on how to properly make a strip foundation emphasize that spot welding is extremely undesirable. It gives a permanent seam. The rods that have lost mutual mobility during the shrinkage of the foundation can destroy it.
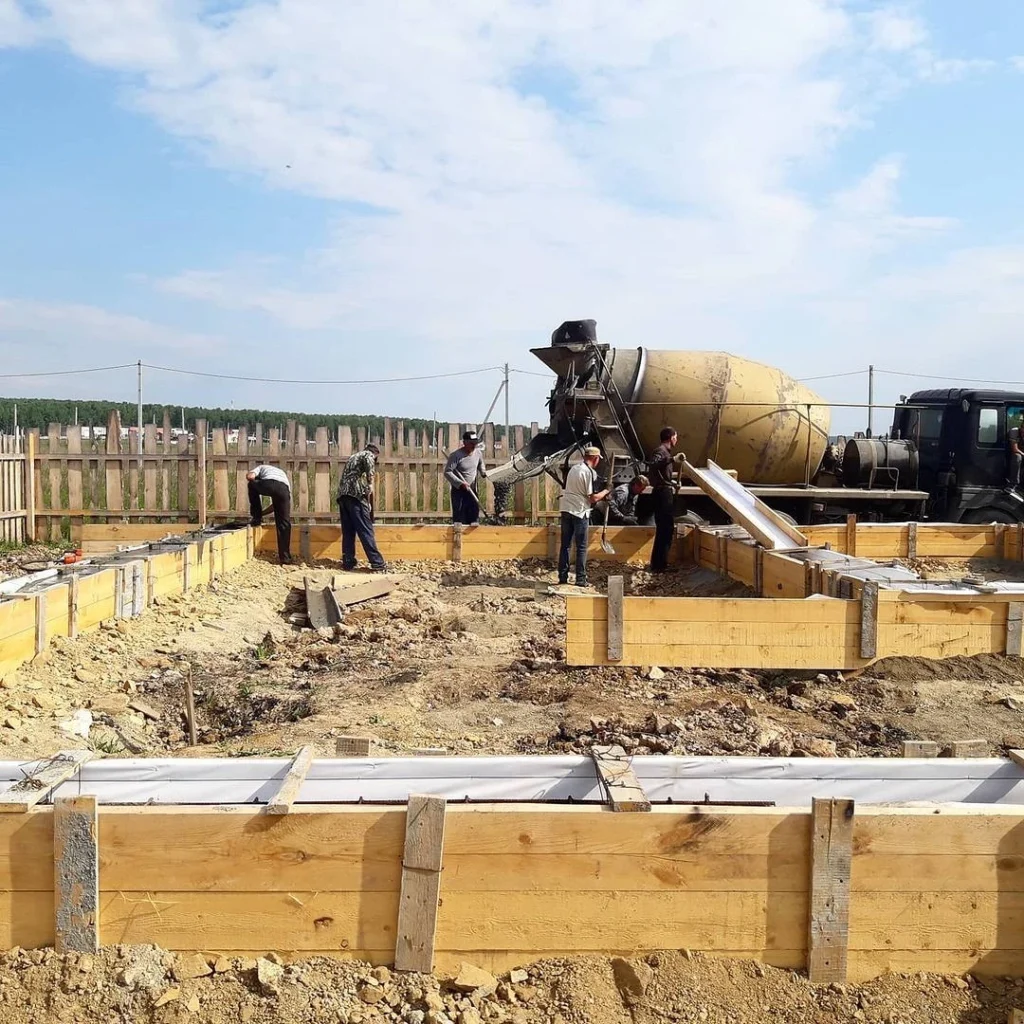
6. Filling the strip
The concrete mixture is poured at once. Technical breaks are allowed, but no longer than one to two hours. The solution is supplied from the machine through pre-laid chutes. There should be several of them so that the supply is carried out from different places. Distillation of the solution worsens its properties. The height of the concrete mixture discharge should not exceed two meters.
After the solution is poured, it is compacted with a deep vibrator. This is a mandatory procedure that affects the quality of the finished structure. The compacted concrete strip is covered with plastic film. Plastic will not allow moisture to evaporate.
For the material to properly harden and gain strength, it must be periodically moistened. The foundation strip is watered with clean water for seven days. The first time this is done 9-12 hours after installation. Then it is watered every five hours if it is cool and cloudy outside. In hot weather, moisturizing is required every two hours. At temperatures below 5°C, humidification is not required.
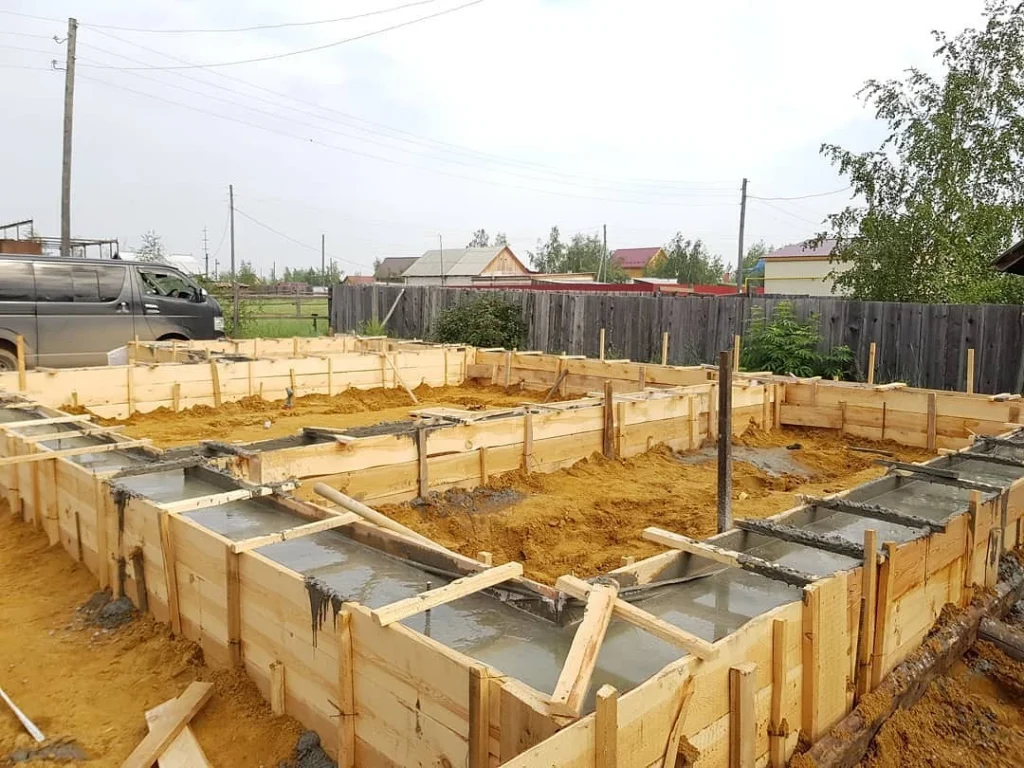
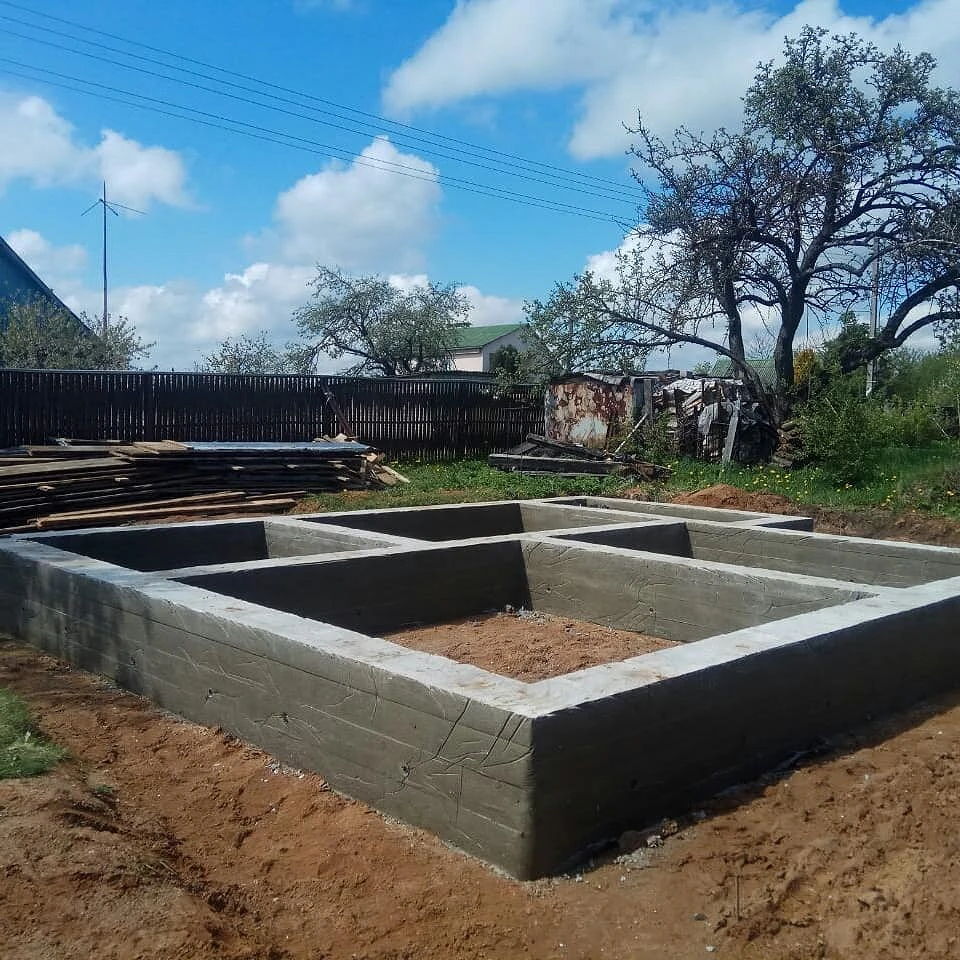
It takes a long time for concrete to gain strength, but you don’t have to wait for the end of the process. A week later, further work begins. The formwork is removed, and the strip is coated or covered with waterproofing materials. After this, backfilling is carried out with thorough compaction of the soil. The last part of the work is the construction of a blind area around the perimeter of the future building. The foundation tape is ready.
Read more: WATERPROOFING STRIP FOUNDATION