To minimize heat loss in the house, you need to insulate not only the walls but also the foundation. When combining penoplex and adhesive foam, can be done by one person.
Required materials:
- penoplex 100 mm;
- glue foam;
- facade dowels for thermal insulation;
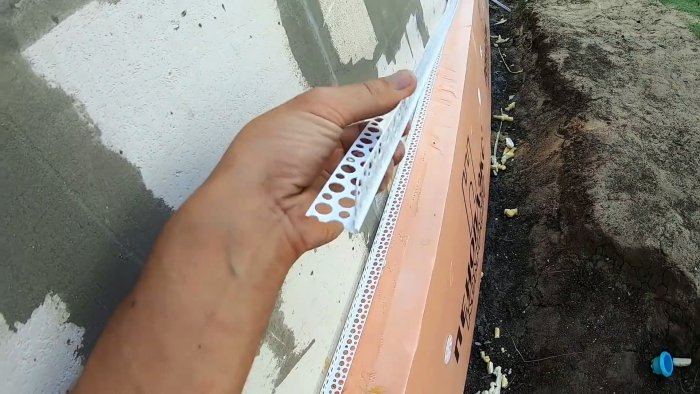
- perforated corner for wet plaster;
- facade fiberglass mesh;
- plaster mixture for reinforcing thermal insulation.
Foundation insulation process
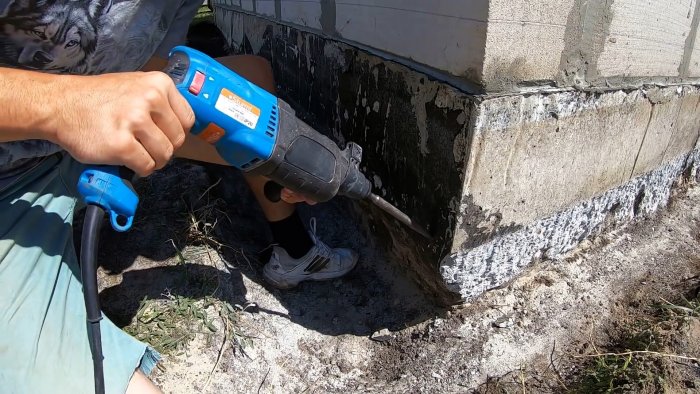
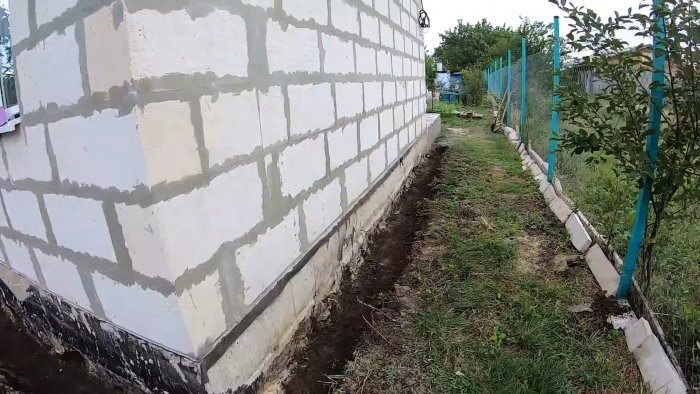
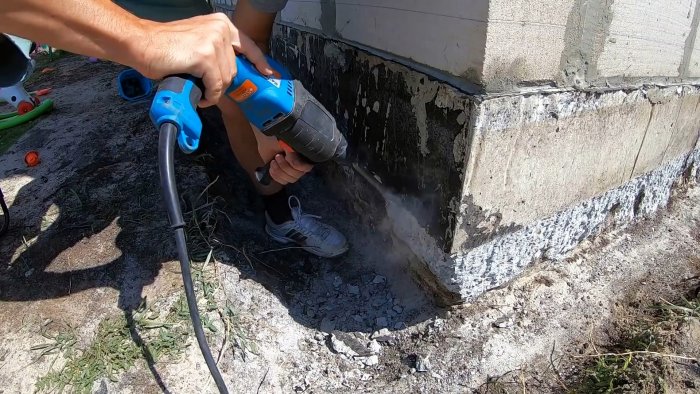
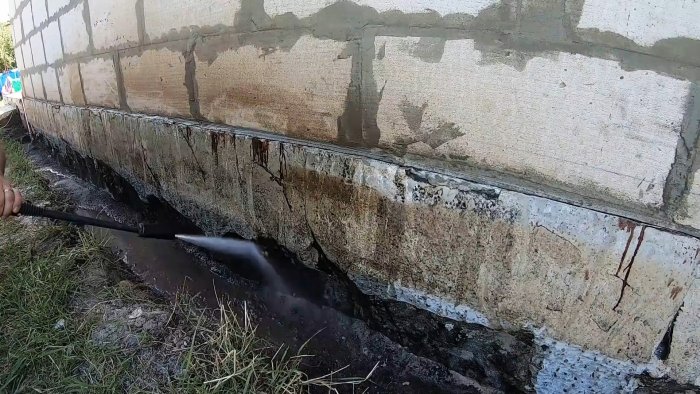
First, you need to dig a trench under the foundation with a depth of a shovel and a width of 30 cm. If there are sagging concrete on the foundation, they need to be beaten off with a hammer drill so that the thermal insulation sheets can be glued vertically.
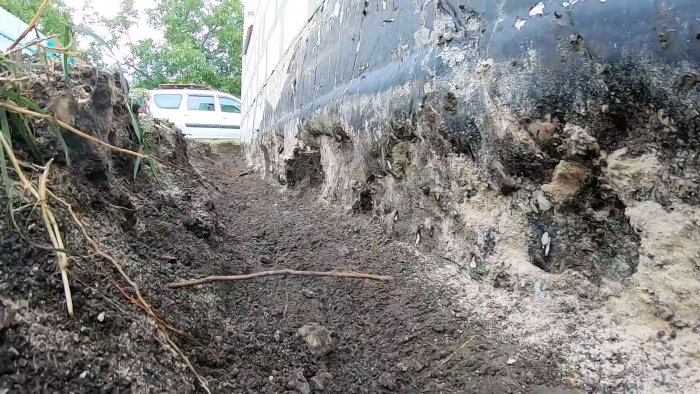
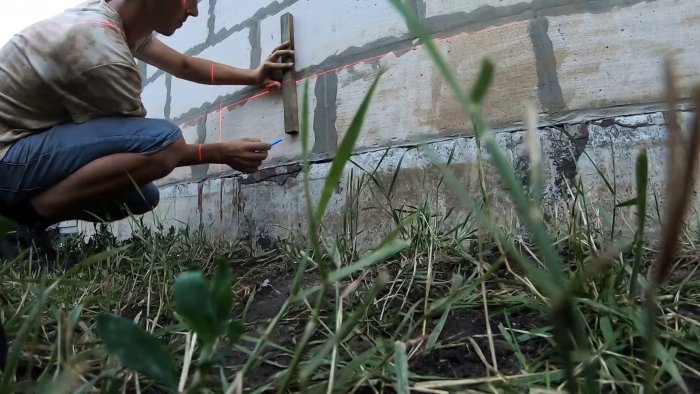
Next, horizontal markings are made along which the foam sheets will be glued. The line is drawn along the masonry 10 cm above the foundation. Then the insulated surface is washed from dust and adhering soil.
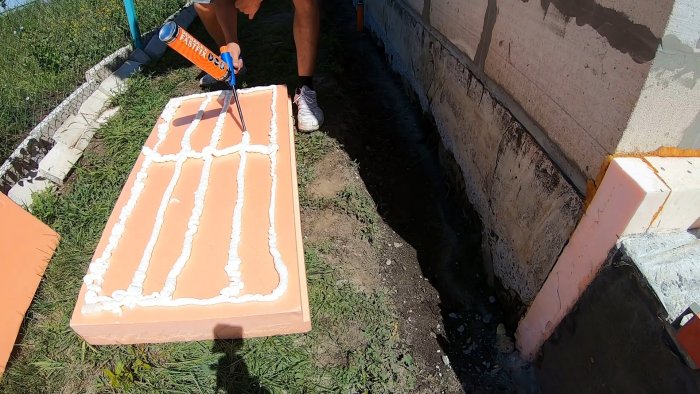
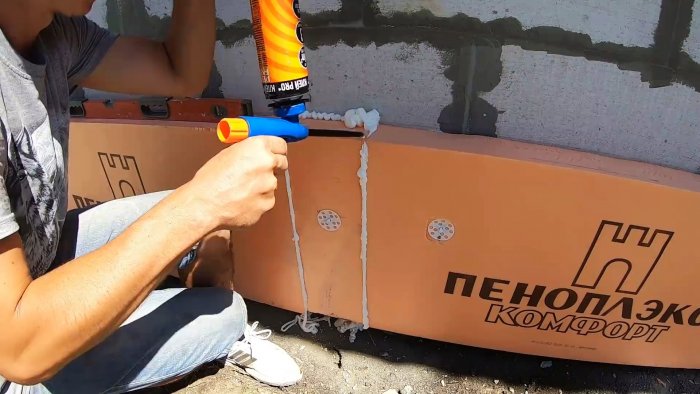
The tongue and groove is cut off on the foam sheets using a knife. This part will be at the bottom, so extreme care is not needed. Adhesive foam is alternately applied to the thermal insulation sheets and the foundation is wetted.
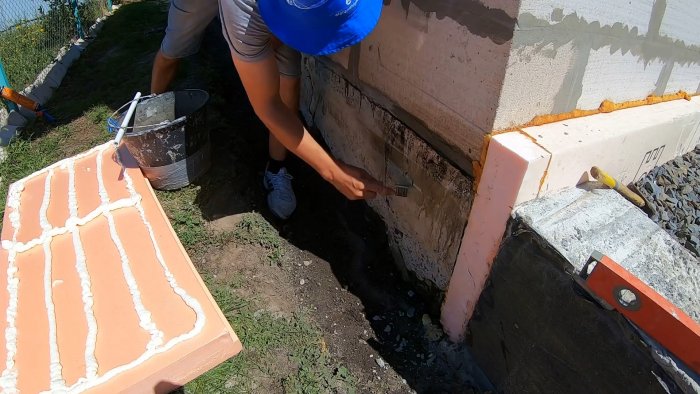
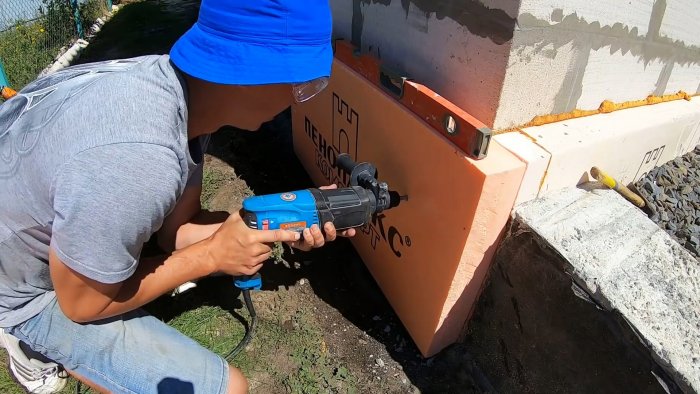
After 4 minutes, the penoplex is glued and additionally secured with two facade dowels.
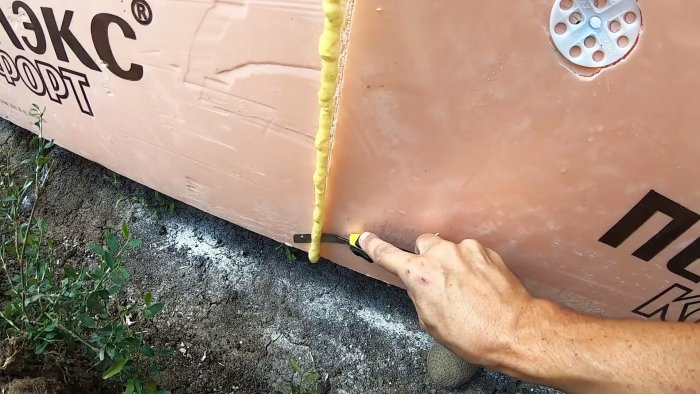
Thermal insulation sheets are glued from corner to corner. Most likely you will need a narrow insert at the end. Ideally, whole sheets should be installed in the corners, and the insert should be glued in the middle of the row. Having secured the thermal insulation around the perimeter, you need to foam the cracks.
No earlier than on the second day, you need to cut off the protruding foam, and you can proceed to reinforcing the thermal insulation.
The first step is to glue the perforated corners. For better adhesion of the plaster, you need to go over the penoplex with a metal brush to leave notches.
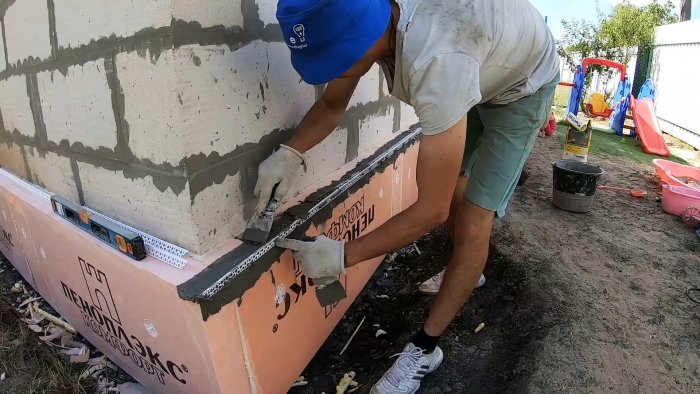
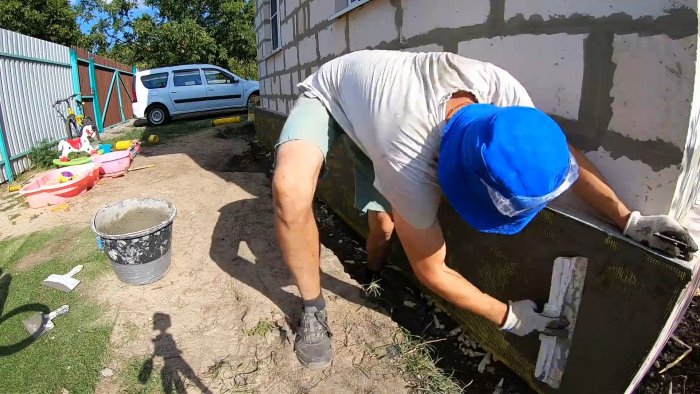
The plaster solution is applied with a narrow spatula to the upper corner of the insulation, and a perforated corner is placed on it. It needs to be pressed down and excess glue removed.

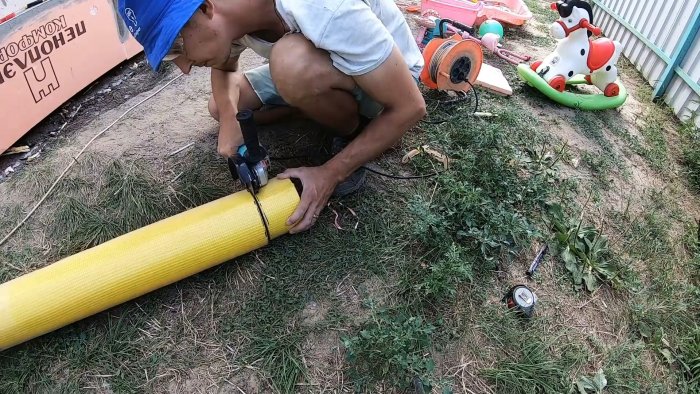
After the corners, a plaster mesh is glued on the side and along the upper edge of the insulation. It is very convenient to immediately cut its roll with a grinder so that when unwinding you get the canvas of the required width.
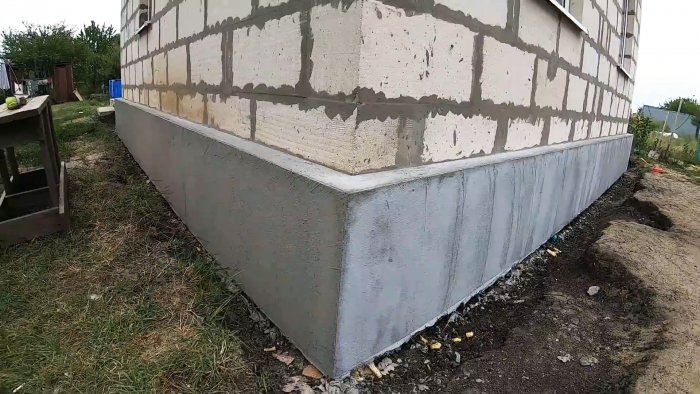
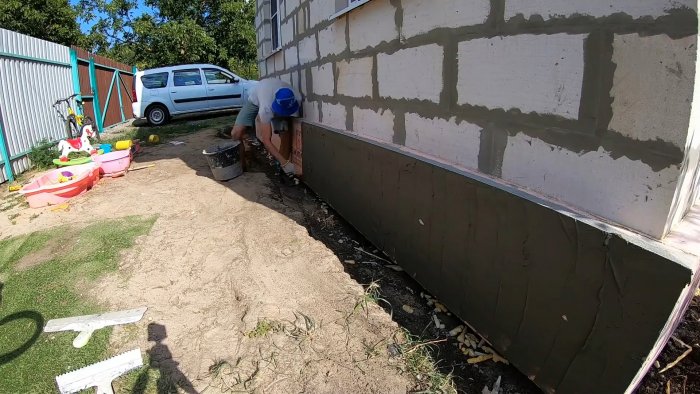
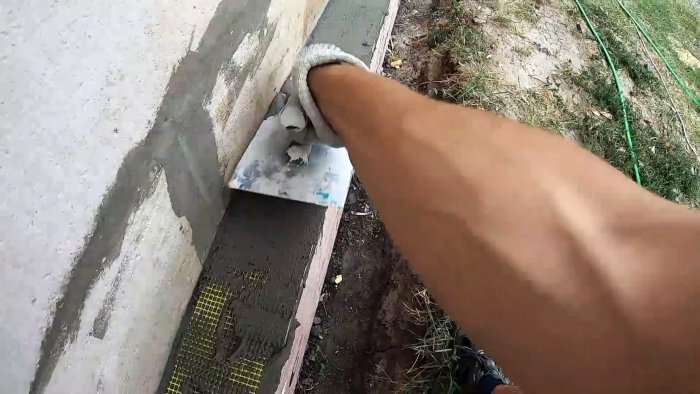
The plaster is applied to the glued penoplex, and then removed with a 6 mm comb spatula. Immediately, before the solution has weathered, a fiberglass mesh is glued in and plastering is performed. You just need to create a thin protective crust for the insulation.
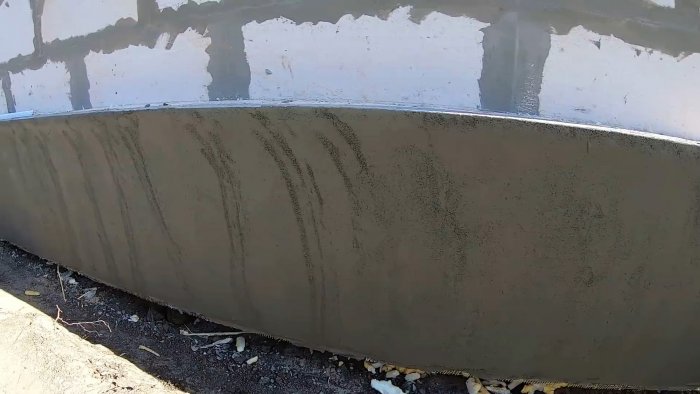
After gluing the mesh onto the penoplex and plastering it, you need to wait until the glue has completely dried. Next, the remaining trench is filled with sand. It is better not to use soil, as it will put pressure on the insulation when heaving.