We talk about the features of laying laminated flooring. We offer detailed step-by-step instructions for installing laminate flooring yourself.
Laminate flooring is practical and beautiful. It is durable, relatively inexpensive, and easy to care for. To the list of advantages, you can add the possibility of self-installation. Even a novice master can handle this if desired. Let’s look at all the intricacies of laying laminate flooring with our own hands and step-by-step instructions for beginners.
Features of laying laminated flooring
Laminate is a multilayer finishing material made in the form of a board or lamella. Its base is a high-density particle board. A protective film is placed on the bottom, and a paper strip with decor applied to it is placed on top and then laminated. Additional finishing is possible. The result is a material that qualitatively imitates wood, stone, or tile.
There are locking elements at the edges of each lamella. With their help, the boards are fastened into a single sheet. There are two types of such locks: lock and click. They latch in different ways. In any case, the result is a so-called “floating” floor. Its peculiarity is the mandatory presence of compensation gaps near the walls. Otherwise, when humidity or temperature changes, the coating will deform and “swell.” It is impossible to correct such a defect.
Lay the laminated board only on a flat base. Permissible height differences are no more than 2 mm per square meter. If the unevenness is higher, level the surface with a wet or dry screed. The base must be strong, not wobble or sag. For example, laying the covering on carpet and similar materials is prohibited. You can lay laminated finishes on tiles, boards, fiberboard, linoleum, etc.
The base must be well-dried since the laminate deteriorates from high humidity. In particular, if a fresh concrete screed is laid, you must wait for it to dry completely. You can check readiness using a simple test. At night, a piece of polyethylene measuring 30×50 cm or so is placed on the floor and taped on all sides. If condensation has collected under it in the morning, then the concrete has not yet dried.

Preparing the base
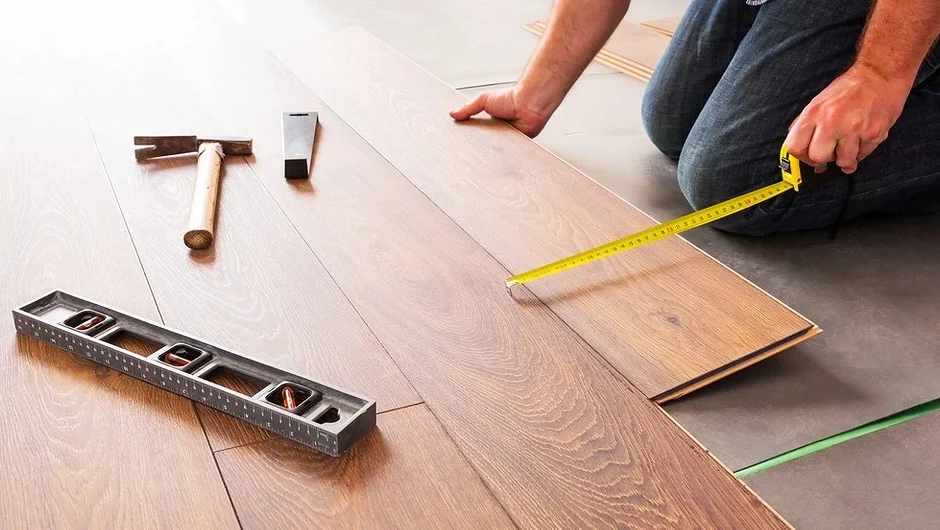
Preparing the room for installation is easy. First of all, you need to remove all the furniture from it and dismantle the old covering, if necessary. The surface is carefully inspected and measurements are taken. If it crumbles or there are significant irregularities, leveling is necessary. The easiest way to do it is with a dry screed. This is what is called leveling with sheets of plywood or thick chipboard. This is relatively quick and easy, but if water subsequently floods such a floor, it will have to be dismantled along with the dry screed.
Stronger and more durable concrete screed. If the differences are small, it is replaced with a self-leveling floor or similar mixtures. A significant disadvantage of “wet” work is that you need to wait for the solution to dry completely, and this can take a lot of time. In addition, concrete places a significant additional load on the floors, which is undesirable, for example, for an apartment in a multi-story building. This must be taken into account when choosing the alignment method.
The leveled and dried base must be thoroughly cleaned. If there are stains on it, especially from fat or fuel oil, they must be washed off. Large debris is swept away with a broom, then the entire surface is thoroughly vacuumed. Not even small grains of sand should remain, otherwise, they will eventually destroy the locking connections of the lamellas.
Installation on an old coating is allowed, but it also needs to be prepared.
Wooden floor
Carefully inspect each floorboard. Replace damaged, creaking, or sagging ones and screw them to the joists. Check for unevenness. If necessary, the floorboards are scraped using a special machine. If the differences are large, use a dry screed.
Linoleum
Check the horizontal position. If there are large differences, the coating is removed and the base is leveled in any suitable way. If the unevenness is within acceptable limits, the material is laid on top of the linoleum. In this case, additional waterproofing is not needed.
Concrete floor
Carefully inspect the old coating, and check the horizontal position. If the differences are within acceptable limits, fill the cracks, remove sagging, and sand the surface. If necessary, level the base with self-leveling mixtures or a regular screed. Wait until completely dry.

Do-it-yourself laminate underlayment installation
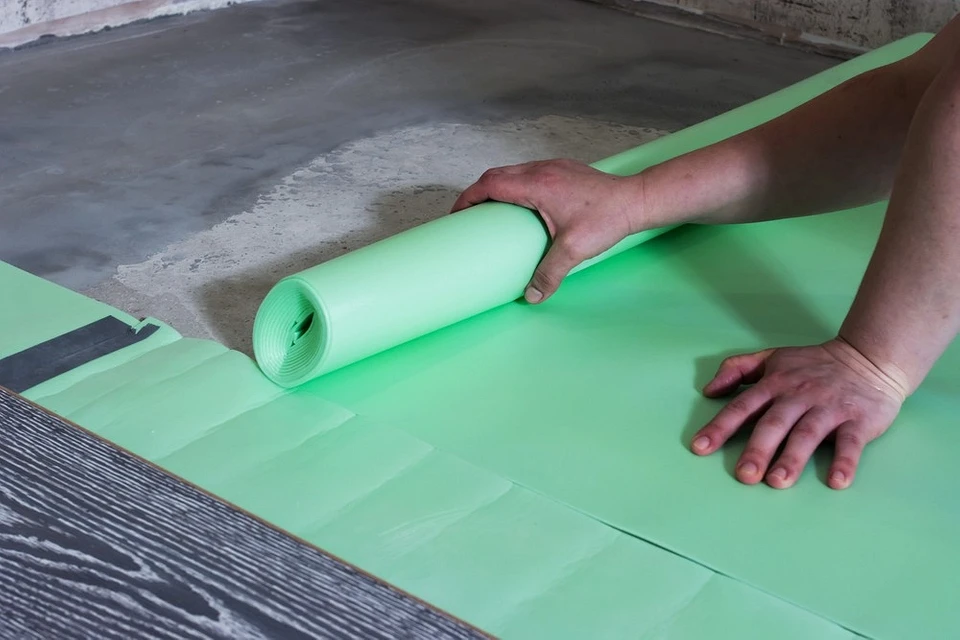
According to the first technology, a substrate is placed on the base. This is a material with a thickness of 2-5 mm, which is designed to level out the remaining small irregularities, shock absorption, and more evenly distribute the load. In addition, it partially dampens the sound, which makes the coating less noisy. Important point. Correct laying of laminate flooring on a concrete floor with your own hands requires that a plastic film is laid on the concrete before the substrate. This will protect the finish from excess moisture.
Depending on the material, the substrate can be rolled or sheeted. Both options are laid out the same way. Start from any angle. Lay out the backing and cut off the excess. A second strip or sheet is laid next to it so that both elements lie end to end, without overlaps or gaps. Glue them together with tape. In this way, the entire base is filled. Sometimes, to reduce the time for installing the underlay, it is secured to the floor with a construction stapler. This is possible, but undesirable since the boards will touch the brackets and creak unpleasantly.
How to lay laminate flooring with your own hands with different locks
Let’s look in detail at how to lay slats with different locks.
Click type lock
Click joints get their name from the clicking sound they make when they are assembled. The lock snaps into place, creating a detachable connection that can be easily opened if repairs or dismantling are necessary. To install click-type lamellas, no additional tools are needed.
The assembly is carried out like this.
- Start connecting with the side lock.
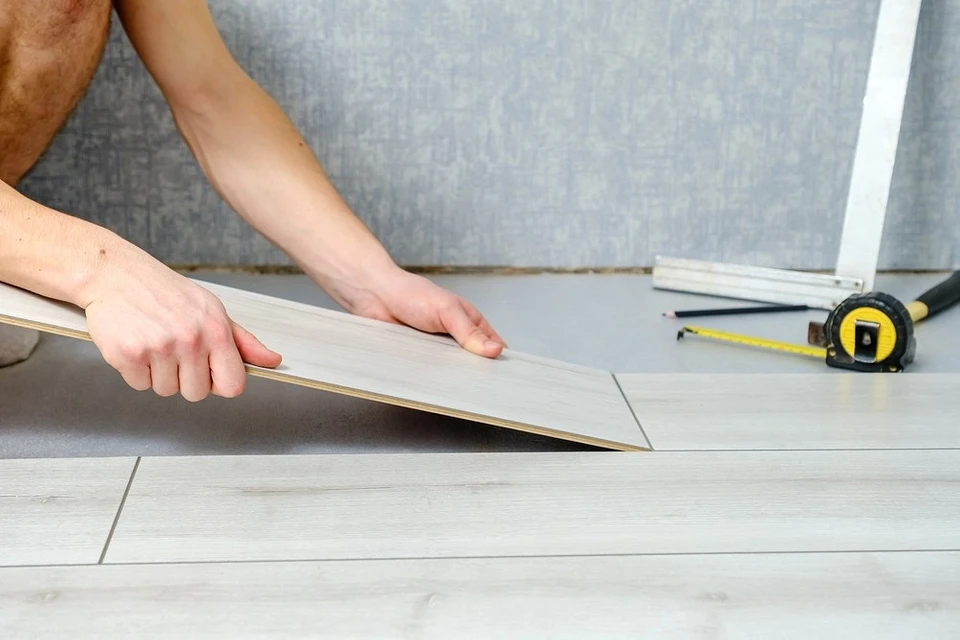
- Take the lamella, and unfold it so that the locking side of the tenon is turned towards the element lying on the floor.
- Bring it to the lamella already lying on the base at an angle of 45˚, and insert the tenon into the groove. If necessary, lightly tap the board with your palm.
- Lower the element to the floor and hear a click. This is the lock on the slats.
- Similarly, collect the entire row and put it in place.
- Snap the first board of the second row with the longitudinal side. Everything is done in the same way as described.
- First, connect all the next slats of the second row with side locks.
- Slightly lift the second row to a height of no more than 2 cm, insert the tenon part of the locks into the groove, and snap the connection.
Assembly continues in the same way until the end of the room.
Lock type lock
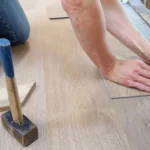
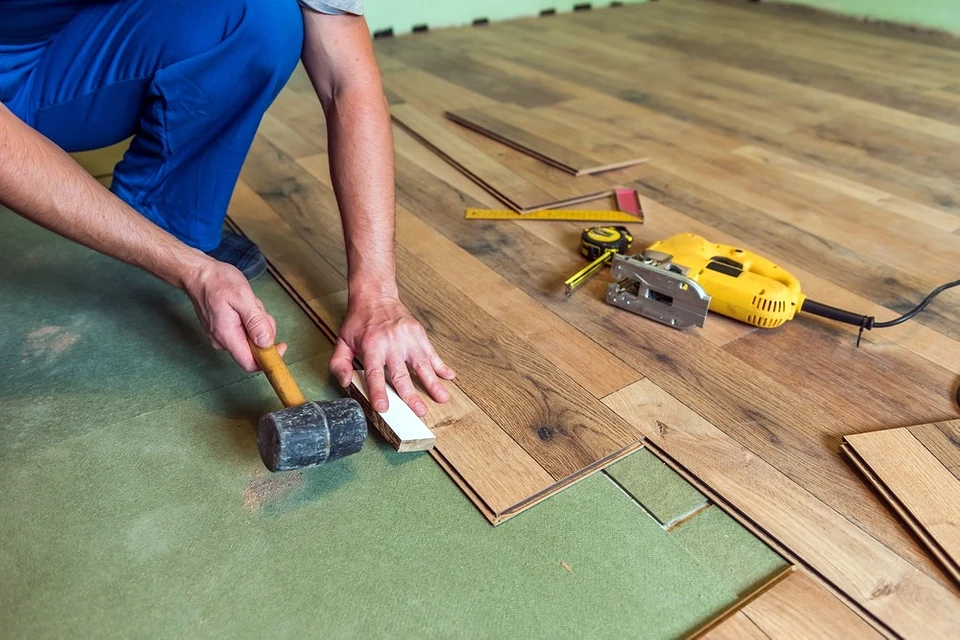
This is a similar lock joint where there are tongue and groove sides. But unlike click locks, they do not snap into place but are inserted one into the other. This results in a permanent connection that does not require subsequent repairs or replacement of the damaged strip. When connecting two lamellas, you need to apply a little force so that the joint is tight. Therefore, to lay laminate flooring yourself, you will need a tool.
Usually, this is a wooden or rubber mallet. To make work more convenient, they additionally buy or make their simple device for tamping the lamellas. Cut a small piece of laminated board with a tenon-type locking strip.
Mount slats with locks in this way.
- Place two boards on the floor so that they can be easily connected from the side.
- Insert the tenon of one part into the groove of the other. Insert the laminate fragment into the groove on the opposite side of the lamella. Tap it with a mallet until the joint closes. Important point. You can’t hit it hard with a hammer – the locking strip may break, and you’ll have to take another board.
- Collect the entire row in this way.
- Place the parts of the second row on the floor and assemble them in the same way.
- Push the first row towards the second and connect their longitudinal locks.
Continue assembling in rows until the entire room is covered.
Step-by-step instructions on how to lay laminate flooring yourself
The basic procedure for installation does not depend on the type of lock. Only the method of connecting the lamellas, which we have already described in detail, depends on it. Now we offer step-by-step instructions for laying laminated flooring.
- Bring the laminate into the room and lay it on the floor. Before installation, it must “rest” in the house for at least two days.
- Prepare wedges from plywood or chipboard with a thickness of 10-15 mm. Install and secure them near the walls around the perimeter of the room. They will not allow the lamellas to rest against the wall, thereby creating the necessary compensation gap.
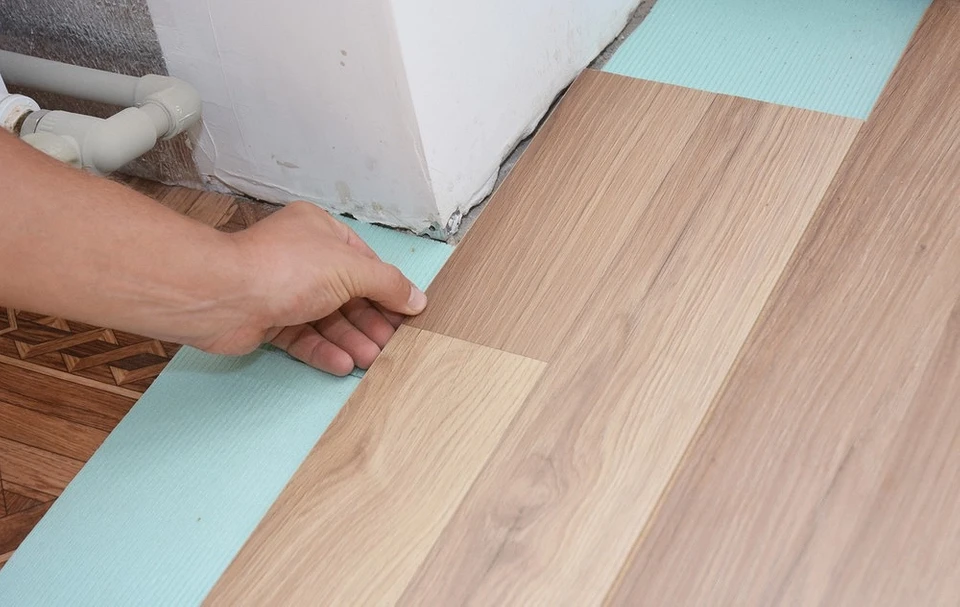
- Start laying the first row against the wall opposite the entrance doors.
- Turn the lamellas with the spike towards the wall. To be more careful, you can cut off the spike. The first row should rest against the previously installed pegs.
- Start the row with a whole bar. Join all the parts, and trim the last one if necessary.
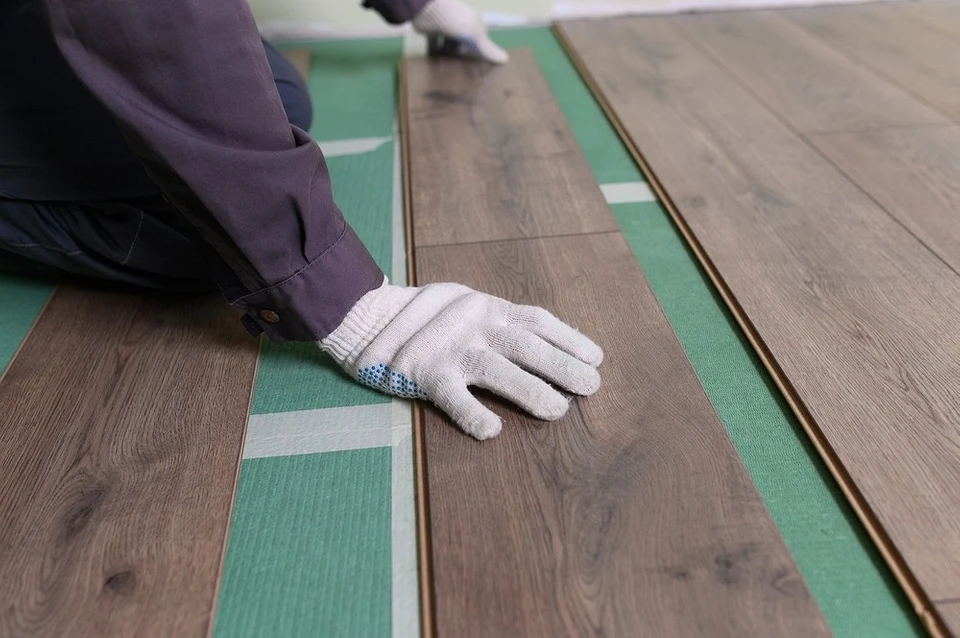
- Start the second row with the trimmed lamella. This is necessary so that the joints run “out of order”. Then the load on the laminate will be uniform and the joints will not collapse. You can specifically cut the parts by half or by a third. Or place the element trimmed in the previous one at the beginning of the next row.
- Assemble the second row. Move it towards the first one and connect them.
- Continue laying until you have covered the entire floor. Important point. Start each of the odd rows with a whole board, and the even row with a cut one, and vice versa. So the joints in the rows will not match.
- Lay out the last row so that it rests against the wedges placed against the wall. Sometimes it is cut to width. It is important not to confuse the cutting side. It is correct to leave the tenon part of the lock and cut off the groove part.
If the geometry of the room is correct, there will be very little trimming. If there are any distortions, everything needs to be measured and trimmed. Cutouts are made under pipes and other elements before laying the lamella.
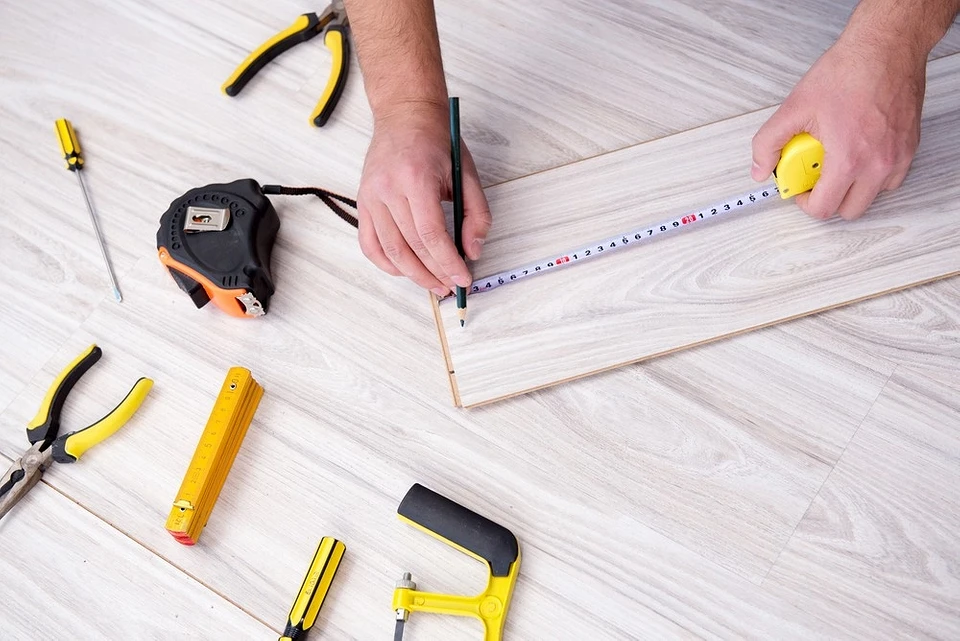
How to trim parts
During work, it may be necessary to trim the laminate. The most convenient way to do this is with a jigsaw, but you can cut it with a circular hand saw or a hacksaw. The part is marked and laid face up. If you turn it over after cutting, there will be unsightly burrs on the outside. It is best to cut the plank using guides. These can be metal, less often wooden plates, or a square. The guides are placed so that during the cutting process they do not slip and do not allow the blade to move away from the intended line. They cut with precise movements, very carefully, so that the cut is even.
How to lay planks on an uneven wall
If the wall against which the first row is laid out is uneven, do this.
- Assemble a row of planks and move it against the wall.
- Identify areas where, due to unevenness, the slats do not reach the wall. Take a compass, measure these gaps, and transfer them to the strip.
- Draw a line along the marks.
- Disassemble the strip, and cut off all excess according to the markings.
- Assemble the strip and place it in place.
How to dock with a door frame
- Take a small fragment of the lamella strip, 18-20 cm long. Insert it into the lock of the last row.
- Cover the top side of the board with masking tape and place it close to the box.
- Place the hacksaw on the piece of board, press it down, and start sawing the box. Cut through the protruding element completely, and cut through the inner element 6-8 mm in depth.
- Remove the board. Using a chisel, carefully chip away the cut sections.
- Similarly, make recesses on the opposite section of the box.
- Place the lamella of the last row and place its edges in the cuts.
How to make a passage for pipes
- Take the lamella, attach it to the pipe, and mark where its center will be.
- Measure the distance from the edge of the strip to the center of the pipe.
- Mark the point where the center will be located.
- According to the markings, cut a hole whose diameter will be 9-10 mm larger than that of the pipe.
- Carefully cut out a fragment of the board that will interfere with placing the part.
- Place the bar in place. Glue the cut piece.
- Cover the edges of the hole with a special cover.
How to set a threshold
They produce thresholds of different types of fastening, but the installation principle is the same for all. They do it like this.
- Measure the length of the threshold and trim it if necessary.
- Mark points on the floor for fasteners. They should be spaced evenly.
- Drill the holes.
- Place the threshold and fix it by its type of fastening.