Puttying, plastering, or using drywall? We analyze three alignment options and give clear instructions on how to work with them.
1. Puttying
During the renovation process, you need to clean the wall of all finishing materials that were applied to it. After this, using a rule, level, or laser level, you need to determine how uneven the wall is. If the fault is very small (up to 10 mm), to level it before painting or wallpapering, it is enough to level the wall using putty.
It is important not to neglect this step, even if the fault seems insignificant to you. It will make itself felt if you have chosen a smooth wall covering. With a relief finish, for example, a wooden panel or paint with a pronounced textural effect, it is a little easier.
Types of putty
- Plaster. Dries quickly, applied in a layer of up to 5-7 mm.
- Cement. It hardens in a few days but can be applied in a layer of up to 10 mm. Suitable for rooms with high humidity.
- Polymer: acrylic and latex. They are used for outdoor use due to their low breathability.
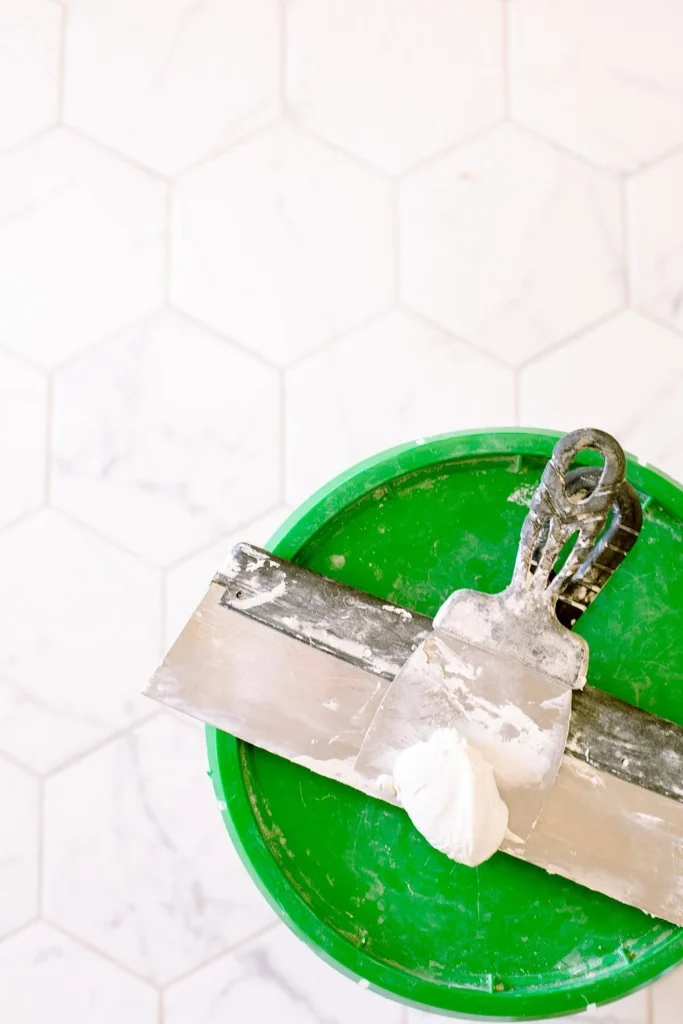
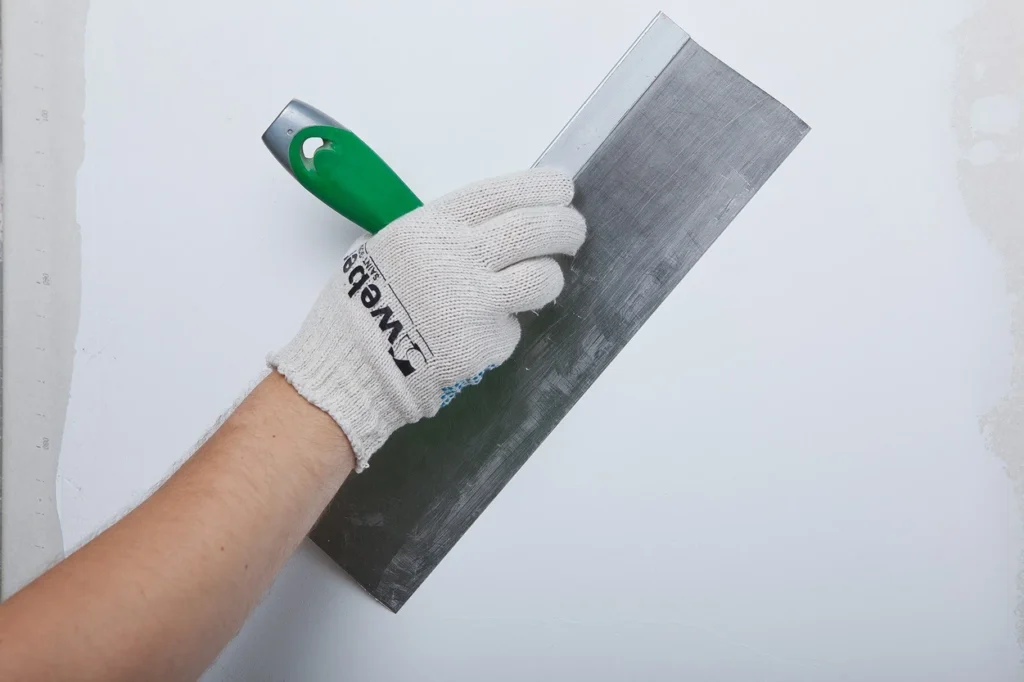
To work, you will need two spatulas: a wide one and a small one. The small one is needed to scoop up the material and distribute it over a large spatula.
If the curvature is 5-10 mm, first mix the starting putty – it contains larger particles of gypsum or cement, and then the finishing putty – it makes the surface less rough since it consists of small particles. If the wall curvature is less than 3 mm, you can immediately apply a layer of finishing putty.
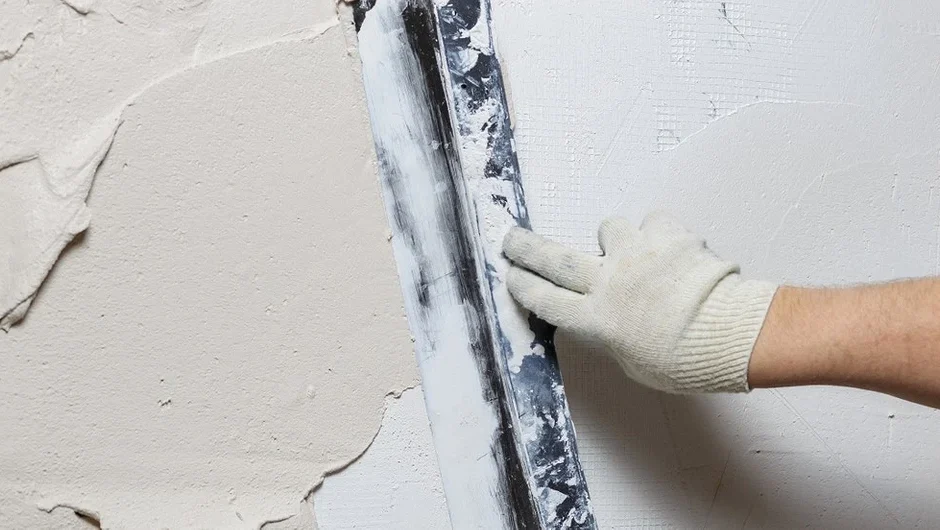
To get a thin layer, hold the spatula at almost a 90° angle. To make the layer thicker, reduce the angle.
2. Plastering
Plaster can be used to level out more serious wall defects – blockages and bulges more than 10 mm deep. The maximum layer of plaster is usually indicated by the manufacturer on the packaging. The material can be of three types and applied in different ways.
Types of plaster
- Cement.
- Plaster.
- Limestone.
Using beacons
If the curvature is noticeable or you do not have experience in applying plaster, it is better to use beacons and rules. Beacons are two V-shaped metal guides that are mounted on the wall. You will follow them with a rule – a long strip that cuts off excess plaster.
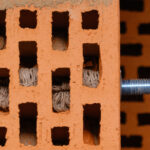
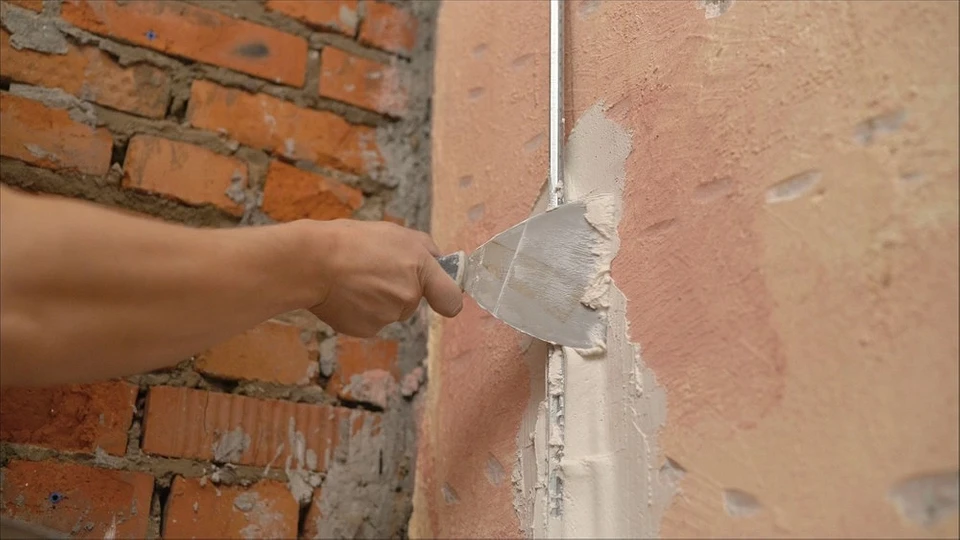
You can make a lighthouse yourself. For this, wooden beams are often used, especially on a wooden or foam concrete wall, since in this case screws can be screwed in. You can also screw screws into the wall so that their heads are at the height at which the plaster layer should end. A metal strip is pressed against the screws and the space between it and the wall is filled with plaster, as in the photo. Then the plank is removed and the remaining dried plaster protrusion is used as a regular beacon.
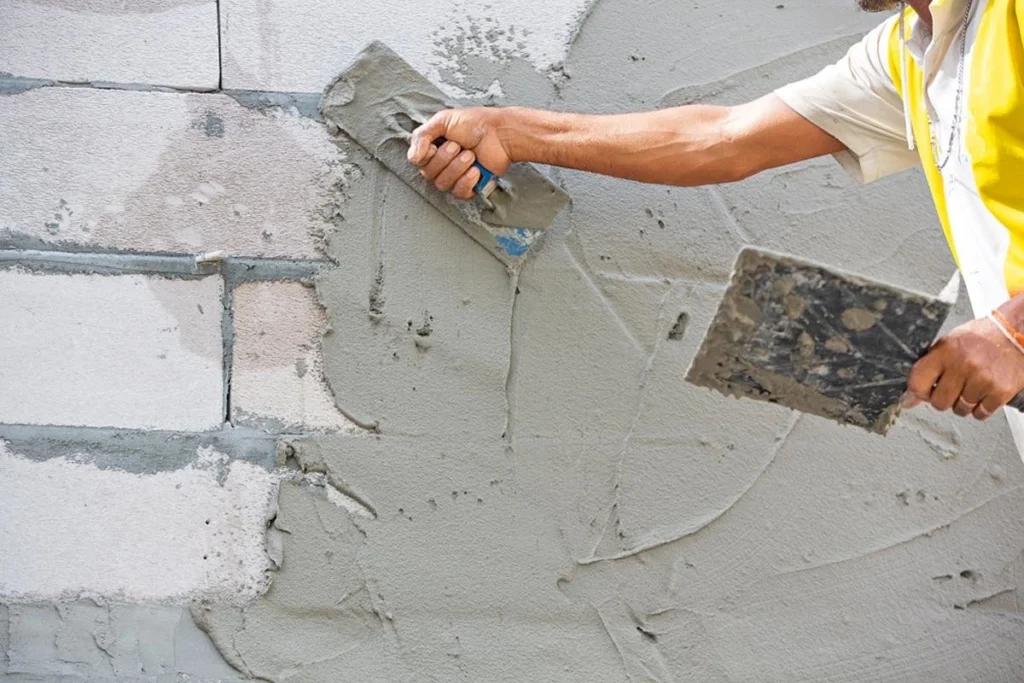
Application without beacons
If the wall is curved by about 1-2 cm, you can check how evenly you are applying the composition using a level and a rule. Apply the first layer of plaster thickly and rather carelessly, and make the final one more liquid, it requires more attention. The corners of the walls can be leveled during the work using an angled spatula.
3. Installation of plasterboard sheets
This process is also called dry plastering. It is used for the most difficult cases and helps to quickly achieve a perfectly flat wall, although sacrificing a little area of the room.
Without frame
This is a method in which drywall is glued directly to the wall. It helps save space, but the installation of sheets becomes a little more difficult due to the lack of a frame. Beacons made of pieces of drywall are attached to the wall – it is on them that the sheet will rest. Then an adhesive composition is applied to them and the sheet is pressed.
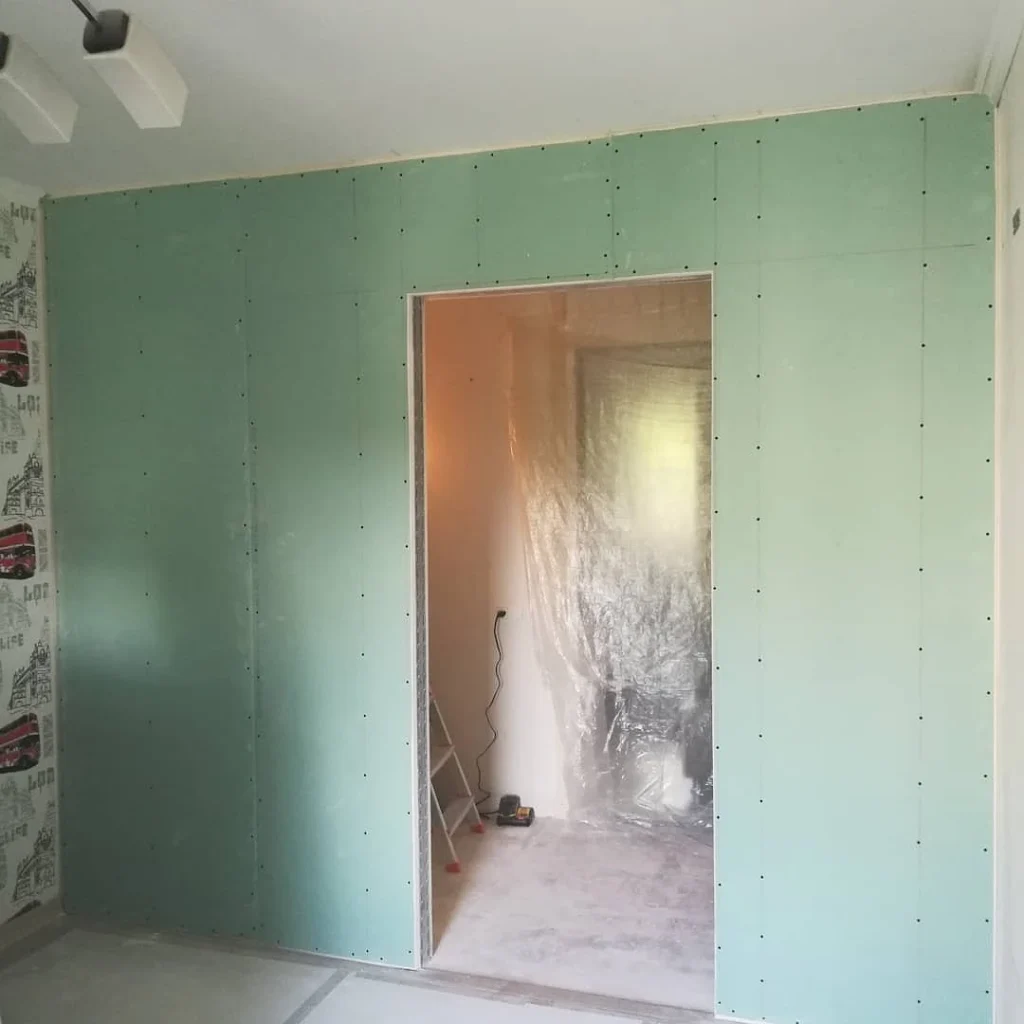
With frame
It eats up about 5 cm of space, so it is rarely used in small rooms. But at the same time, the space between the wall and the drywall can be used usefully – by placing sheets of sound or thermal insulation inside.
Metal profiles are attached to the wall, then a plasterboard sheet is attached, and before painting, 1-2 layers of putty are applied to it.