In the summer, caring for plants in the yard, country house, or garden requires water, which is best supplied using a summer water supply. In the fall it can be easily disassembled until next year. Moreover, for its installation, we can completely do without welding. This will save us money and time. Any adult who has never dealt with polypropylene pipes before can cope with such work.
Will need
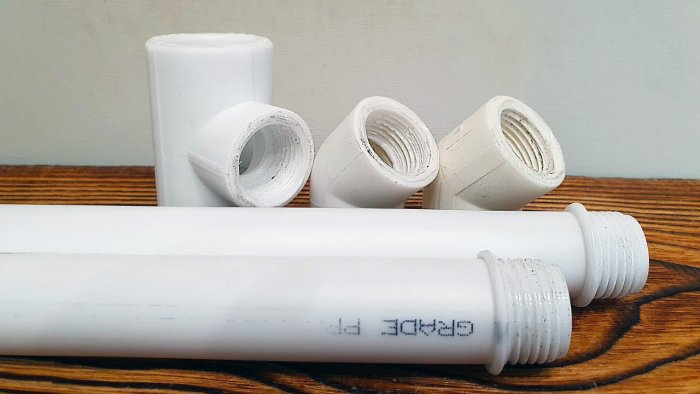
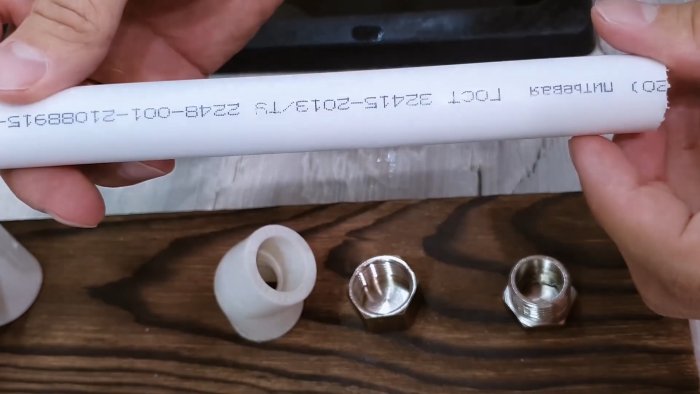
Materials:
- 2 steel plugs with internal and external threads;
- corner at 45 degrees;
- pipe with a diameter of 20 mm;
- tee with a 20 mm outlet.
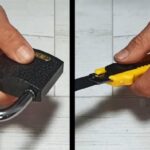
Tools: gas adjustable wrench, heat source, cold water.
The process of connecting polypropylene pipes and fittings without welding
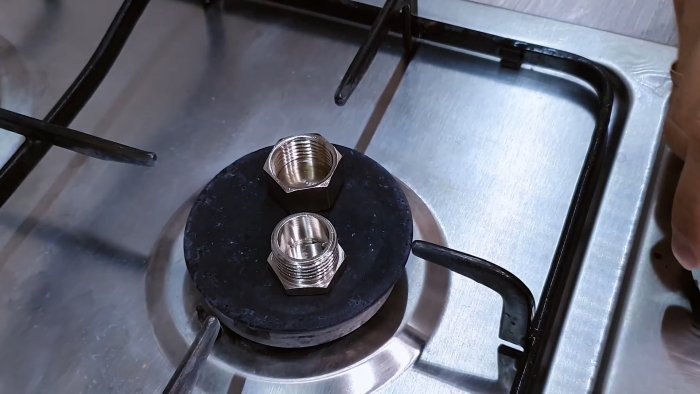
We heat the steel plugs on a gas stove or in the flame of a gas burner, if the work takes place outside, for 1-2 minutes.
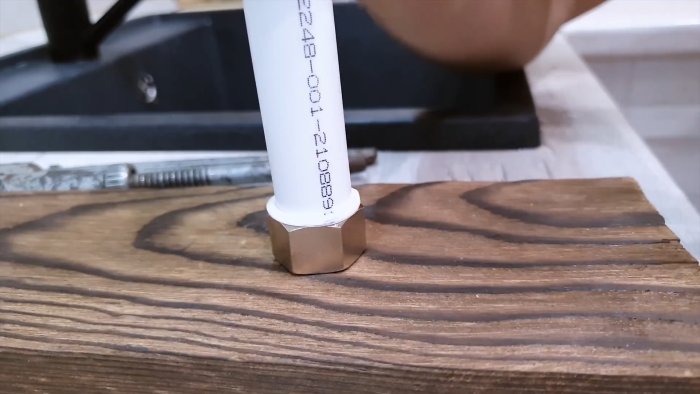
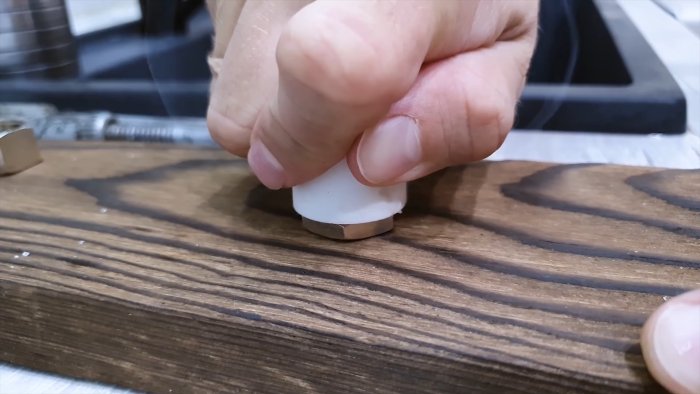
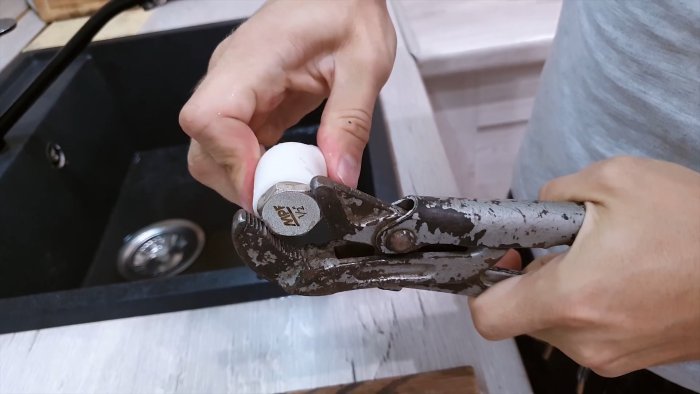
We grab the plug with internal thread with a gas wrench, place it on a piece of wood, and press the end of the pipe into the plug strictly vertically, periodically turning it until the end of the pipe rests on the bottom of the plug.
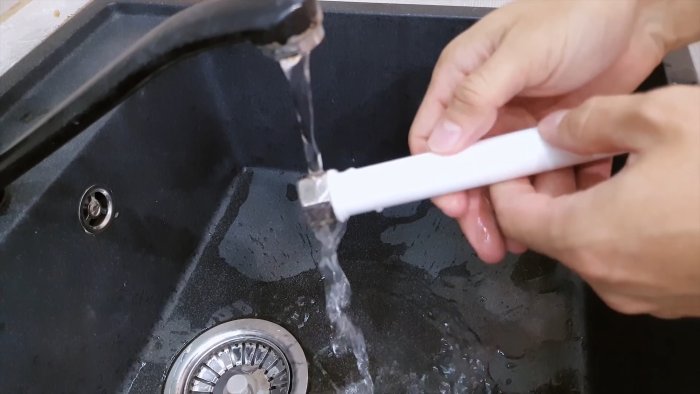
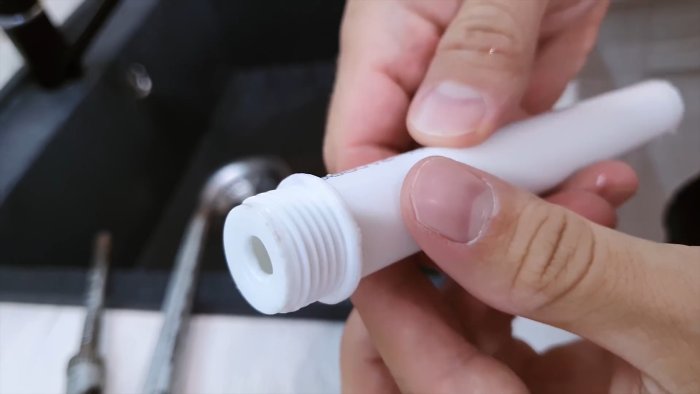
Then cool the plug together with the pipe under running cold water for a few seconds and twist the plug using a gas wrench from the end of the pipe. As a result, we get a fairly high-quality thread on the pipe.
Next, using a heated second plug with an external thread, we make a thread in the corner at 45 degrees, pushing it onto the plug to the end and holding it in this position for some time. After that, cool the connection under running cold water and use a gas wrench to unscrew the plug from the corner.
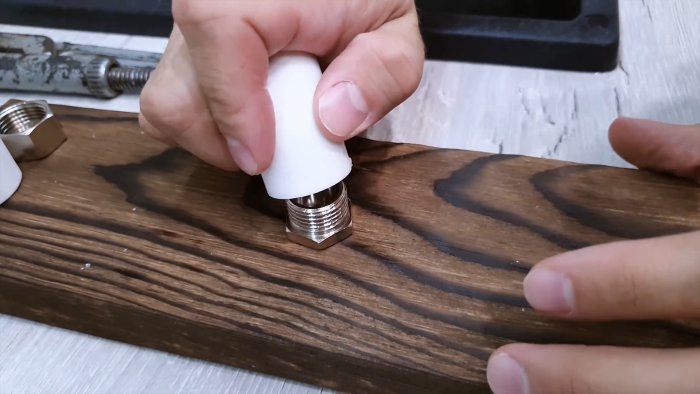
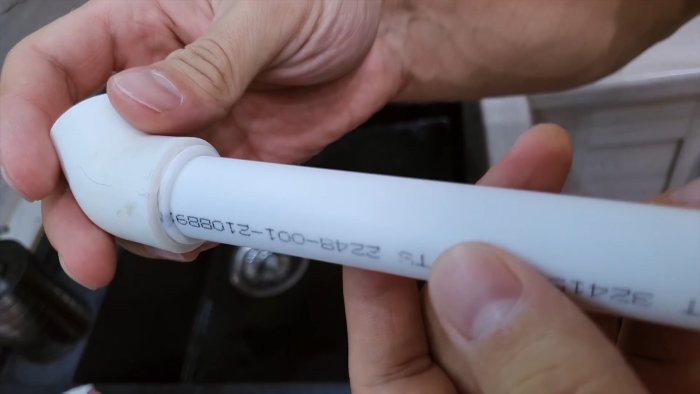
We wipe the threads on the pipe and the angle with a napkin and connect them along the thread until the collar on the pipe, formed during the formation of the thread, rests against the end of the angle. The connection is strong and airtight. However, if necessary, the connection is not difficult to disassemble when it is no longer needed.

Using the already proven scheme, we form a thread at the other end of the pipe, which also turns out to be embossed and of good quality. We form the thread in the tee outlet, as in the corner, with a plug with an external thread. All that remains is to screw the threaded end of the pipe into the tee outlet and tighten it.
If there is no longer a need for any outlet, then you can install a round rubber coin in it and tighten it with a plug.
A water pipeline assembled according to this scheme will serve well in the summer, and with the arrival of cold weather it can be easily disassembled, put the parts in a secluded place and easily assembled again in the spring.